
A nostalgic, creamy dessert that blends sweet bananas with buttery vanilla wafers for a timeless treat.

There’s a particular kind of comfort that only a bowl of banana pudding can deliver—a silky, sweet nostalgia that instantly transports you back to childhood kitchen tables, where the air was scented with vanilla and the laughter of cousins echoed around the room. I first discovered this classic dessert at my grandmother’s house during a summer visit; the moment the first spoonful touched my tongue, the mellow banana flavor, the buttery crunch of vanilla wafers, and the airy custard blended into a perfect harmony that still lingers in my memory.
This pudding isn’t just a recipe; it’s a piece of culinary heritage that hails from the American South, where banana pudding has been a staple at potlucks and family gatherings for generations. The original version relied on simple pantry staples—ripe bananas, milk, sugar, and those iconic vanilla wafers—making it an accessible treat for anyone willing to whisk a few ingredients together and let time work its magic.
In this article, you’ll learn how to master the balance between the creamy custard and the crunchy wafer layers, why each step matters, and how to adapt the recipe for different dietary needs without compromising flavor. By the end, you’ll be equipped to recreate this timeless dessert with confidence, impressing friends and family alike.
So grab your whisk, preheat your patience, and let’s dive into the buttery world of old‑fashioned banana pudding!
🌟 Why This Recipe Will Win Your Heart
Banana pudding is more than just a dessert; it’s a comforting ritual that brings people together around the table.
- ✨ Timeless Flavor Profile: The sweet, mellow banana pairs perfectly with vanilla‑infused custard and buttery wafers, creating a balanced taste that never feels dated.
- ✨ Simple Ingredient List: All components are pantry staples, meaning you can whip up this pudding without a special trip to the store.
- ✨ No‑Bake Convenience: The recipe requires no oven, saving energy and allowing you to prepare it any time of day.
- ✨ Versatile Presentation: Serve it in individual glasses, a large trifle bowl, or even as a layered parfait for a modern twist.
- ✨ Kid‑Friendly & Grown‑Up Approved: Its gentle sweetness appeals to children while the subtle vanilla depth satisfies adult palates.
- ✨ Make‑Ahead Friendly: The pudding improves after a few hours of chilling, making it ideal for parties and gatherings.
🥗 The Ingredients
📝 Complete Ingredient List
For the Creamy Pudding Base:
For the Vanilla Wafer Crunch:
For the Topping:

🔍 Focus on Key Ingredients
Ripe Bananas
Ripe bananas are the heart of this pudding, providing natural sweetness, moisture, and a subtle caramel flavor that deepens as they blend with the custard. Choose bananas with plenty of brown speckles; they are sweeter and easier to mash, creating a smoother texture. If you prefer a less intense banana flavor, you can substitute half of the bananas with ripe pears, which adds a gentle floral note.
Vanilla Wafers
The wafers give the pudding its signature crunch and a buttery vanilla aroma that complements the custard. For an extra buttery bite, lightly toast the wafers in a dry skillet for 2‑3 minutes before crushing them. If you’re looking for a gluten‑free version, opt for gluten‑free vanilla cookies that have a similar texture.
Whole Milk & Heavy Cream
Whole milk creates a rich, velvety custard while heavy cream adds body and a luxurious mouthfeel. The combination ensures the pudding isn’t overly dense. For a lighter version, substitute half the whole milk with low‑fat milk, but retain the heavy cream for that essential silkiness.
🔄 Quick Substitutions
| If you don’t have... | Use instead... |
|---|---|
| Whole milk | 2% milk (slightly less rich) |
| Heavy cream | Half‑and‑half (will be a bit thinner) |
| Vanilla wafers | Gluten‑free vanilla cookies or shortbread |
👨🍳 Step‑by‑Step Instructions
Follow these detailed steps to create a perfectly layered banana pudding that’s both creamy and delightfully crunchy.
📋 Phase 1: Preparation & Mise en Place
Gather and measure all ingredients before you start; this ensures a smooth cooking process.
Prepare the Bananas
Peel the ripe bananas and place them in a large mixing bowl. Using a fork or potato masher, mash them until they reach a smooth, almost puree‑like consistency. The smoother the mash, the more evenly the banana flavor will distribute throughout the custard.
Measure Dry Ingredients
In a separate bowl, whisk together the granulated sugar, cornstarch, and a pinch of salt. This dry blend will help prevent lumps when combined with the milk later on.
🔥 Phase 2: Cooking the Custard & Assembling Layers
Create the custard, then start layering with wafers and bananas.
Cook the Milk‑Sugar Mixture
In a medium saucepan, combine the whole milk with half of the sugar‑cornstarch blend. Whisk over medium heat until the mixture begins to thicken, about 5‑7 minutes. Once it starts to steam, lower the heat and continue whisking to avoid scorching.
Temper the Egg Yolks
In a small bowl, lightly beat the egg yolks. Slowly drizzle about ½ cup of the hot milk mixture into the yolks while whisking constantly. This tempering step prevents the yolks from scrambling.
Combine and Finish the Custard
Return the yolk mixture to the saucepan. Add the remaining sugar‑cornstarch blend, vanilla extract, and salt. Continue to whisk over low heat until the custard reaches a thick, glossy consistency—roughly 3‑4 minutes. Remove from heat and let it cool slightly.
✨ Phase 3: Finishing Touches & Serving
Layer, chill, and garnish for the final presentation.
Layer the Pudding
In a large trifle bowl or individual serving glasses, start with a thin layer of crushed vanilla wafers, followed by a layer of mashed bananas, then a generous pour of custard. Repeat the layers until you run out of ingredients, finishing with a custard layer on top.
Whip the Cream
Whip the heavy cream with powdered sugar until soft peaks form. Spread a dollop of whipped cream over the final custard layer, then sprinkle the remaining crushed wafers for added crunch.
Chill the Pudding
Cover the bowl with plastic wrap, ensuring the wrap touches the surface of the custard to prevent a skin from forming. Refrigerate for at least 2‑3 hours, preferably overnight, to allow flavors to meld and the wafers to soften slightly.
Garnish Before Serving
Just before serving, arrange banana slices on top of the whipped cream and drizzle a thin ribbon of caramel sauce if desired. This final flourish adds visual appeal and a burst of caramelized flavor.
Serve and Enjoy
Spoon the pudding into bowls, ensuring each serving gets a balanced mix of custard, banana, and wafer. Pair with a cold glass of milk or a light dessert wine for the ultimate indulgence.
💡 Expert Tips & Tricks
🛒 Choosing the Right Ingredients
When shopping for bananas, look for ones that are fully yellow with brown speckles; these are the sweetest and most aromatic. Avoid overly green bananas, as they lack the depth of flavor needed for a rich pudding. For vanilla wafers, check the expiration date; fresher wafers retain their buttery crunch. If you can, buy a small pack of high‑quality butter and toast the wafers lightly in a pan—this step adds a subtle caramel note that elevates the entire dish.
🔪 Preparation Techniques
To achieve a lump‑free custard, always whisk the dry ingredients into the milk before heating. When tempering the egg yolks, pour the hot milk slowly and whisk continuously; this creates a smooth emulsion that prevents curdling. Use a silicone spatula for folding the whipped cream into the custard—over‑mixing can deflate the cream and result in a denser texture.
🌡️ Mastering the Cooking Process
Maintain medium heat while thickening the custard; high heat can cause the starch to seize, leading to grainy pockets. Keep a close eye on the mixture; once it begins to coat the back of a spoon, it’s ready. If you notice any lumps, pass the custard through a fine‑mesh sieve before cooling—this ensures a silk‑smooth finish.
🍽️ Presentation & Service
Layering is key to visual appeal. Use clear glass dishes to showcase the alternating layers of custard, banana, and wafer. Sprinkle a pinch of toasted wafer crumbs on top for an elegant finish. Serve chilled, but allow the pudding to sit at room temperature for 5 minutes before plating to soften the texture just enough for a luxurious mouthfeel.
🏆 Pro Tips
Elevate your banana pudding from homemade comfort to restaurant‑quality dessert with these professional insights.
- 🎯 Precise Temperature Control: Use a candy thermometer to keep the custard at 82‑85 °C (180‑185 °F). This narrow range activates the starch fully without breaking down the proteins, resulting in a glossy, stable custard that won’t weep.
- 🎯 Dual‑Stage Whipping: First whip the heavy cream to soft peaks, then gently fold in powdered sugar. Finish by whisking in a splash of vanilla extract. This two‑stage method preserves air bubbles, giving the topping a light, airy texture that balances the dense custard.
- 🎯 Controlled Layer Soaking: Allow the crushed wafers to sit in the custard for exactly 10 minutes before adding the next layer. Over‑soaking can turn them mushy, while under‑soaking leaves a harsh crunch that disrupts the mouthfeel.
- 🎯 Flavor Infusion: Add a pinch of ground cinnamon or nutmeg to the custard for a warm spice undertone. The spice should be added after the custard thickens but before it cools, ensuring the flavor integrates without becoming overpowering.
- 🎯 Textural Contrast: For a surprise element, fold in a handful of toasted coconut flakes into the top whipped cream layer. The coconut adds a tropical nuance and a pleasant chew that complements the banana.
- 🎯 Plate Temperature: Chill serving glasses for at least 30 minutes before plating. A cold vessel helps the pudding stay firm longer, especially in warm climates, and adds a crisp contrast to the creamy interior.
"The secret to a great pudding is patience; let each layer rest and the flavors will sing." — Thomas Keller
🔄 Variations & Adaptations
Banana pudding is a versatile canvas. Below are several creative twists that let you tailor the dish to dietary preferences, flavor cravings, and seasonal themes.
🥬 Vegetarian/Vegan Version
Swap dairy for plant‑based alternatives while preserving the creamy texture. Use almond milk or oat milk in place of whole milk, and replace heavy cream with coconut cream (chilled and whipped). For the egg yolks, blend silken tofu with a tablespoon of maple syrup and a dash of turmeric for color. This version remains luscious, with a subtle coconut aroma that pairs beautifully with bananas.
- Almond milk (480 ml) instead of whole milk.
- Coconut cream (120 ml) whipped with powdered sugar for topping.
- Silken tofu (4 oz) blended with maple syrup as an egg yolk substitute.
🌶️ Flavor Variations
Play with spices, extracts, and complementary fruits to reinvent the classic profile.
Spicy Version:
Add a pinch of cayenne pepper to the custard and garnish with a drizzle of honey‑chili sauce. The heat contrasts the sweet banana, creating an exciting palate experience.
Mediterranean Version:
Incorporate a splash of orange blossom water and garnish with toasted pistachios. The floral note and nutty crunch bring a Mediterranean flair to the dessert.
Asian Fusion Version:
Infuse the custard with a teaspoon of matcha powder and top with toasted sesame seeds. The earthy green tea flavor adds depth, while the sesame adds a subtle nuttiness.
⚠️ Dietary Adaptations
Gluten‑Free:
Replace vanilla wafers with gluten‑free shortbread cookies or almond flour crackers. Ensure any added thickeners are certified gluten‑free.
Lactose‑Free:
Use lactose‑free milk and coconut cream for the topping. The coconut cream adds a tropical richness that pairs well with banana.
Low‑Calorie:
Swap half the whole milk for unsweetened almond milk and use a sugar substitute like stevia for the custard. Reduce the whipped cream portion or replace it with a light Greek yogurt swirl.
👶 Family/Kids Version
Kids love extra sweetness and fun textures. Add a layer of mini chocolate chips between the banana and custard layers, and serve in colorful plastic cups. Reduce the amount of vanilla extract to ½ tsp to keep the flavor mild, and top with a drizzle of chocolate syrup for an extra smile.
📦 Storage & Reheating
🧊 Conservation
Refrigerator:
- Duration: 4 days
- Recommended container: airtight glass or plastic bowl
- Tip: Place a piece of plastic wrap directly on the surface of the custard to avoid skin formation.
Freezer:
- Duration: 2 months
- Method: Portion the pudding into individual freezer‑safe containers, leaving a 1‑cm headspace.
- Defrosting: Transfer to the refrigerator overnight, then let sit at room temperature for 15 minutes before serving.
💡 For best texture, re‑whip the topping after thawing to restore its airy consistency.
♨️ Reheating
🔥 Oven (Recommended):
- Preheat to 150 °C (300 °F).
- Cover the dish with aluminum foil.
- Heat for 10‑12 minutes.
- Remove foil and continue for 2‑3 minutes to lightly crisp the top wafer layer.
⚡ Microwave (Quick):
- Cover with a microwave‑safe lid.
- Heat on medium power for 45 seconds.
- Stir gently and repeat in 15‑second bursts until warmed through.
🍳 Stovetop:
Place the pudding in a saucepan over low heat, stirring constantly until gently warmed. This method is ideal for individual servings.
🍷 Perfect Pairings
🥗 Side Dishes
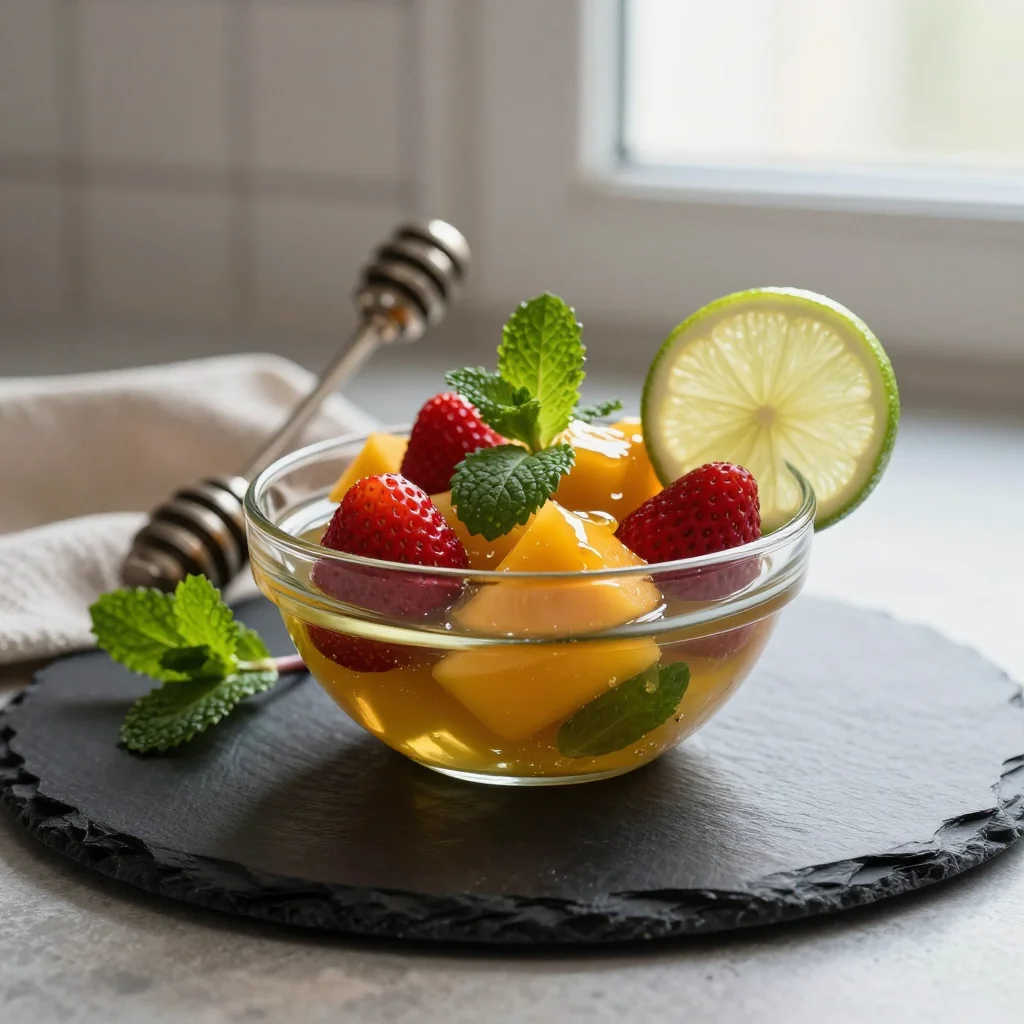
- Fresh Fruit Salad: A mix of berries and citrus adds brightness that cuts through the richness.
- Lightly Sweetened Yogurt Parfait: Layers of Greek yogurt, honey, and granola complement the pudding’s texture.
- Shortbread Cookies: Their buttery crumble offers an additional crunchy element.
🍷 Wine & Beverage Pairings
- Moscato d'Asti: Its low alcohol and floral sweetness echo the banana’s natural sugars.
- Late Harvest Riesling: The honeyed notes enhance the caramelized banana flavor.
- Non‑Alcoholic: Sparkling vanilla‑infused water or a chilled glass of almond milk.
🍰 Complementary Courses
Begin with a crisp mixed greens salad dressed in a light citrus vinaigrette to awaken the palate. Follow the pudding with a simple almond biscotti or a slice of light lemon pound cake for a balanced meal progression.
❓ Frequently Asked Questions
Q: Can I use overripe bananas that are almost black?
A: Absolutely. Overripe bananas intensify the natural sweetness and provide a smoother puree. Just be sure they are not mushy from rot; discard any with off‑flavors.
Q: How do I prevent the custard from curdling?
A: Maintain medium heat, whisk constantly, and never let the mixture reach a rolling boil. Tempering the egg yolks correctly—by slowly adding hot milk while whisking—also safeguards against curdling.
Q: Is it possible to make this pudding ahead of time?
A: Yes. Assemble the pudding up to the point of adding the final whipped cream topping, then cover and refrigerate for up to 24 hours. Add the whipped cream and garnish just before serving for optimal texture.
Q: My wafers turned soggy—what went wrong?
A: If wafers sit in the custard for too long before the final assembly, they absorb excess liquid. Layer the wafers just before the final chilling step, or toast them briefly to add a moisture‑resistant crust.
Q: Can I substitute the milk with a non‑dairy alternative?
A: Yes. Use oat milk or almond milk for a dairy‑free version. For the thickening power, add a tablespoon of arrowroot powder in place of cornstarch if you prefer a gluten‑free thickener.
Q: How long can I keep the pudding frozen without losing quality?
A: The pudding retains its best texture for up to 2 months in the freezer. Beyond that, the wafers may become overly soft, and the custard may develop a grainy texture upon thawing.
🎉 Let’s Get Cooking!
Old Fashioned Banana Pudding with Vanilla Wafers is a celebration of simple ingredients turned into a timeless dessert that feels both nostalgic and sophisticated. The creamy custard, sweet bananas, and buttery crunch of vanilla wafers combine to create a harmony that will win over every palate at your table. Whether you’re preparing it for a holiday gathering, a casual family dinner, or a sophisticated dinner party, this recipe delivers consistent, crowd‑pleasing results.
Remember, the secret lies in patience—allow the pudding to chill and the flavors to meld. Experiment with the variations to make the dish truly yours, and don’t be afraid to add your personal flair. I can’t wait to see how you interpret this classic!
Have you tried this recipe?
Leave a comment and a rating below! Share your photos on Instagram with #BananaPuddingDelight to be featured on our site.
Old Fashioned Banana Pudding with Vanilla Wafers
A classic, creamy dessert layered with sweet bananas and buttery vanilla wafers.
📝 Ingredients
For the Creamy Pudding Base
For the Vanilla Wafer Crunch
For the Topping
👨🍳 Instructions
- 1
Mash the ripe bananas until smooth and set aside.
- 2
Whisk together sugar, cornstarch, and salt in a bowl.
- 3
Heat milk with half the dry mix over medium heat until it begins to thicken.
- 4
Temper egg yolks by slowly adding hot milk mixture while whisking.
- 5
Return yolk mixture to pan, add remaining dry mix, vanilla, and salt; cook until glossy.
- 6
Layer crushed wafers, mashed bananas, and custard in a bowl; repeat.
- 7
Whip heavy cream with powdered sugar to soft peaks; spread over top.
- 8
Cover and refrigerate for at least 2 hours (preferably overnight).
- 9
Before serving, garnish with banana slices and a drizzle of caramel.
- 10
Scoop into bowls, enjoy, and share with loved ones.
🥗 Nutritional Information (per serving)
*Nutritional values are estimates based on standard ingredients.
📚 You Might Also Like
Decadent Chocolate Pudding
Classic Strawberry Shortcake
Southern Peach Cobbler


💬 Comments & Reviews
Leave a Comment
Comments will appear here once readers share their thoughts.