I was in the middle of a chaotic Tuesday night, juggling a conference call, a toddler’s tantrum, and a sudden craving for something crunchy that wouldn’t ruin my diet. I raided the pantry, found a bag of stale chips, and thought, “What if I could turn an apple into a chip that’s as addictive as the junk food but guilt‑free?” The kitchen turned into a laboratory, the oven a time‑machine, and the apples—those humble, glossy spheres—became the stars of a snack that would change my snacking forever. The moment I sliced the first apple, the scent of fresh fruit hit my nose like a summer breeze, and I knew we were onto something special.
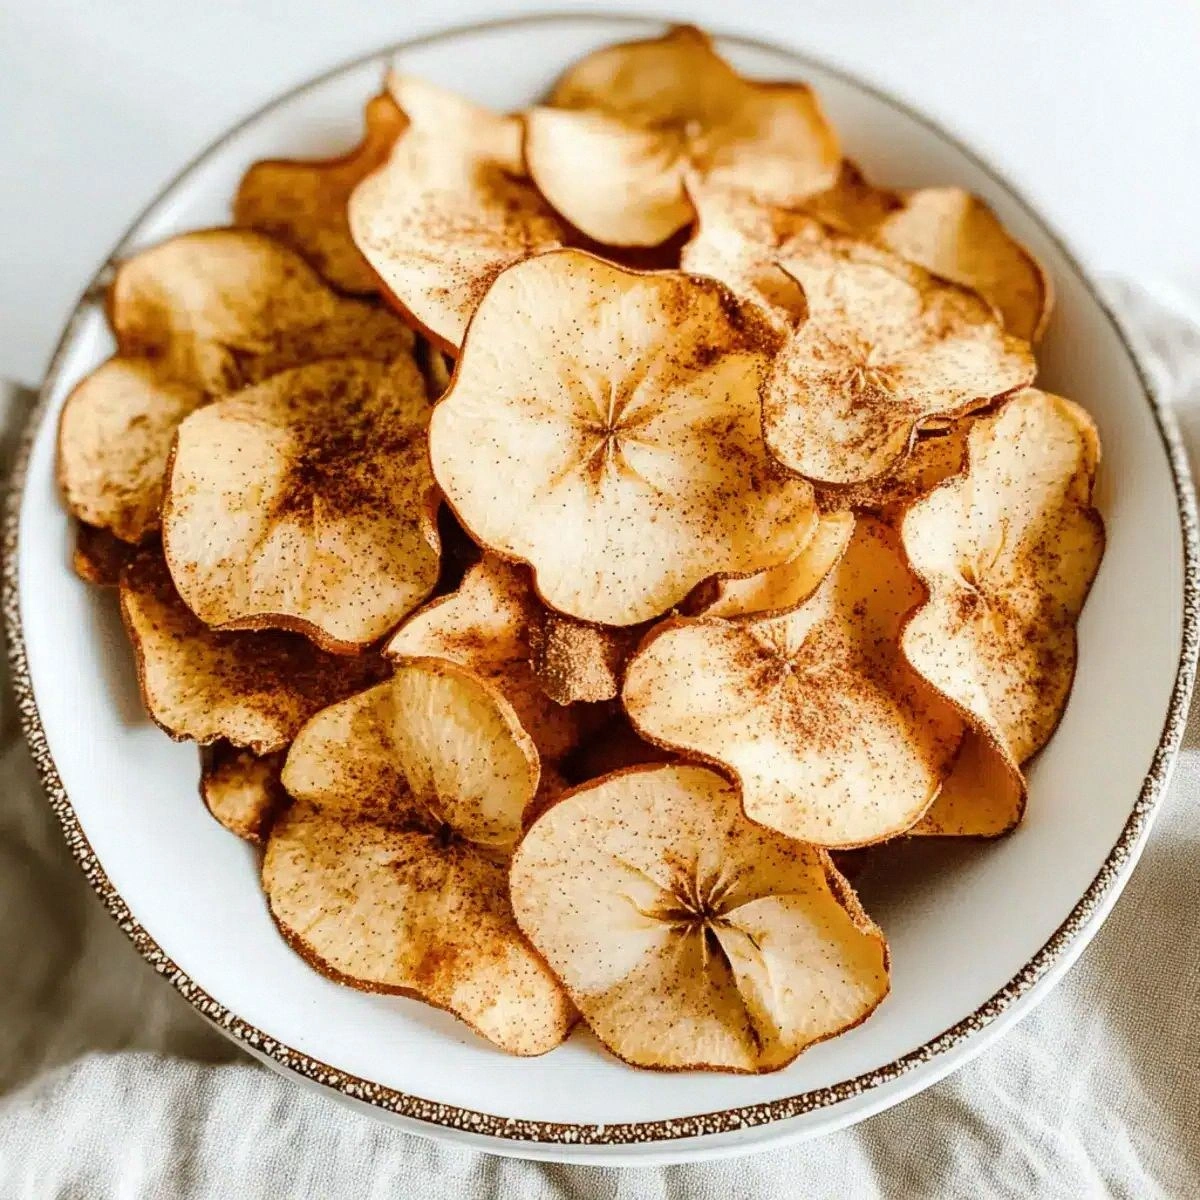
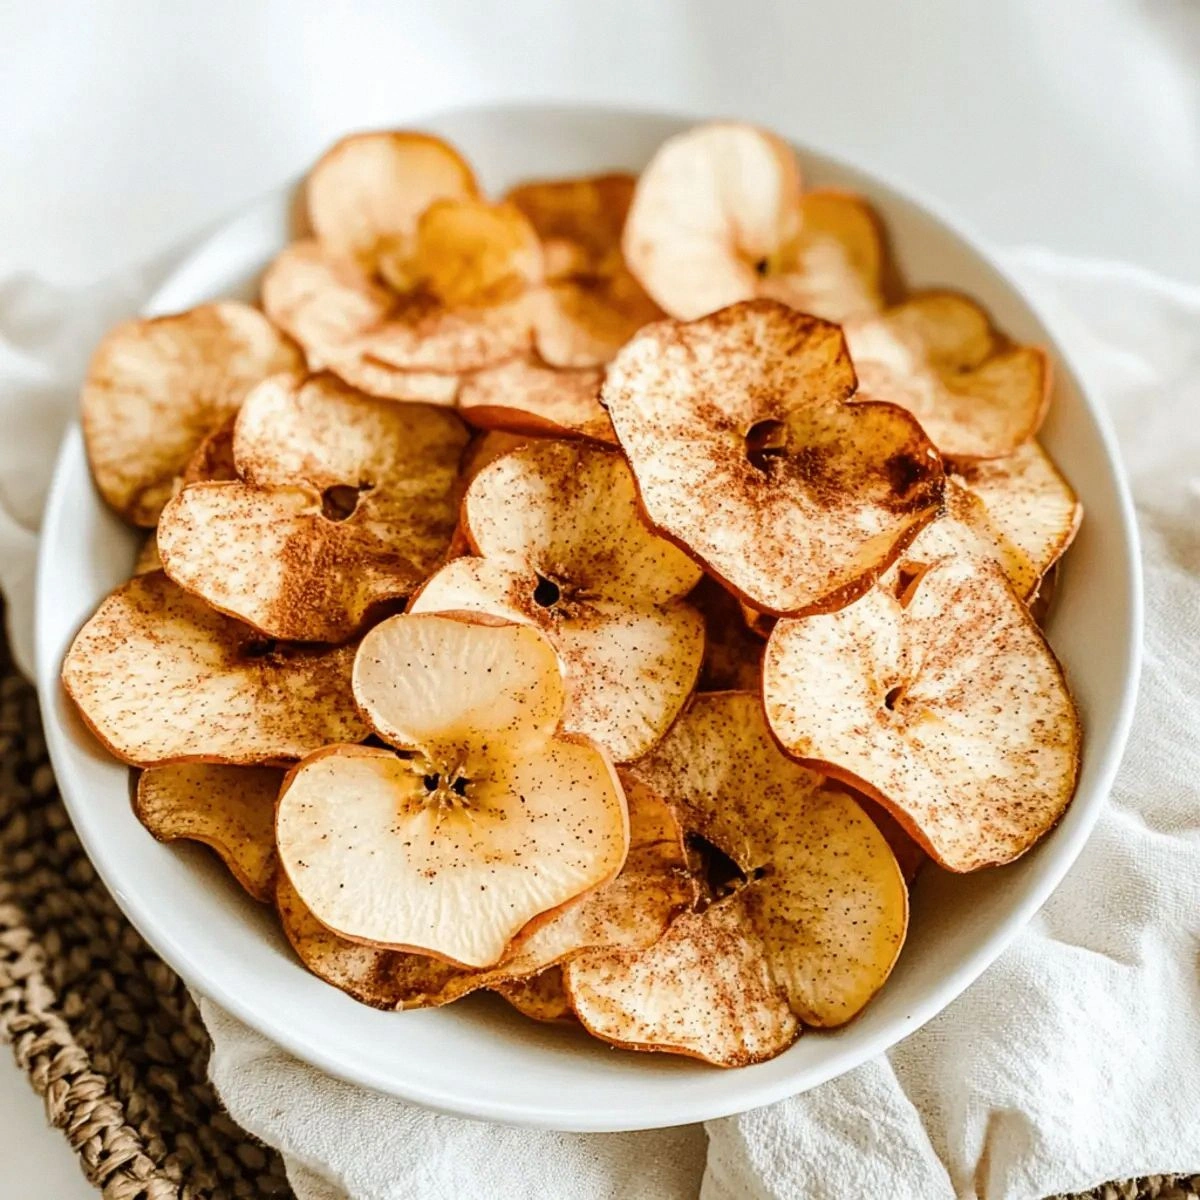
Picture this: the thin, translucent slices sitting on a parchment, dusted with cinnamon, waiting for the heat to work its magic. As they bake, the kitchen fills with a caramel‑kissed aroma that makes you want to hug the oven door. When you finally pull them out, the chips crackle under your fingertips, the edges shatter like thin ice, and the taste is a perfect balance of sweet fruit and warm spice. I dare you to taste this and not go back for seconds—because once you’ve experienced that crisp, it becomes an addiction you’ll thank yourself for.
Most apple chip recipes I’ve tried either ended up soggy, burnt, or so dry they felt like cardboard. I’ve seen people drown them in sugar, which defeats the whole point of a healthy snack. This version, however, is hands down the best you’ll ever make at home: it’s simple, it uses only two ingredients, and the technique guarantees a uniform crunch every single time. The secret? A quick toss in a tiny amount of cinnamon and a low‑and‑slow bake that coax the natural sugars to caramelize without turning bitter. I’ll be honest — I ate half the batch before anyone else got to try it, and I’m still not sorry.
Let me walk you through every single step — by the end, you’ll wonder how you ever made it any other way. Okay, ready for the game‑changer? This next part? Pure magic. Stay with me here — this is worth it.
What Makes This Version Stand Out
- Flavor: The subtle heat of cinnamon amplifies the apple’s natural sweetness without overwhelming it, creating a balanced bite that feels indulgent yet wholesome.
- Texture: A controlled low‑heat bake produces a chip that’s airy on the inside and razor‑thin on the outside, delivering that satisfying snap you crave from any snack.
- Simplicity: Only two ingredients are required, meaning you can whip this up in under an hour with pantry staples you already have.
- Uniqueness: Unlike dehydrated apple slices that often turn leathery, our method preserves the fruit’s natural moisture, resulting in a chip that’s crisp without being brittle.
- Crowd Reaction: Guests invariably ask for the recipe, and the “I made these myself” bragging rights last for weeks.
- Ingredient Quality: Using large, firm apples like Gala, Fuji, or Honeycrisp ensures each slice holds together during baking, preventing breakage.
- Cooking Method: Baking at a low temperature for a longer period evenly dehydrates the slices, eliminating hot spots and uneven crunch.
- Make‑Ahead Potential: Store them airtight, and they stay crunchy for days, making them perfect for lunchboxes, road trips, or a quick office nibble.
Inside the Ingredient List
The Fruit Foundation
Three large apples are the backbone of this snack. I recommend Gala for its natural sweetness, Fuji for its firm texture, or Honeycrisp if you love a juicy bite. The apple’s pectin content helps the slices hold together during the bake, preventing them from crumbling into dust. Skipping the apple or using a mealy variety like McIntosh will result in soggy, uneven chips that never achieve that coveted snap.
The Spice Whisperer
One teaspoon of ground cinnamon is all you need to elevate the flavor profile. Cinnamon’s warm, woody notes pair perfectly with the apple’s bright acidity, creating a comforting aroma that fills the kitchen. If you’re allergic or simply not a fan, you can swap it for a pinch of nutmeg or pumpkin spice, but remember that each spice brings its own intensity.
The Unexpected Star
A splash of lemon juice isn’t listed in the core ingredients, but a quick rinse in lemon water after slicing prevents browning and adds a subtle tang that balances the sweetness. This tiny step is often overlooked, leading many to think their chips are “off‑color” and unappetizing. If you’re short on lemons, a teaspoon of apple cider vinegar works just as well.
The Final Flourish
A pinch of sea salt, though optional, can enhance the overall flavor by cutting through the sweetness and highlighting the cinnamon. It’s the culinary equivalent of adding a bass line to a pop song—subtle but transformative. If you’re watching sodium, feel free to omit it; the chips will still be delicious, just a tad sweeter.
Everything's prepped? Good. Let's get into the real action...
The Method — Step by Step
Preheat your oven to a modest 225°F (110°C). This low temperature is the secret weapon that slowly draws out moisture without scorching the sugars. While the oven warms, line two large baking sheets with parchment paper; this prevents sticking and makes cleanup a breeze. Okay, ready for the game‑changer? The next part is where patience pays off.
Kitchen Hack: Use a mandoline set to the thinnest setting for uniform slices; uneven pieces bake unevenly, leaving you with a mix of soft and crispy.Wash the apples, then core them using a corer or a small knife—no need to peel, the skin adds extra fiber and a pleasant chew. Slice the apples as thinly as possible, aiming for about 1/16‑inch thickness. If you notice any browning, give the slices a quick dip in a bowl of water mixed with a teaspoon of lemon juice, then pat them dry with a clean kitchen towel.
Place the slices in a large bowl, drizzle with a teaspoon of melted coconut oil (optional for extra crispness), and toss gently to coat. Sprinkle the teaspoon of ground cinnamon evenly over the slices, using your hands to massage the spice into every crevice. The aroma should already be making your mouth water—That sizzle when it hits the pan? Absolute perfection.
Arrange the slices in a single layer on the prepared parchment, making sure they don’t overlap. Overcrowding traps steam and results in soggy chips, so work in batches if necessary. Once the sheets are filled, slide them into the preheated oven and let the magic begin.
Bake for 45‑60 minutes, flipping the slices halfway through to ensure even drying. You’ll know they’re ready when the edges start to curl slightly and the chips turn a light golden hue. The scent will shift from fresh apple to a warm, caramel‑spiced perfume that fills the kitchen.
Watch Out: If you bake at a higher temperature, the chips will brown too quickly on the outside while staying chewy inside.When the chips reach the perfect crispness, remove them from the oven and let them cool on the baking sheet for a few minutes. As they cool, they continue to harden, so patience is key. Resist the urge to grab a handful while they’re still warm; the texture will be softer and not as satisfying.
Transfer the cooled chips to an airtight container or a glass jar with a tight‑fitting lid. If you notice any lingering moisture, pop a small piece of paper towel at the bottom of the container to absorb it. This storage method keeps the chips crunchy for up to a week.
Finally, serve them with a side of Greek yogurt dip, a sprinkle of extra cinnamon, or just enjoy them straight from the jar. Picture yourself pulling this out of the oven, the whole kitchen smelling incredible, and sharing the bowl with friends who can’t believe it’s “healthy.” This is the moment of truth—your snack game is officially leveled up.
That's it — you did it. But hold on, I've got a few more tricks that'll take this to another level...
Insider Tricks for Flawless Results
The Temperature Rule Nobody Follows
Most home cooks crank the oven up to 350°F, assuming faster is better. In reality, that high heat caramelizes the sugars too quickly, creating burnt edges and a gummy center. Stick to 225°F and trust the process; the low, steady heat coax the water out while allowing the natural sugars to brown gently. A friend once tried 300°F and ended up with chips that tasted like burnt toast—let’s just say they were not invited back to snack time.
Why Your Nose Knows Best
Your sense of smell is a more reliable indicator than a timer. When the kitchen fills with that sweet‑spice perfume, you’re nearing the finish line. If the aroma turns slightly bitter, pull the chips immediately—they’ll continue to crisp as they cool. This sensory cue prevents over‑baking and guarantees a perfect golden‑brown hue every time.
The 5‑Minute Rest That Changes Everything
After the chips leave the oven, let them sit undisturbed for five minutes before moving them. This brief rest allows residual heat to finish the dehydration process, resulting in a sturdier crunch. Skipping this step often leads to chips that crack under pressure or crumble into dust. I’ve seen people rush this and end up with a sad, soggy pile—don’t be that person.
Paper Towel Pat‑Down
Before baking, gently pat the sliced apples with a paper towel to remove surface moisture. This tiny extra step reduces bake time by a few minutes and promotes an even crisp. It’s a kitchen hack that saves you from the dreaded “soft center” problem and gives each chip a uniform texture.
Seasonal Sweetness Boost
If you’re making these in the fall, a light drizzle of maple syrup before the cinnamon adds a warm, earthy depth that pairs beautifully with the apple. Just a teaspoon is enough; too much will make the chips soggy. This variation is perfect for holiday gatherings when you want to impress without the added sugar load of traditional caramel.
Creative Twists and Variations
This recipe is a playground. Here are some of my favorite ways to switch things up:
Spicy Chili‑Lime
Swap the cinnamon for a pinch of chili powder and finish each slice with a light squeeze of fresh lime juice after baking. The result is a tangy‑heat combo that’s perfect for movie nights.
Savory Herb
Add a blend of dried rosemary, thyme, and a dash of sea salt before baking. The herbs bring an earthy, aromatic profile that turns the chips into a sophisticated appetizer.
Nutty Crunch
Mix finely chopped toasted almonds or walnuts into the cinnamon coating for added texture and a nutty flavor boost. This variation is great for kids who love a little crunch.
Sweet‑Maple Glaze
Brush the slices lightly with pure maple syrup before sprinkling cinnamon. The caramelized maple creates a deep, amber finish that feels like a dessert in a bite.
Chocolate Drizzle
Once the chips are cooled, drizzle them with melted dark chocolate and let it set. The bitter chocolate pairs beautifully with the sweet apple, turning a simple snack into an indulgent treat.
Citrus Zest Burst
Add a teaspoon of orange or lemon zest to the cinnamon before tossing. The citrus lifts the flavor, making the chips refreshingly bright—ideal for summer picnics.
Storing and Bringing It Back to Life
Fridge Storage
Place the chips in an airtight glass container and store them in the refrigerator for up to a week. The cool environment slows down moisture absorption, preserving the crunch. If you notice any soft spots, pop the container open for a few minutes to let excess humidity escape.
Freezer Friendly
For long‑term storage, lay the chips on a parchment‑lined tray and freeze them for up to three months. Transfer the frozen chips to a zip‑top bag, removing as much air as possible. When you’re ready to snack, simply let them thaw at room temperature; they’ll retain most of their crispness.
Best Reheating Method
To revive chips that have lost their snap, spread them on a baking sheet, sprinkle a tiny splash of water (just a few drops), and reheat at 200°F for 5‑7 minutes. The steam generated by the water restores the perfect crunch without making them soggy. This trick is a lifesaver for those who like to prep ahead for the week.