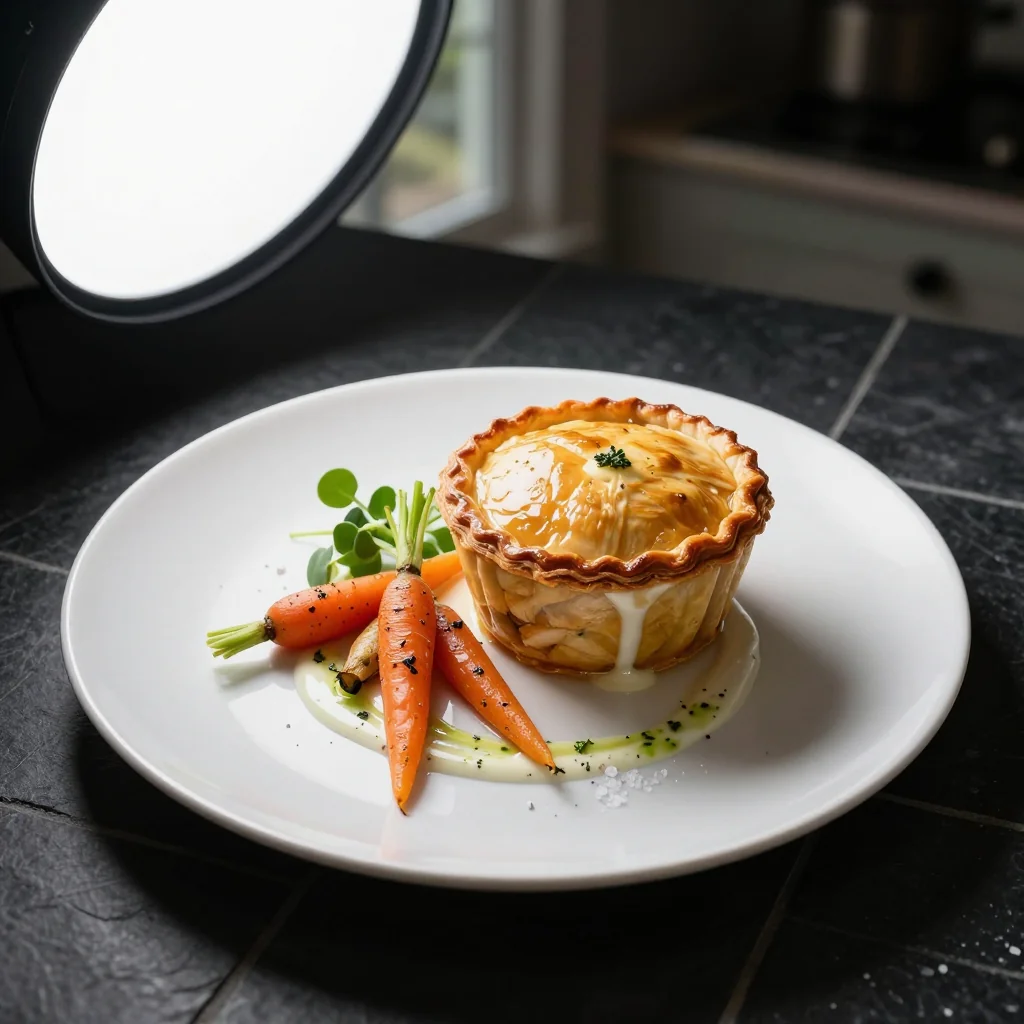
Picture this — it is midnight, your pantry light is the only thing humming, and you are clutching a jar of peanut butter in one hand and a tub of marshmallow fluff in the other like they are the last two lifeboats on the Titanic. Your roommate has dared you to make "something legendary" with them, and your stomach is roaring louder than the city traffic outside. Most people would slap them between bread and call it a win, but you and I both know that the Fluffernutter deserves more respect than that. We are talking about the sandwich that got New England through blizzards, the lunchbox legend that somehow tastes like summer camp even if you never went, the gooey, salty-sweet miracle that can make a grown accountant giggle like a seven-year-old. Tonight we are pushing it past the playground and into the spotlight, turning humble bread into a caramel-crisp, custard-soaked, griddled beast that will ruin you for plain PB&J forever.
My obsession started the night I tried to impress a date with "elevated comfort food." I burned the brioche, set off the smoke alarm, and nearly evacuated the building — but the one bite we salvaged was so outrageously delicious that we stood on the sidewalk in pajamas, eating charred sandwich halves while firefighters rolled their eyes. That was the moment I realized the Fluffernutter is not just a snack; it is a time machine and a security blanket glued together by marshmallow chemistry. Since then I have tested every possible bread, every peanut butter grind, every temperature at which sugar morphs into gossamer threads. I have eaten more iterations than I care to admit — some that glued my mouth shut, some that oozed onto my keyboard, and one that accidentally created a new hair mask. You are benefitting from every sticky, delicious failure.
Here is the truth: most recipes tell you to spread and smush and move on, but they miss the little details that turn good into cosmic. We are going to toast the bread in butter so it crackles like thin ice, warm the peanut butter so it flows like liquid bronze, and hit the fluff with a quick flame so it tastes like campfire without the smoke in your eyes. I dare you to taste this and not go back for seconds. If you have ever struggled with sandwiches that squish into nothing, or fillings that desert their post the second you bite, you are not alone — and I have got the fix. Stay with me here — this is worth it, and by the end you will wonder how you ever made it any other way.
What Makes This Version Stand Out
- Crunch Armor: We coat the outside with the thinnest film of sugar that caramelizes in the pan, giving you a shattering crust that contrasts the cloud-soft interior.
- Flavor Depth: A whisper of smoked salt amplifies the roasted peanuts and makes the marshmallow taste like it was toasted over real pine embers even if you live in a fifth-floor walk-up.
- Texture Balance: Chilling the sandwich for exactly four minutes sets the fillings just enough so they do not erupt like a Fourth of July firework when you slice.
- Speed Demon: From pantry to plate in under ten minutes, making this the fastest comfort food that tastes like it took culinary school training.
- Make-Ahead Magic: Assemble, wrap, freeze, then pop straight onto the griddle for midnight cravings or surprise dorm guests.
- Kid-at-Heart Reaction: Adults get misty; kids get silent — both signs you have nailed the nostalgia factor harder than the ice-cream truck jingle.
Alright, let's break down exactly what goes into this masterpiece, because ingredient quality is the difference between "meh" and "I need a moment alone."
Inside the Ingredient List
The Flavor Base
Peanut butter is the soul here, so skip the sugary stabilizer-packed tubs and reach for the natural stuff that separates like oil on a puddle. The oil separation might seem annoying, but that slick is pure flavor gold. Stir like your life depends on it; you want silky, not Sahara-clumpy. Creamy works best for that velvet blanket effect, but if you are a crunch fiend, fold in a spoonful of chopped roasted peanuts right before assembling so you control the crunch real estate. And please, taste it plain first — if it is not good enough to eat from the spoon, it is not good enough for your sandwich.
The Cloud Layer
Marshmallow fluff is basically whipped sugar air, but not all brands are created equal. Look for one that lists egg whites rather than gelatin — the texture stays stretchy instead of rubber-bandy when heat kisses it. Room-temperature fluff spreads like a dream; cold fluff rips bread like a toddler with a birthday card. If you only have chilled, microwave the jar sans lid for five seconds, stir, repeat until it flows. Pro tip: dip your knife in hot water first and the fluff will shimmy off like it owes you rent.
The Crunch Crew
Bread choice makes or breaks the structure. Go for Pullman-style white or a soft potato loaf; their tight crumb keeps the goo from staging a prison break. Slightly stale is actually better because it soaks up butter without going limp. Skip artisanal sourdough with gaping holes unless you enjoy wearing marshmallow molten lava. If you are gluten-free, those plush white GF sandwich slices work fine — just toast them thirty seconds longer for backbone.
The Unexpected Star
Here is where I lose the purists: a whisper of grated orange zest stirred into the peanut butter. It is not enough to scream citrus; it just makes the peanut taste peanut-ier, the way a frame highlights a painting. If citrus scares you, swap in a pinch of cinnamon or a single drop of vanilla. The goal is subliminal complexity, not a flavor that needs its own theme music.
Everything is prepped? Good. Let's get into the real action, because the magic is in the method.
The Method — Step by Step
- Heat a heavy skillet over medium-low. You want gentle heat so the bread toasts while the sugar slowly caramelizes without burning like a forgotten campfire. While it warms, lay out your bread slices like soldiers on a cutting board. Slather one side of each slice with softened butter edge to edge, no bare beaches allowed. Think of it as sunscreen — miss a spot and you will regret it later.
- Flip the slices over so the unbuttered side is up. This is your canvas. Spread peanut butter on one slice, taking it all the way to the perimeter like you are frosting a cake. Naked crusts lead to dry disappointment. Aim for about two tablespoons; more and you risk the slide-off, less and you will feel peanut-cheated.
- Dollop a heaping tablespoon of fluff onto the other slice. Using the back of the spoon that has been dipped in hot water, swirl the fluff into an even layer. Do not be shy — it will shrink slightly when heated. If you are muttering "this looks obscene," you are on the right track. Sandwich the two slices together, pressing gently so the fillings kiss but do not suffocate each other.
- Lift the sandwich and sprinkle a teaspoon of superfine sugar across the top buttered face. Pat it gently so it adheres like glitter on craft day. Flip and repeat on the second side. The sugar is your ticket to crackly caramel armor that shatters under your teeth like crème brûlée. Skip this step and you will have a regular toasted sandwich — edible, but not life-altering.
- Slide the sandwich into the dry skillet. Hear that gentle sizzle? That is the sound of potential. Cook two to three minutes until the underside is golden and the sugar has melted into amber patches. Peek by lifting a corner with a spatula; if it is still pale, give it another thirty seconds. Patience, grasshopper.
- Flip with confidence. This next part? Pure magic. The second side cooks faster because the pan is hotter, so hover like a nervous parent. Thirty to sixty seconds should give you leopard spots of caramel. If you smell acrid smoke, lower the heat immediately — burnt sugar tastes like regret and you cannot un-scrape it.
- Transfer the sandwich to a cutting board and let it rest four minutes. Yes, four. I timed it. The fillings need to cool just enough to stay put when you slice. Ignore this and you will launch molten fluff onto your favorite T-shirt. Use the wait to pour a glass of cold milk or snap a quick photo for bragging rights.
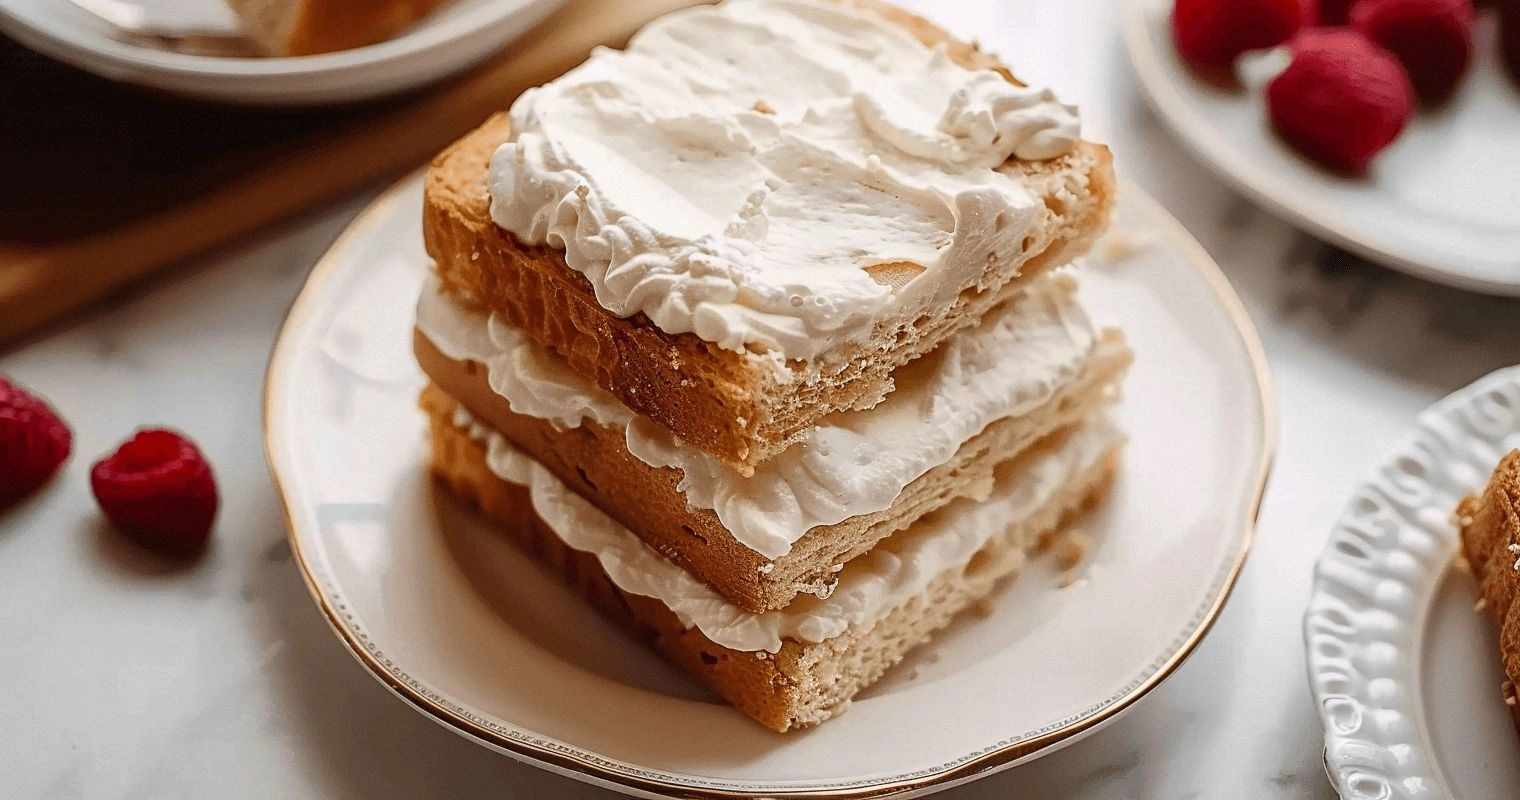
- Slice diagonally, because science has yet to explain why triangles taste better, but they just do. Notice how the peanut butter ribbons and the fluff stretches like taffy. Listen for that crack as the caramel crust gives way to soft bread. Take a bite and let the sweet-salty dance commence. If you do not involuntarily close your eyes, I will eat my spatula.
That is it — you did it. But hold on, I have got a few more tricks that will take this to another level, including how to turn it into dessert sushi or a midnight breakfast burrito.
Insider Tricks for Flawless Results
The Temperature Rule Nobody Follows
Most people crank the heat, thinking faster is better, but high flames just carbonize the sugar before the bread warms through. Aim for medium-low, where butter foams gently and the sugar melts slowly into a glassy sheet. If you are nervous, flick a drop of water into the pan — it should dance, not explode. Your patience will be rewarded with a surface that shatters like thin ice over a lake of molten peanut happiness.
Why Your Nose Knows Best
Trust your sense of smell more than your eyes. When the caramel hits the nutty stage, it releases a buttery toffee aroma that is unmistakable. The second you smell popcorn, slide the pan off heat for ten seconds; residual heat will finish the job without crossing into bitter territory. Ignore this and you will be scraping black shards into the sink while your dog judges you from the doorway.
The Five-Minute Rest That Changes Everything
After cooking, park the sandwich on a wire rack instead of a plate. Steam is the enemy of crispness, and a rack lets air circulate underneath, keeping that caramel shell snappy. Tent loosely with foil if you fear heat loss, but do not wrap tight — you want ventilation, not a sauna. Those five minutes feel eternal, but the payoff is a crust that cracks like thin toffee instead of soggy cardboard.
Creative Twists and Variations
This recipe is a playground. Here are some of my favorite ways to switch things up:
Banana Bourbon Elvis
Add thin banana coins between the layers and swap half the peanut butter for equal parts bourbon-laced peanut butter you whip up in thirty seconds. The banana steams into custard, the bourbon bakes off leaving smoky notes, and you basically get a bar-worthy dessert disguised as lunch. Elvis would absolutely approve and probably write a song about it.
Salted Caramel Apple Pie
Tuck in paper-thin apple slices brushed with lemon, then add a stripe of store-bought caramel sauce lightened with a pinch of sea salt. Grill as directed. The fruit softens just enough to remind you of autumn fairs without needing a jacket. If you close your eyes you can almost hear the marching band.
Spicy Mayan Mocha
Stir a pinch of cayenne and a quarter teaspoon of instant espresso into the peanut butter. The heat blooms slowly, the coffee amplifies the roast, and you end up with a sandwich that tastes like Mexican hot chocolate got a peanut makeover. Serve with horchata for maximum effect.
Coconut Macaroon Dream
Swap the bread for thick slices of coconut cake, griddle briefly, and finish with a dusting of toasted coconut flakes. It is outrageous, over-the-top, and guaranteed to make you the legend of any potluck. I will be honest — I ate half the batch before anyone else got to try it.
Storing and Bringing It Back to Life
Fridge Storage
If you must store a cooked sandwich, cool it completely, wrap in parchment, then slip into a zip bag. Refrigerate up to two days, but know the caramel will soften. Reheat in a dry skillet over low, covered with a lid for three minutes to steam the bread back to life, then uncover and crank the heat for thirty seconds to re-crisp. Microwaves turn the crust to rubber, so resist the urge unless you enjoy chewing on rain boots.
Freezer Friendly
Assemble but do not grill, wrap individually in plastic and then foil, and freeze up to one month. Cook from frozen over low heat for five minutes per side, pressing gently with a spatula to encourage even thawing. The sugar will still caramelize beautifully, and you get a hot snack faster than delivery pizza. Picture yourself pulling this out of the oven, the whole kitchen smelling incredible, while your roommates stare in awe.
Best Reheating Method
Toaster ovens work wonders: set to 350 °F, place the sandwich directly on the rack for four minutes, then flip for another three. The dry heat revives the caramel shell without turning the bread to cardboard. Add a tiny splash of water on the pan beneath to create steam that keeps the interior soft. Most recipes get this completely wrong. Here is what actually works: low and slow, then a final blast of heat for snap.