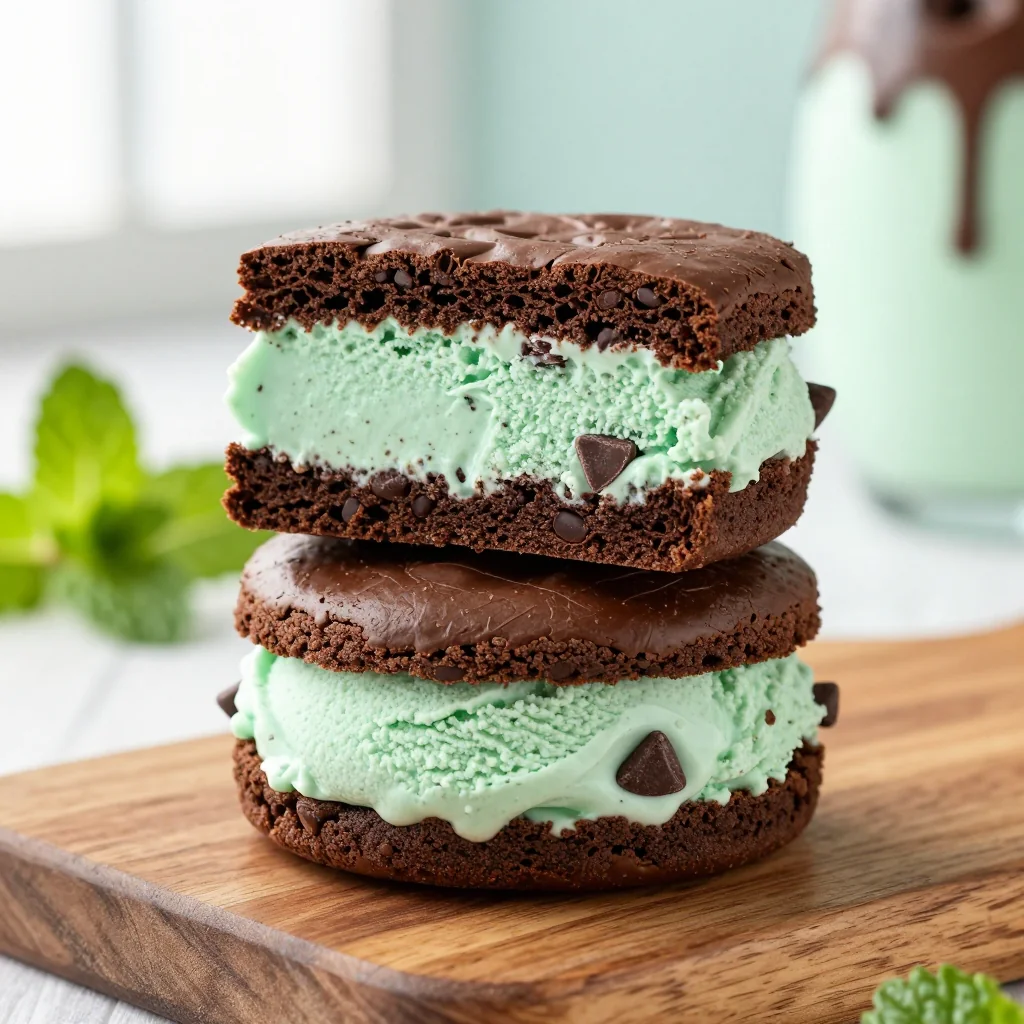
A cool, indulgent twist on classic brownies that brings together minty ice cream and fudgy chocolate layers in a handheld delight.
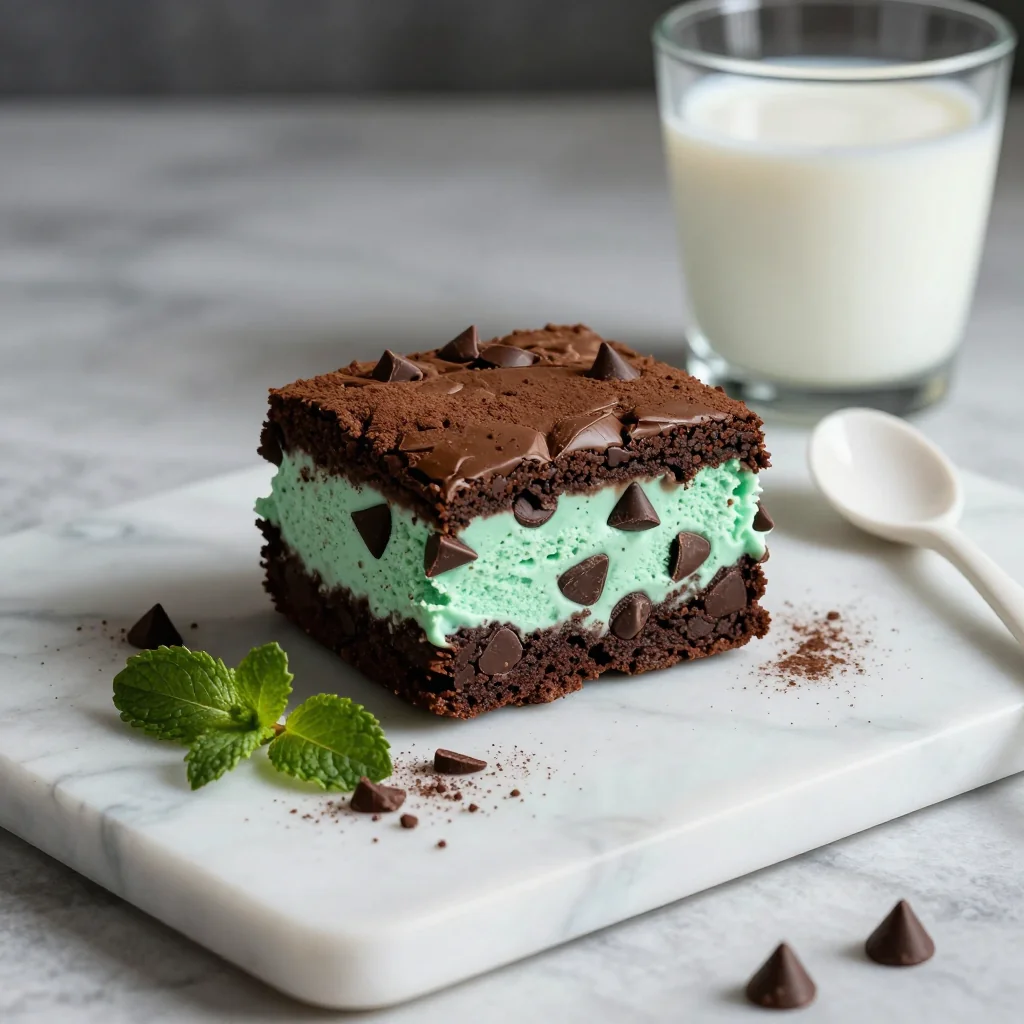
Imagine a warm summer evening when the air is scented with fresh mint and rich chocolate. I first tasted a mint‑chocolate ice cream sandwich at a street market in Barcelona, and the memory of that cool, creamy bite paired with a fudgy brownie has stayed with me ever since. The contrast between the crisp, slightly toasted brownie edges and the silky, mint‑infused ice cream creates a sensation that feels both nostalgic and exciting.
This dessert bridges the gap between classic comfort food and a sophisticated, palate‑pleasing treat. While brownies are a staple of home baking, adding a layer of mint chocolate chip ice cream elevates them into a restaurant‑quality indulgence that’s perfect for any celebration or simply a sweet pick‑me‑up.
In this article, I’ll walk you through every step—from creating a glossy, chewy brownie base to churn‑perfect mint chocolate chip ice cream, and finally assembling the sandwiches with precision. You’ll learn why each ingredient matters, how to avoid common pitfalls, and the little tricks that guarantee a flawless result every time.
Ready to impress your friends, family, or even just yourself? Let’s dive into the world of mint‑chocolate bliss and craft a dessert that will become the star of your next gathering.
🌟 Why This Recipe Will Captivate You
From the first bite to the lingering aftertaste, this sandwich balances cool mint, crunchy chocolate chips, and deep‑flavored brownie in a way that’s both comforting and exhilarating.
- ✨ Irresistible Flavor Fusion: The refreshing peppermint ice cream cuts through the richness of the brownie, creating a balanced palate that keeps you reaching for more.
- ✨ Textural Contrast: Each sandwich offers a crisp outer brownie, a creamy interior, and occasional snap from chocolate chips, delivering a multi‑dimensional mouthfeel.
- ✨ Easy to Customize: Swap the mint extract for almond or orange, or replace dark chocolate chips with white chocolate for a new flavor profile without altering the core technique.
- ✨ Crowd‑Pleasing Presentation: The sandwich format is portable, making it ideal for parties, picnics, or a stylish dessert bar.
- ✨ Made from Scratch: Crafting the ice cream yourself guarantees a fresher taste, smoother texture, and control over sugar levels.
- ✨ Freezable for Later: You can assemble the sandwiches ahead of time and freeze them, allowing you to serve a perfectly chilled treat on demand.
🥗 The Ingredients
📝 Complete Ingredient List
For the Brownie Base:
For the Mint Chocolate Chip Ice Cream:
For Assembly:
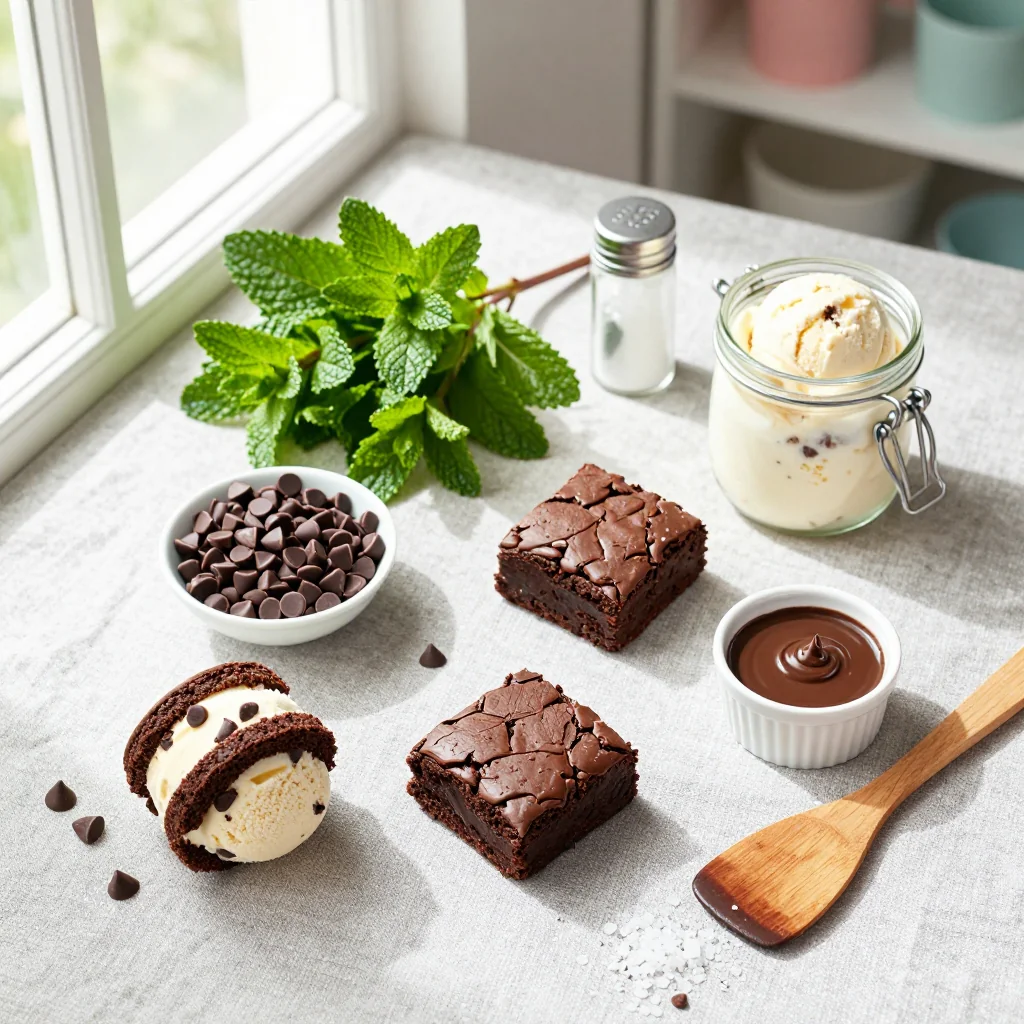
🔍 Focus on Key Ingredients
Dark Chocolate (70% cacao)
This chocolate provides the deep, slightly bitter backbone that balances the sweetness of the sugar and the minty ice cream. Look for a bar that snaps cleanly when broken; that indicates high cocoa butter content, which yields a glossy, fudgy brownie.
Peppermint Extract
Pure peppermint extract delivers a bright, aromatic mint flavor without the grainy texture of crushed mint leaves. A little goes a long way, so start with one teaspoon, taste, and add a half‑teaspoon more if you crave extra intensity.
Dark Chocolate Chips
These chips stay semi‑solid when frozen, offering delightful crunch in each bite. Choose chips that are at least 60% cacao; they won’t melt completely into the ice cream, preserving that satisfying snap.
🔄 Quick Substitutions
| If you don’t have... | Use instead... |
|---|---|
| Dark chocolate (70% cacao) | Bittersweet chocolate (60% cacao) |
| Peppermint extract | Fresh mint leaves (finely chopped) – use 2 tbsp |
| Heavy cream | Coconut cream (for dairy‑free) |
👨🍳 Step‑by‑Step Instructions
Follow these detailed phases to create a flawless batch of mint chocolate chip brownie ice cream sandwiches that will impress even the most discerning sweet tooth.
📋 Phase 1: Preparation & Mise en Place
Gather all tools, pre‑heat the oven, and set up a double‑boiler for the custard base.
Prepare the Baking Pan
Line an 8×8‑inch square pan with parchment paper, allowing excess to hang over the edges for easy removal later. Lightly butter the parchment to prevent the brownies from sticking.
Melt Chocolate and Butter
In a heat‑proof bowl, combine the chopped dark chocolate and butter. Place the bowl over a pot of simmering water, ensuring the bottom does not touch the water. Stir gently until both melt into a glossy mixture, then remove from heat and let cool slightly.
🔥 Phase 2: Baking & Ice Cream Preparation
Create the brownie batter, bake it, and simultaneously prepare the mint ice cream custard.
Combine Dry Ingredients
Sift together flour, cocoa powder, and a pinch of salt into a medium bowl. This ensures no lumps and distributes the cocoa evenly throughout the batter.
Incorporate Wet Ingredients
Whisk the sugar into the cooled chocolate‑butter mixture. Add eggs one at a time, whisking after each addition to create a glossy emulsion. Finally, stir in vanilla extract.
Finish the Brownie Batter
Gradually fold the dry ingredient mixture into the wet mixture using a rubber spatula. Mix just until combined; over‑mixing will incorporate too much air and produce a lighter texture.
Bake the Brownies
Pour the batter into the prepared pan, spreading it evenly. Bake at 180°C (350°F) for 20‑22 minutes. The edges should look set while the center remains slightly soft—this is the hallmark of a fudgy brownie.
Prepare the Ice Cream Custard
In a saucepan, combine milk and half of the cream. Heat over medium until just below boiling. In a separate bowl, whisk together egg yolks, sugar, and peppermint extract until pale. Temper the yolks by slowly adding a ladle of hot milk mixture while whisking constantly. Return the mixture to the saucepan and cook, stirring constantly, until it coats the back of a spoon (about 82°C/180°F).
Churn the Ice Cream
Remove the custard from heat, stir in the remaining cream, and let it cool to room temperature. Once cooled, fold in the dark chocolate chips. Transfer to an ice‑cream maker and churn according to the manufacturer’s instructions (usually 20‑25 minutes). If you don’t have a machine, place the mixture in a shallow container, freeze, and stir every 30 minutes for 3‑4 hours.
✨ Phase 3: Finishing & Plating
Cool the brownies, assemble the sandwiches, and add the final decorative touches.
Cool and Cut the Brownies
Allow the brownies to cool completely in the pan, then lift them out using the parchment overhang. Place on a cutting board and cut into eight equal squares. Each square will become one side of a sandwich.
Assemble the Sandwiches
Using a large ice‑cream scoop, place a generous scoop of mint chocolate chip ice cream onto the flat side of a brownie square. Top with a second brownie square, pressing gently to spread the ice cream to the edges. For a cleaner look, dip the sandwich edges briefly in melted chocolate and sprinkle with extra chips.
Freeze for Set
Arrange the assembled sandwiches on a parchment‑lined tray and freeze for at least 30 minutes. This firms the ice cream, making the sandwiches easier to handle and eat.
Serve and Enjoy
Remove the sandwiches from the freezer, let sit for 2‑3 minutes to soften slightly, then serve on a decorative platter. Garnish with fresh mint leaves for a pop of color and aroma.
💡 Expert Tips & Tricks
🛒 Choosing the Right Ingredients
Invest in high‑quality chocolate with at least 70% cacao; it provides a deep flavor and a glossy finish. For peppermint, use a pure extract rather than imitation flavorings, which can taste artificial. When buying cream, look for a fat content of 35% or higher to ensure a rich, velvety ice cream.
🔪 Preparation Techniques
When melting chocolate, avoid direct heat to prevent scorching. A double‑boiler gives gentle, even heat. For the brownie batter, fold the dry ingredients with a light hand to keep the texture dense and fudgy. Use a kitchen scale for precise measurements—baking is a science.
🌡️ Mastering the Cooking
Monitor the brownie’s interior with a toothpick; it should come out with a few moist crumbs, not clean. For the custard, use a thermometer to avoid curdling. The ideal temperature is 82°C (180°F); any higher and the eggs will scramble.
🍽️ Presentation & Service
Dust the finished sandwiches with a light dusting of cocoa powder or powdered sugar for visual contrast. Serve on a chilled plate to keep the ice cream firm longer. Pair with a glass of cold milk or a light sparkling rosé for an elegant touch.
🏆 Pro Tips
These insider secrets separate a good dessert from a show‑stopping masterpiece.
- 🎯 Temperature‑Controlled Churning: Churn the ice cream at a slightly lower temperature than the machine’s default to create smaller ice crystals, resulting in a smoother texture.
- 🎯 Layered Cooling: Cool the brownie slab on a wire rack before cutting. This prevents steam from making the brownies soggy and makes slicing cleaner.
- 🎯 Chocolate Chip Distribution: Toss the chips with a teaspoon of melted chocolate before folding them into the ice cream. This prevents them from sinking to the bottom during freezing.
- 🎯 Portion Precision: Use a kitchen scale to portion each brownie square (approximately 70 g each) for consistent sandwich size and nutritional calculation.
- 🎯 Edge Sealing: Dip the sandwich edges in tempered chocolate and freeze immediately. The chocolate hardens quickly, sealing the ice cream and adding a crunchy rim.
- 🎯 Freeze‑Before‑Serve: After assembling, freeze the sandwiches for at least 30 minutes. This step is crucial to prevent the ice cream from melting when you bite into the sandwich.
"Dessert is the most important meal of the day when it’s crafted with love and precision." — Chef Dominique Crenn
🔄 Variations & Adaptations
The core concept of a brownie‑ice‑cream sandwich is versatile. Feel free to experiment with flavors, dietary needs, and presentation styles.
🥬 Vegetarian/Vegan Version
Replace the eggs with 3 flax eggs (1 tbsp ground flax + 2.5 tbsp water each) and use a plant‑based butter. Swap dairy milk and cream for oat milk and coconut cream. Choose dairy‑free dark chocolate chips to keep the recipe fully vegan.
- Flax eggs provide binding without compromising texture.
- Coconut cream adds richness while keeping the ice cream creamy.
🌶️ Flavor Variations
Play with the mint base or add complementary flavors to keep the sandwich fresh for repeated servings.
Spicy Chili‑Mint Version:
Add ¼ tsp cayenne pepper to the ice‑cream custard for a subtle heat that balances the cool mint.
Mediterranean Olive‑Olive Oil Brownie:
Replace half the butter with extra‑virgin olive oil and add a pinch of rosemary for an unexpected savory note.
Asian Matcha‑Mint Fusion:
Infuse the milk with 1 tbsp matcha powder before making the custard, and garnish with toasted sesame seeds.
⚠️ Dietary Adaptations
Gluten‑Free:
Swap all‑purpose flour for an equal amount of almond flour or a certified gluten‑free blend. The brownies will be slightly denser but still delicious.
Lactose‑Free:
Use lactose‑free milk and cream, or substitute with almond milk and coconut cream. Ensure the chocolate chips are dairy‑free.
Low‑Calorie:
Reduce sugar in the brownie by 30 % and use a low‑fat milk alternative. Replace half the dark chocolate chips with cacao nibs for a lower‑calorie crunch.
👶 Kid‑Friendly Version
Kids often love the combination of chocolate and mint but may find the mint flavor too strong. Reduce the peppermint extract to ½ tsp and add a swirl of vanilla bean ice cream for a milder taste. Cut the sandwiches into smaller, bite‑size squares for tiny hands.
📦 Storage & Reheating
🧊 Conservation
Refrigerator:
- Duration: Up to 3 days (ice cream will soften).
- Recommended container: Airtight plastic container.
- Tip: Place a sheet of parchment between layers to prevent sticking.
Freezer:
- Duration: Up to 2 months.
- Method: Wrap each sandwich individually in plastic wrap, then place in a freezer‑safe zip‑lock bag.
- Defrosting: Transfer to the refrigerator for 30 minutes before serving.
💡 For optimal texture, avoid thawing completely; a brief chill maintains the contrast between soft ice cream and firm brownie.
♨️ Reheating
🔥 Oven (Recommended):
- Preheat to 150°C (300°F).
- Wrap each sandwich in foil to protect the ice cream.
- Heat for 5‑7 minutes until the brownie edges are warm.
- Remove foil and bake an additional 2 minutes for a crisp exterior.
⚡ Microwave (Quick):
- Place sandwich on a microwave‑safe plate.
- Heat on medium power for 15‑20 seconds.
- Check and add 5‑second bursts until the brownie is warm but ice cream not melted.
🍳 Pan‑Sear:
Heat a non‑stick skillet over medium‑low heat, place the sandwich seam‑side down, and press gently for 30 seconds to toast the brownie while keeping the ice cream intact.
🍷 Perfect Pairings
🥗 Side Dishes
- Fresh Berry Salad: A mix of strawberries, blueberries, and mint leaves adds acidity that cuts through the richness.
- Light Citrus Sorbet: Serves as a palate cleanser between bites.
- Caramelized Banana Slices: Adds a warm, sweet contrast.
🍷 Wine & Beverage Pairings
- Late Harvest Riesling: Its sweetness balances the mint while its acidity lifts the chocolate.
- Port Wine (Tawny): The nutty notes complement the dark chocolate.
- Non‑Alcoholic: Sparkling mint lemonade offers a refreshing, complementary fizz.
🍰 Complementary Courses
Start with a light citrus‑based appetizer such as a grapefruit and avocado salad, follow the sandwich with a small serving of espresso‑infused panna cotta, and finish with a crisp almond biscotti for texture.
❓ Frequently Asked Questions
Q: Can I use store‑bought mint chocolate chip ice cream instead of making it from scratch?
Yes, you can substitute with a high‑quality store‑bought version. Choose a brand that uses real peppermint extract and contains generous chocolate chips. Keep in mind that homemade ice cream offers a smoother texture and allows you to control sugar levels.
Q: How do I prevent the ice cream from melting while assembling?
Work in a cool kitchen, and keep the brownie squares in the freezer until just before assembly. Scoop the ice cream onto a chilled metal spoon or ice‑cream scoop, and immediately press the second brownie on top. If the ice cream softens too quickly, return the sandwich to the freezer for a minute before continuing.
Q: What if my brownies turn out too cakey?
Over‑mixing the batter or using too much flour can cause a cakey texture. Ensure you fold the dry ingredients gently and measure flour by weight. Also, avoid over‑baking; the brownies should still look slightly shiny in the center.
Q: Is there a way to make the brownies gluten‑free without affecting taste?
Replace the all‑purpose flour with a 1:1 gluten‑free flour blend or almond flour. Almond flour adds a subtle nutty flavor that pairs wonderfully with chocolate. You may need to increase the egg count by one to provide extra structure.
Q: Can I add other mix‑ins to the ice cream, like nuts or candy?
Absolutely! Fold in toasted almonds, chopped pretzels, or even caramel bits after the custard has cooled but before churning. Add them gently to preserve the air incorporated during churning.
Q: How far in advance can I assemble the sandwiches?
You can assemble and freeze the sandwiches up to two weeks ahead. Store them in an airtight container to prevent freezer burn. When ready to serve, simply thaw briefly at room temperature for 2‑3 minutes.
🎉 To Your Oven!
These Mint Chocolate Chip Brownie Ice Cream Sandwiches bring together the best of both worlds—rich, fudgy brownies and cool, minty ice cream—into a handheld masterpiece that dazzles the eyes and delights the palate. By following the precise steps, using quality ingredients, and applying the pro tips, you’ll achieve a dessert that feels both comforting and luxurious. Whether you serve them at a summer garden party or a cozy winter gathering, they’ll become the talk of the table.
Give the recipe a try, snap a photo, and share your experience in the comments below. Your feedback helps me refine future recipes, and seeing your creations inspires the whole community. Don’t forget to rate the recipe and tag your photos with #MintBrownieSandwich for a chance to be featured on our social feeds!
Have you tried this recipe?
Leave a comment and rating below! Share your photos on Instagram with #MintBrownieSandwich to be highlighted!
Mint Chocolate Chip Brownie Ice Cream Sandwiches
Cool mint ice cream nestled between fudgy chocolate brownies – a handheld indulgence.
📝 Ingredients
Brownie Base
Mint Chocolate Chip Ice Cream
Assembly
👨🍳 Instructions
- 1
Preheat the oven to 180°C (350°F) and line an 8×8‑inch pan with parchment paper.
- 2
Melt dark chocolate and butter together over a simmering pot of water, then let cool slightly.
- 3
Whisk sugar into the chocolate mixture, add eggs one at a time, and finish with vanilla.
- 4
Sift flour, cocoa powder, and salt; fold gently into the wet mixture.
- 5
Pour batter into the pan, bake for 20‑22 minutes, then cool completely.
- 6
Prepare the custard for ice cream by heating milk and cream, tempering egg yolks with peppermint extract, and cooking to 82°C.
- 7
Chill the custard, fold in chocolate chips, and churn in an ice‑cream maker.
- 8
Cut the cooled brownies into eight squares.
- 9
Scoop a generous portion of mint ice cream onto a brownie square, top with another square, and press gently.
- 10
Freeze assembled sandwiches for at least 30 minutes, then serve.
🥗 Nutritional Information (per serving)
*Nutritional values are estimates based on standard ingredient data.
📚 You Might Also Like
Chocolate Mint Milkshake
Brownie Bites with Caramel
Frozen Yogurt Mint Parfait







💬 Comments & Reviews
Leave a Comment
Comments will appear here once readers share their thoughts.