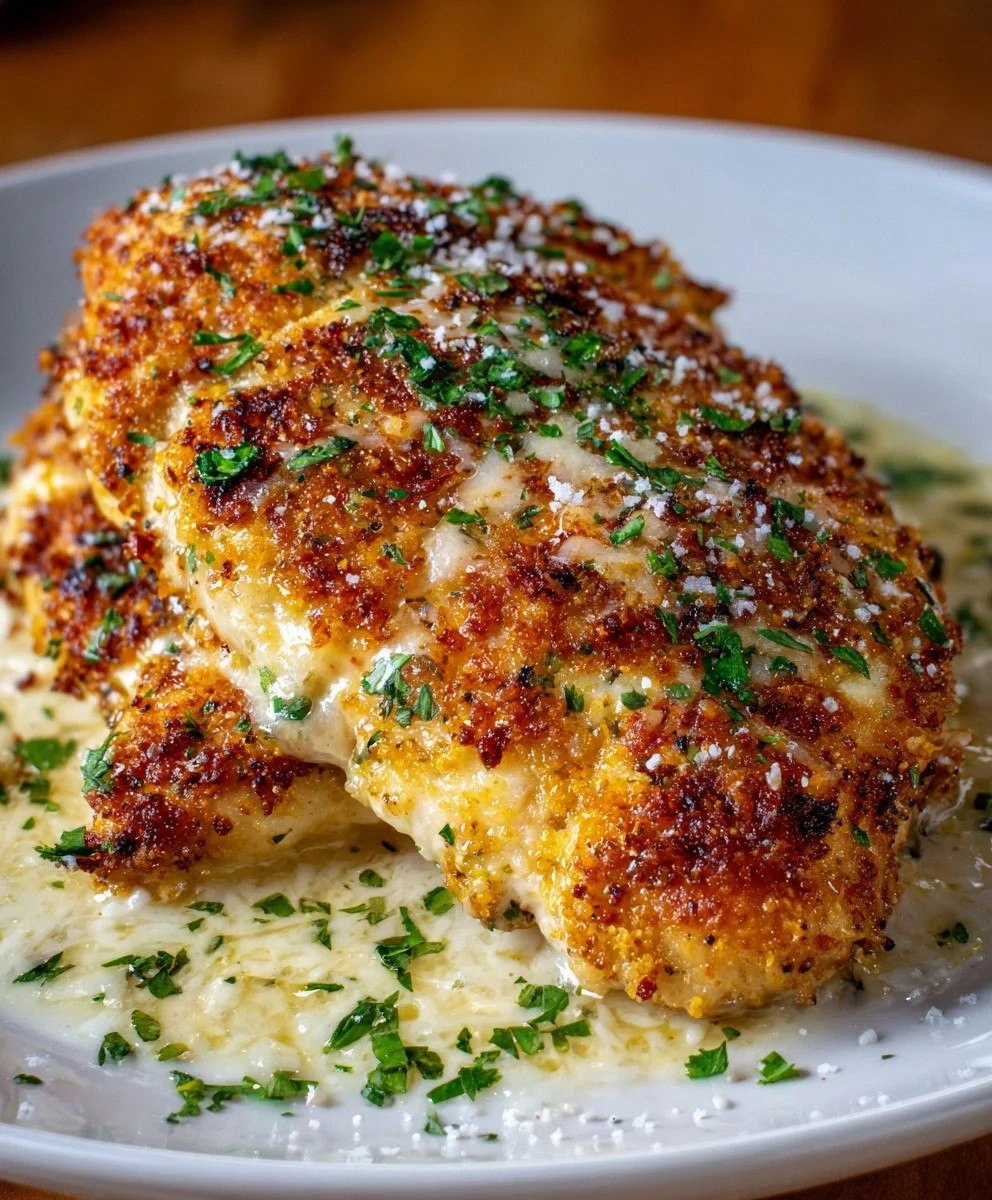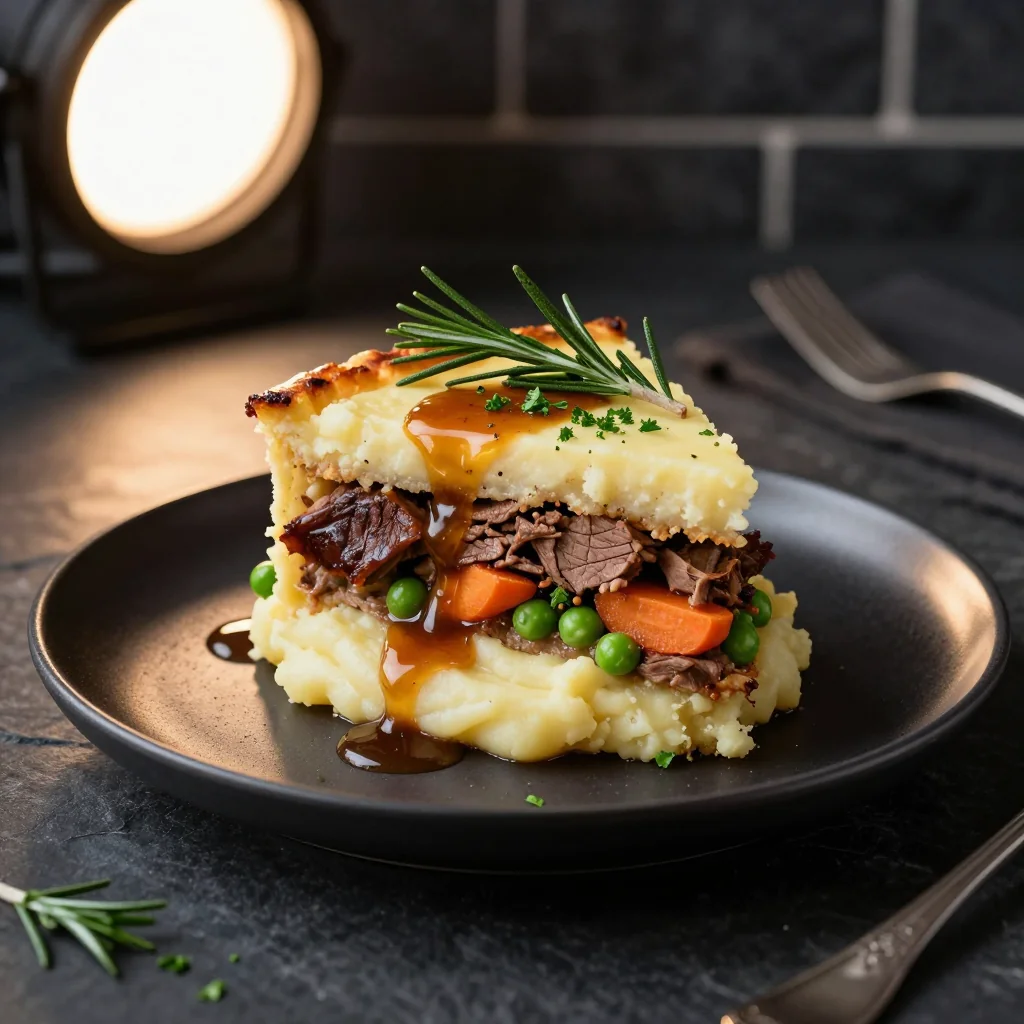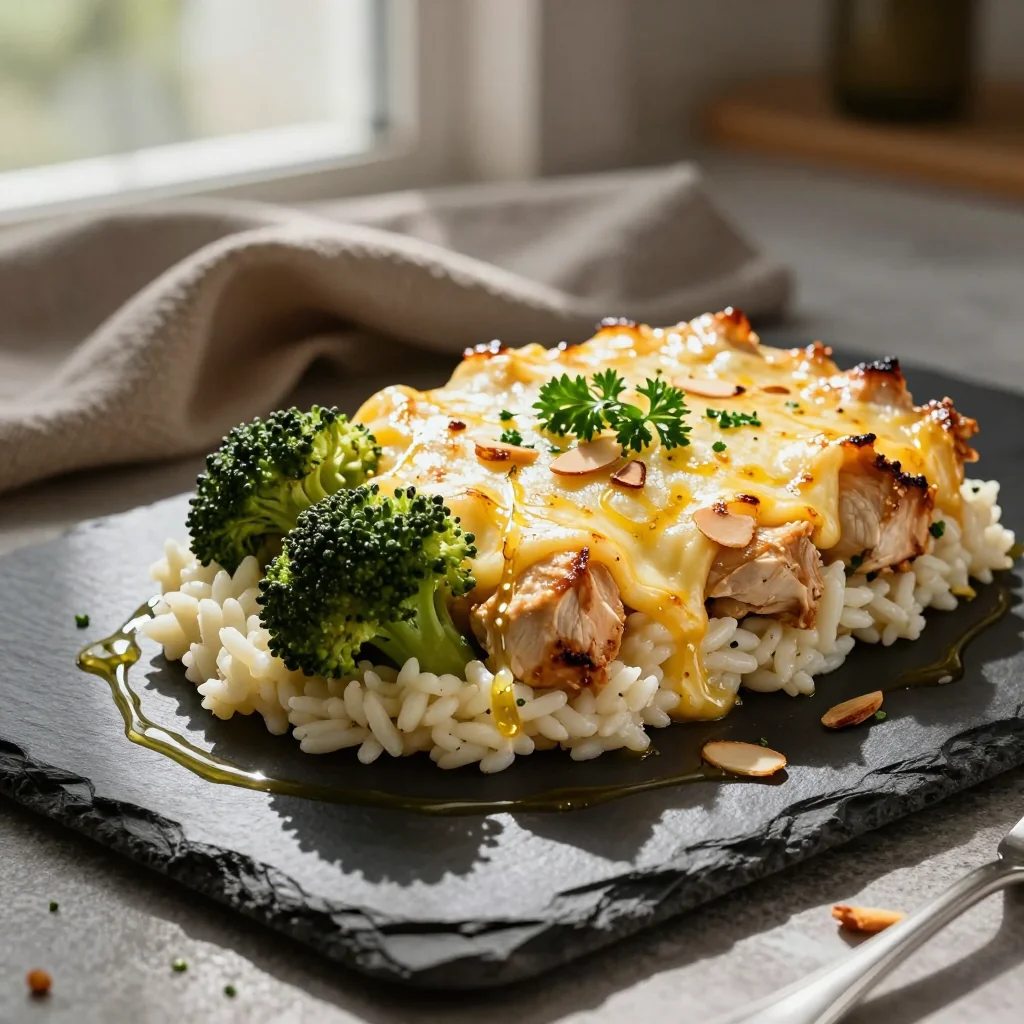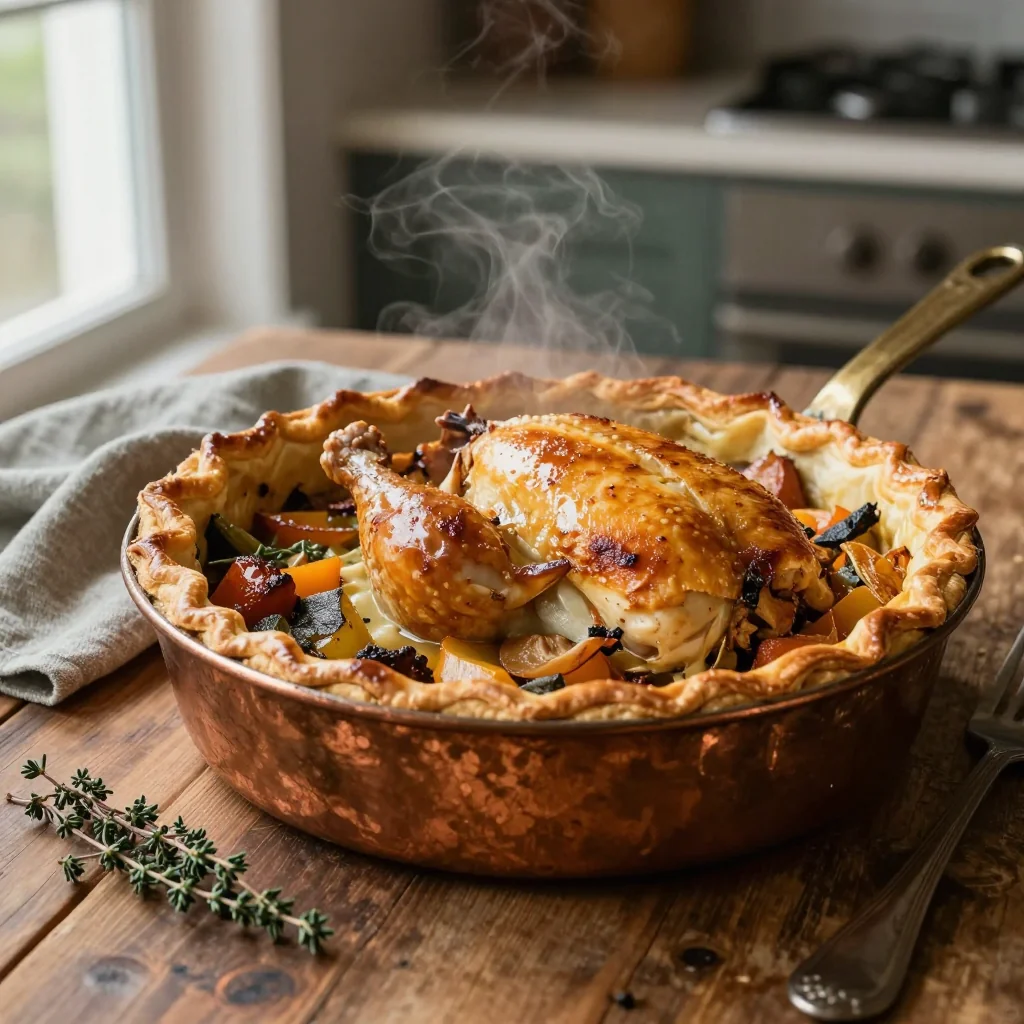
A comforting, flaky masterpiece that turns humble ingredients into a celebration of flavor.

When I was a child, the aroma of a bubbling pot pie drifting from the kitchen was the soundtrack of every Sunday afternoon. My grandmother would pull the golden crust from the oven, steam rising like a warm hug, and we would gather around the table, eyes wide with anticipation. That memory sparked a lifelong love for dishes that marry comfort with elegance, and today I’m thrilled to share my own spin on that classic: Pot Pie with Chicken and Veggies.
This dish hails from the heart of home cooking, a timeless staple in many cultures that celebrates the marriage of tender chicken, crisp vegetables, and a buttery, flaky crust. While it’s often associated with the cooler months, its bright, colorful filling makes it a year‑round favorite, perfect for family dinners or a special weekend treat.
In this guide, you’ll learn how to build layers of flavor, achieve a perfectly crisp crust without a pastry chef’s degree, and master the timing that ensures every bite is both tender and satisfying. I’ll walk you through each step, share the science behind the perfect roux, and reveal the little tricks that make this pot pie unforgettable.
So tie on your apron, preheat the oven, and let’s dive into a culinary adventure that will fill your home with warmth, aroma, and the promise of a delicious, hearty meal.
🌟 Why This Recipe Will Win Your Heart
From the first bite to the last crumb, this pot pie offers a symphony of textures and flavors that keep you coming back for more.
- ✨ Irresistible Flaky Crust: The buttery, golden top cracks open to reveal a steaming, creamy filling, delivering a perfect contrast that delights the palate.
- ✨ Balanced Nutrition: Packed with lean protein, fiber‑rich vegetables, and a modest amount of dairy, it satisfies without feeling heavy.
- ✨ One‑Pan Convenience: All components are assembled in a single dish, minimizing cleanup and maximizing flavor integration.
- ✨ Adaptable to Any Season: Swap vegetables based on what’s fresh, or add a splash of citrus for a summer twist—this recipe bends to your pantry.
- ✨ Crowd‑Pleaser: Its familiar comfort appeals to both kids and adults, making it ideal for family gatherings or potluck events.
- ✨ Time‑Saving Portion Adjuster: The built‑in portion calculator lets you scale the recipe up or down without guesswork.
🥗 Ingredients
📝 Complete Ingredient List
For the Filling:
For the Crust:
For the Topping (Optional):
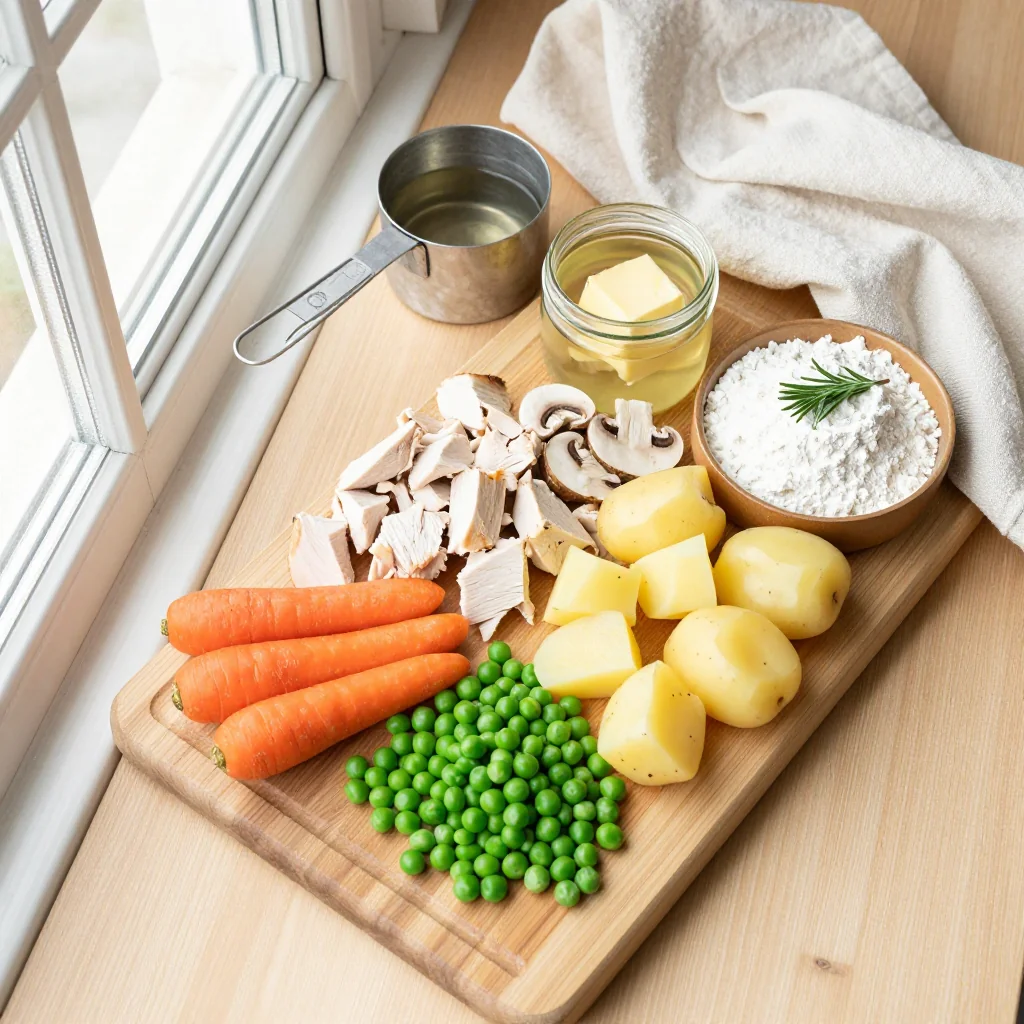
🔍 Focus on Key Ingredients
Chicken Thighs
Chicken thighs provide a richer, more succulent flavor than breasts, thanks to their higher fat content. When diced and seared, they develop a caramelized crust that adds depth to the sauce. Look for pieces that are evenly sized to ensure uniform cooking.
All‑Purpose Flour
Flour acts as the thickening backbone of the sauce. It creates a roux when combined with butter, which traps moisture and creates that velvety texture we crave in a pot pie filling. For a gluten‑free version, substitute with a 1:1 gluten‑free flour blend.
Butter
Butter contributes both flavor and structure. The cold butter in the crust creates layers of steam that puff up the dough, while melted butter in the filling carries aromatics and forms the roux. Use high‑quality European butter for a richer taste.
🔄 Quick Substitutions
| If you don’t have... | Use instead... |
|---|---|
| Chicken thighs | Chicken breast (add 1 tbsp olive oil) |
| Heavy cream | Half‑and‑half or coconut cream |
| All‑purpose flour | Gluten‑free all‑purpose blend |
👨🍳 Step‑by‑Step Instructions
Follow these detailed steps to create a pot pie that looks restaurant‑ready and tastes like home.
📋 Phase 1: Preparation & Mise en Place
Gather, measure, and prep all ingredients before you begin cooking.
Prepare the Vegetables
Wash and peel the carrots, then slice them into ¼‑inch rounds. Peel the potatoes and cut them into ½‑inch cubes. Rinse the frozen peas under warm water to thaw slightly. Set the vegetables aside in separate bowls so they stay crisp and dry.
Dice the Chicken
Trim any excess fat from the chicken thighs, then cut the meat into 1‑inch cubes. Season the pieces lightly with salt and pepper. This early seasoning enhances flavor throughout the cooking process.
Make the Pastry Dough
In a large mixing bowl, combine 250 g flour and 1 tsp salt. Add the cold butter cubes and, using your fingertips or a pastry cutter, rub the butter into the flour until the mixture resembles coarse crumbs. Drizzle in ice water, one tablespoon at a time, mixing gently until the dough just comes together. Form the dough into a disc, wrap in plastic, and chill for at least 30 minutes.
🔥 Phase 2: Cooking & Assembly
Build the filling, create the roux, and combine everything before baking.
Sear the Chicken
Heat 1 tbsp butter in a large skillet over medium‑high heat. Add the chicken cubes in a single layer, allowing them to brown without stirring for 2‑3 minutes. Flip and brown the other side until the meat is lightly golden. Remove the chicken and set aside.
Cook the Vegetables
In the same skillet, add the remaining butter. Sauté the onion until translucent (≈3 minutes), then add garlic and cook for another 30 seconds. Toss in carrots and potatoes; stir for 5 minutes until they begin to soften. Finally, stir in peas and cook for 2 minutes.
Make the Roux and Sauce
Sprinkle 40 g flour over the vegetables, stirring constantly to coat. Cook the flour for 2 minutes to eliminate raw taste. Gradually whisk in chicken broth, ensuring a smooth consistency. Add milk and heavy cream, then bring the mixture to a gentle simmer. The sauce will thicken within 5‑7 minutes. Return the seared chicken to the pan, sprinkle thyme, and adjust seasoning with salt and pepper.
✨ Phase 3: Finishing & Baking
Encase the filling, bake to golden perfection, and serve.
Preheat the Oven
Set your oven to 200 °C (390 °F) and position the rack in the middle. This temperature ensures a crisp crust while allowing the interior to stay moist.
Transfer Filling to Baking Dish
Lightly grease a 9‑inch (23 cm) deep baking dish. Spoon the hot filling into the dish, spreading evenly. The filling should be level to allow the crust to sit uniformly.
Roll Out and Top the Crust
On a lightly floured surface, roll the chilled dough into a circle about ¼‑inch thick, large enough to cover the dish. Gently lay the dough over the filling, pressing edges to seal. Trim excess dough and crimp the edges with a fork for a decorative finish. Brush the top with beaten egg mixed with milk for a glossy sheen.
Bake Until Golden
Place the assembled pot pie in the preheated oven. Bake for 30‑35 minutes, or until the crust is deep golden brown and the filling bubbles around the edges. If the crust browns too quickly, loosely tent with foil.
💡 Expert Tips & Tricks
🛒 Choosing the Right Ingredients
Opt for organic, free‑range chicken whenever possible; the meat will be more flavorful and less likely to have off‑notes. For vegetables, select carrots that are firm and free of cracks, potatoes that feel heavy for their size (indicating low water content), and peas that are bright green. Fresh herbs like thyme should have a fragrant aroma; dried herbs lose potency after a year.
🔪 Preparation Techniques
Dice the chicken uniformly so each piece cooks at the same rate. When cutting vegetables, keep the size consistent to ensure even cooking. Use a food processor to pulse the butter for the crust if you prefer a faster method—just be careful not to over‑process, or the dough will become tough.
🌡️ Mastering the Cooking Process
Maintain a medium‑high heat when searing the chicken to develop a caramelized crust without overcooking. When making the roux, whisk constantly to avoid lumps; the goal is a smooth, glossy base. Simmer the sauce gently; a rolling boil will break the emulsion and create a grainy texture.
🍽️ Presentation & Serving
Allow the pot pie to rest for 5‑10 minutes after baking; this lets the filling set, making slicing cleaner. Serve on a warm platter and garnish with a sprinkle of fresh parsley for a pop of color. Pair with a crisp green salad to balance the richness.
🏆 Pro Secrets
Elevate your pot pie from home‑cooked goodness to a restaurant‑level masterpiece with these professional techniques.
- 🎯 Layered Butter Technique: Incorporate small butter flakes into the dough at different stages. The first layer creates steam pockets, while the final layer adds flakiness, resulting in a crust that shatters delicately under the fork.
- 🎯 Deglazing the Pan: After searing the chicken, deglaze the skillet with a splash of dry white wine. This lifts caramelized bits (fond) and infuses the sauce with acidity that brightens the overall flavor.
- 🎯 Double‑Thickening Method: Combine a roux with a slurry of cornstarch mixed in cold water. The roux provides body, while the cornstarch ensures a glossy, stable finish that won’t separate upon reheating.
- 🎯 Crust Ventilation Pattern: Instead of random slits, cut a decorative lattice. This not only releases steam but also adds visual appeal that impresses guests.
- 🎯 Butter‑Infused Egg Wash: Whisk together an egg yolk with melted butter and a pinch of sugar. Brushing this on the crust yields a deep amber hue and a subtle sheen.
- 🎯 Resting the Dough: After the first chill, roll out the dough, then wrap and chill again for 15 minutes. This relaxes gluten, preventing shrinkage during baking.
"A perfect pot pie is a marriage of technique and love; the crust is the promise, the filling the story." — Thomas Keller
🔄 Variations & Adaptations
The beauty of this pot pie lies in its flexibility. Below are several ways to tailor it to different diets, flavor profiles, and occasions.
🥬 Vegetarian / Vegan Version
Replace the chicken with firm tofu cubes or a medley of mushrooms (such as cremini and shiitake). Use plant‑based butter and a thickening agent like oat flour. Substitute dairy milk and cream with unsweetened almond milk and coconut cream. The result is a hearty, umami‑rich filling that satisfies both vegans and vegetarians.
- Tofu substitution: Press and cube 400 g extra‑firm tofu, then marinate in soy sauce and smoked paprika before searing.
- Mushroom substitution: Use 300 g mixed mushrooms, sauté until they release their moisture, then proceed as with the chicken.
🌶️ Flavor Variations
Explore global twists by adjusting herbs, spices, and accompaniments.
Spicy Version
Add 1 tsp smoked paprika, ½ tsp cayenne pepper, and a dash of hot sauce to the sauce. Finish with a sprinkle of fresh jalapeño slices before baking for a gentle heat that awakens the palate.
Mediterranean Version
Swap thyme for oregano and rosemary, stir in ¼ cup chopped sun‑dried tomatoes, and replace peas with Kalamata olives. Garnish with crumbled feta after baking for a briny contrast.
Asian‑Inspired Version
Replace the chicken broth with low‑sodium soy broth, add 1 tbsp grated ginger, and finish the sauce with 1 tbsp toasted sesame oil. Top the crust with toasted sesame seeds for a nutty aroma.
⚠️ Dietary Adjustments
Gluten‑Free
Use a 1:1 gluten‑free flour blend for both the filling thickener and the crust. Add 1 tbsp xanthan gum to the crust dough to improve elasticity.
Lactose‑Free
Swap butter for a lactose‑free margarine, use oat or soy milk, and replace heavy cream with coconut cream. The flavor remains rich while accommodating dairy sensitivities.
Low‑Calorie
Reduce butter in the filling by half and replace half the cream with low‑fat Greek yogurt. Use skinless chicken breast instead of thighs and increase the proportion of vegetables.
👶 Family / Kids Version
For picky eaters, cut the crust into fun shapes (stars or hearts) using cookie cutters. Use milder spices, avoid strong herbs, and incorporate sweet corn kernels for a touch of natural sweetness. Serve with a side of apple sauce for a balanced meal.
📦 Storage & Reheating
🧊 Conservation
Refrigerator
- Duration: 3 days
- Recommended container: airtight glass or BPA‑free plastic
- Tip: Let the pie cool to room temperature before sealing to prevent condensation.
Freezer
- Duration: 2 months
- Method: Wrap the cooled pie tightly in plastic wrap, then foil; label with date.
- Defrosting: Transfer to refrigerator overnight, then reheat as described below.
💡 For optimal texture, store the crust separately from the filling if you plan to freeze for longer than a month.
♨️ Reheating
🔥 Oven (Recommended)
- Preheat to 180 °C (350 °F).
- Cover with foil to prevent over‑browning.
- Heat for 20‑25 minutes.
- Remove foil and continue for 5‑7 minutes to crisp the crust.
⚡ Microwave (Quick)
- Place a slice on a microwave‑safe plate.
- Cover with a microwave‑safe lid.
- Heat on medium power for 2‑3 minutes, checking halfway.
- Stir the filling gently to distribute heat evenly.
🍳 Skillet
Heat a non‑stick skillet over medium heat, add a splash of broth or water, cover, and warm for 5‑7 minutes, turning the slice once halfway through.
🍷 Perfect Pairings
🥗 Side Dishes
- Mixed Green Salad: A simple vinaigrette of lemon, olive oil, and Dijon balances the richness of the pie.
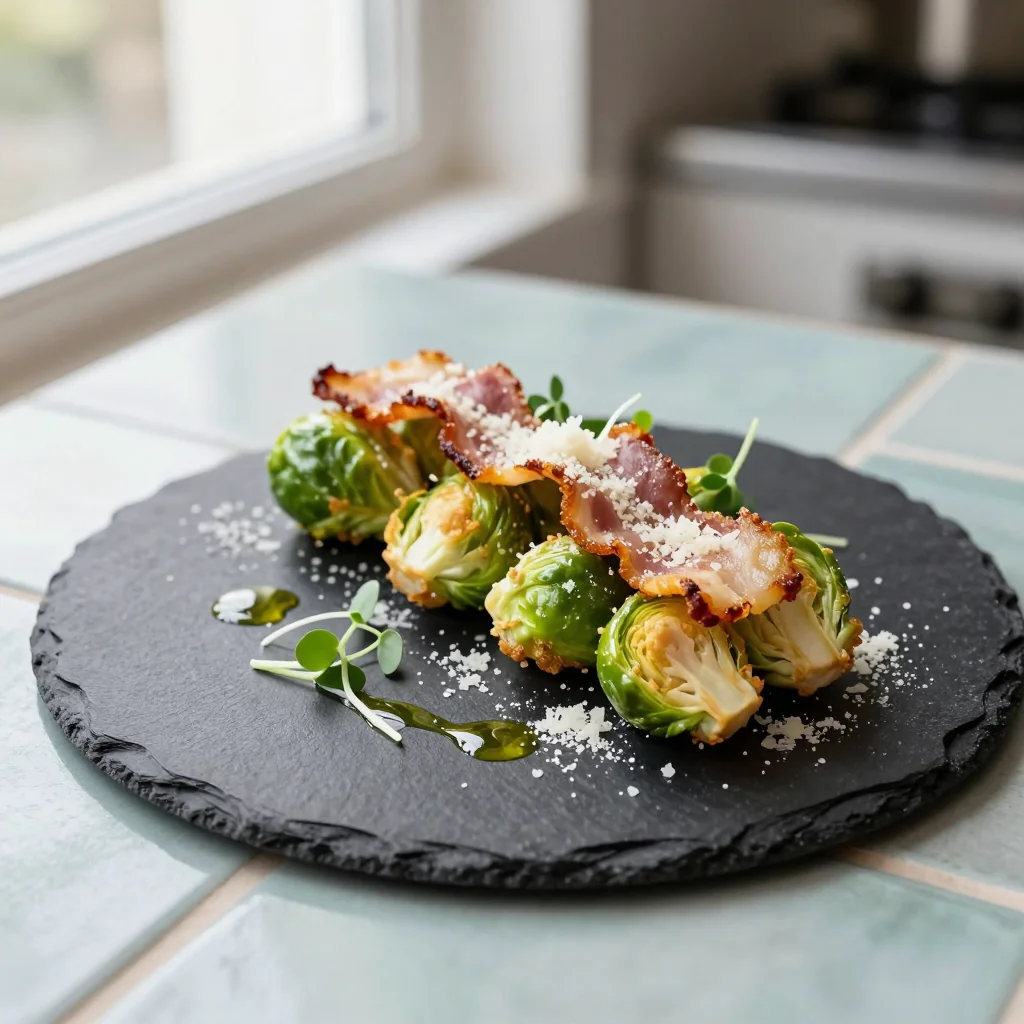
- Roasted Brussels Sprouts: Their caramelized edges add a nutty contrast.
- Garlic Parmesan Breadsticks: Perfect for sopping up any extra sauce.
🍷 Wine & Beverage Pairings
- Chardonnay (oaked): Its buttery notes echo the crust while its acidity cuts through the creaminess.
- Pinot Noir: Light red fruit flavors complement the chicken without overpowering.
- Non‑Alcoholic: Sparkling apple cider provides a crisp, refreshing finish.
🍰 To Complete the Meal
Begin with a light citrus sorbet to cleanse the palate, then serve a warm apple crumble with a scoop of vanilla ice cream for dessert. The fruit’s acidity and sweetness round out the hearty main course beautifully.
❓ Frequently Asked Questions
Q: Can I use a store‑bought pie crust instead of making my own?
A: Absolutely. Choose a high‑quality frozen puff pastry or short‑crust dough. Thaw according to package instructions, then follow the same assembly steps. While a homemade crust offers superior flakiness, a good store‑bought version saves time without sacrificing taste.
Q: How do I prevent the crust from becoming soggy?
A: Ensure the filling is not overly liquid before adding the crust. Simmer the sauce until it thickens, and let it cool slightly before pouring into the dish. Additionally, brush the crust with an egg wash and bake on a preheated stone or heavy baking sheet to promote even heat distribution.
Q: What’s the best way to reheat leftovers without drying them out?
A: Reheat in the oven at 180 °C (350 °F) covered with foil for the first 15 minutes, then uncover to crisp the top. Adding a splash of broth before covering helps retain moisture.
Q: Can I freeze the crust and filling separately?
A: Yes. Wrap the baked crust tightly in foil and freeze. Store the cooled filling in a sealed container. When ready to serve, thaw both components, assemble, and bake for 20‑25 minutes.
Q: Is it possible to make a gluten‑free version without sacrificing texture?
A: Use a blend of rice flour, potato starch, and tapioca flour for the crust. Adding a teaspoon of xanthan gum improves elasticity. The filling can be thickened with cornstarch or gluten‑free flour, maintaining a smooth sauce.
Q: How far in advance can I prepare the pot pie before baking?
A: Assemble the pie up to 24 hours ahead. Cover tightly with plastic wrap and store in the refrigerator. Bake directly from chilled for a slightly longer bake time (add 5‑10 minutes).
🎉 Let’s Get Cooking!
Pot Pie with Chicken and Veggies is more than a dish; it’s a celebration of comfort, technique, and seasonal bounty. By mastering the flaky crust, the silky roux, and the art of layering flavors, you’ll create a centerpiece that invites smiles around the table. Whether you’re feeding a family of four or scaling up for a gathering, the built‑in portion adjuster ensures you never waste an ingredient.
Remember, cooking is an adventure—experiment with herbs, swap vegetables, or try a different protein. Share your creations, ask questions, and let the community inspire you. Your feedback fuels future recipes and keeps the culinary conversation alive.
Have you tried this recipe?
Leave a comment and rating below! Share your photos on Instagram with #PotPiePerfection for a chance to be featured.
Pot Pie with Chicken and Veggies
A flaky, buttery crust encases a creamy chicken and vegetable filling—comfort in every bite.
📝 Ingredients
Filling
Crust
Topping (Optional)
👨🍳 Instructions
- 1
Dice chicken, season, and set aside.
- 2
Prepare vegetables: slice carrots, cube potatoes, and thaw peas.
- 3
Make pastry dough, chill for 30 minutes.
- 4
Sear chicken in butter until golden; remove and rest.
- 5
Sauté onion, garlic, then add vegetables; cook briefly.
- 6
Create roux with flour, gradually whisk in broth, milk, cream; simmer.
- 7
Return chicken, add thyme, adjust seasoning.
- 8
Transfer filling to greased baking dish.
- 9
Roll out dough, cover filling, seal edges, brush with egg wash.
- 10
Bake at 200 °C for 30‑35 minutes until crust is golden; rest before serving.
🥗 Nutritional Information (per serving)
*Values are estimates based on listed ingredients.
📚 You Might Also Like
Chicken and Mushroom Pot Pie