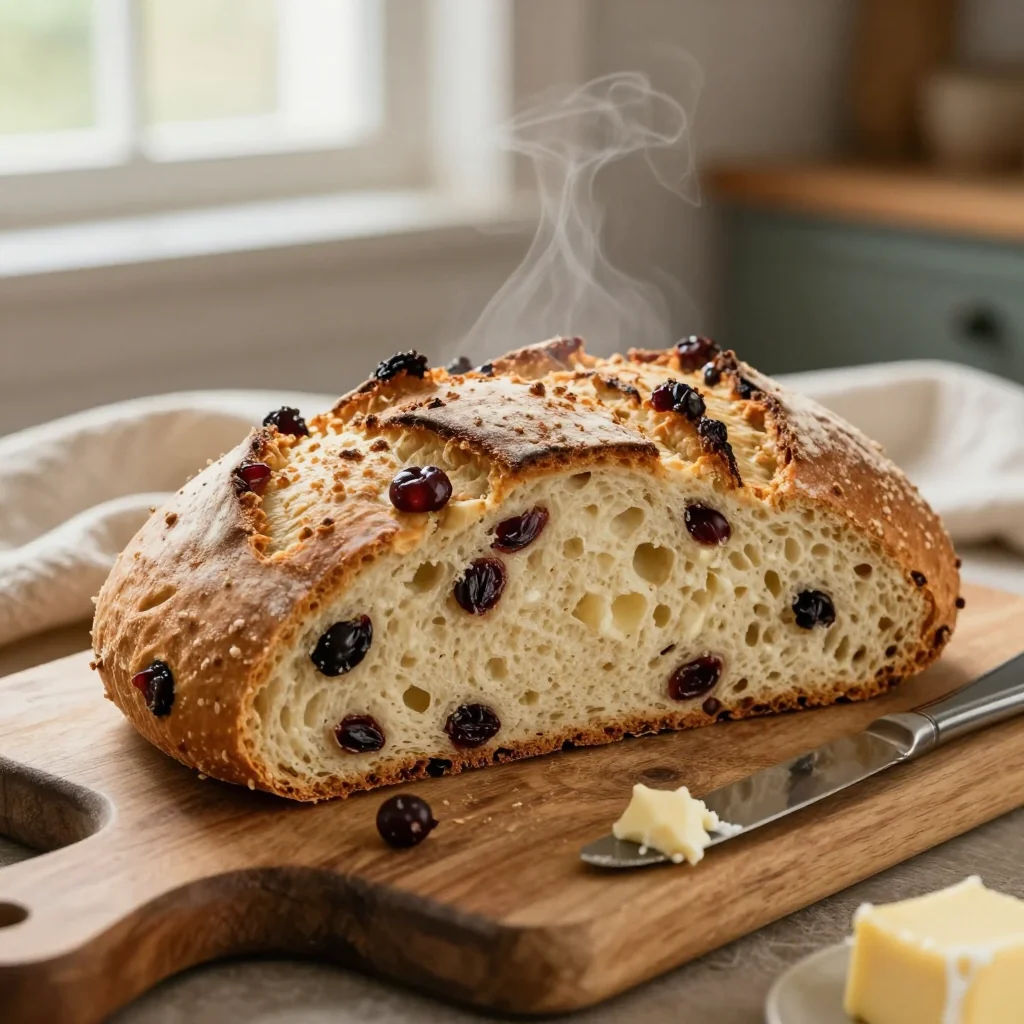
A timeless Irish classic that brings the comfort of home with every warm, fragrant slice.
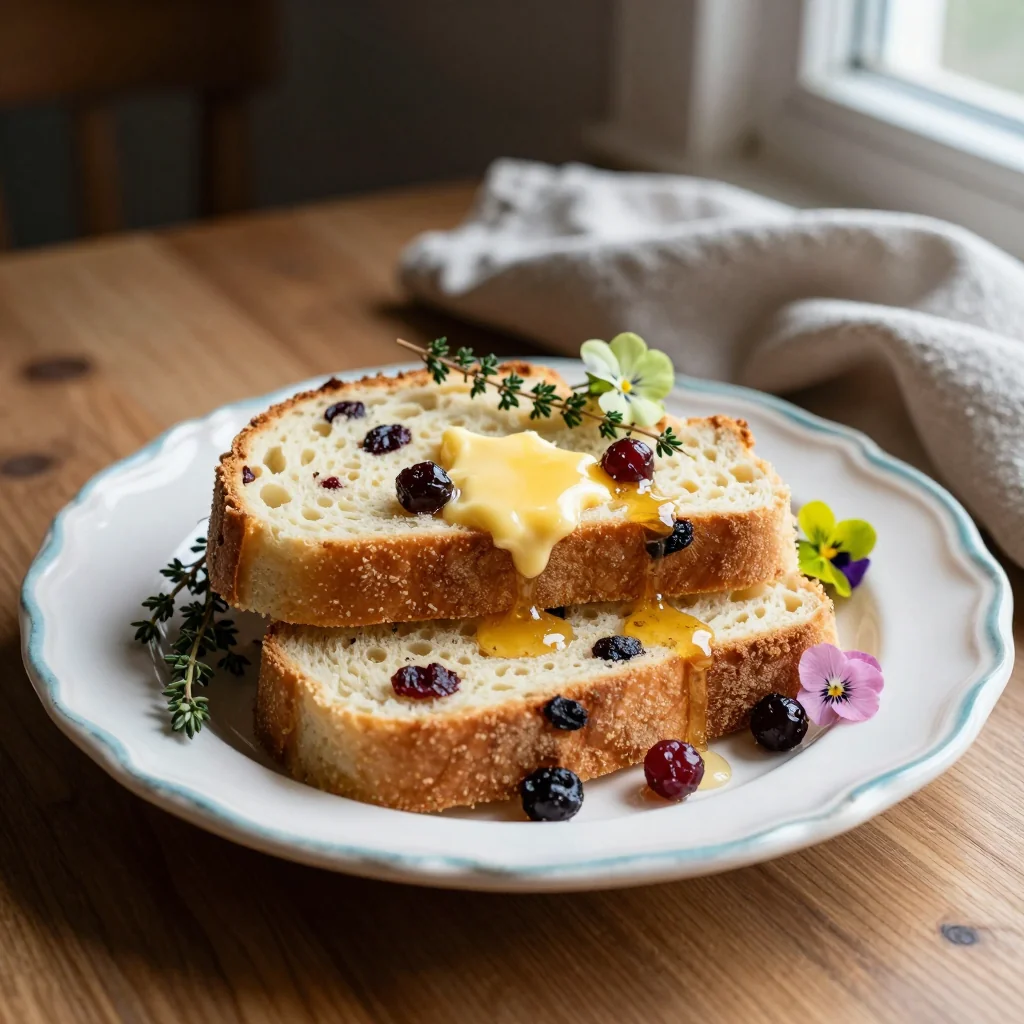
I still remember the first time I tasted a slice of warm soda bread fresh from my Irish grandmother's kitchen. The aroma of buttermilk and sweet currants wafted through the modest cottage, mingling with the scent of a crackling peat fire. It was more than a snack; it was a memory of laughter, stories, and the simple joy of sharing something homemade.
Soda bread has humble roots in the Emerald Isle, where the scarcity of yeast made baking powder a revolutionary shortcut. Traditionally, the dough is mixed quickly, shaped by hand, and baked in a cast‑iron pot or on a stone hearth. The result is a crust that sings with caramelized edges and a crumb that stays moist for days.
In this article, I will walk you through a reliable, step‑by‑step method that guarantees a perfect loaf every time. You’ll learn why buttermilk is the secret behind the tender crumb, how to balance the sweetness of currants, and the tricks to achieve that iconic cross on top.
So tie on your apron, preheat the oven, and let’s bring a piece of Irish heritage to your kitchen!
🌟 Why This Recipe Will Captivate You
From its rustic charm to its versatile flavor profile, this soda bread is a celebration of tradition and comfort.
- ✨ Quick, No‑Yeast Rise: The natural reaction between baking soda and buttermilk eliminates the need for lengthy proofing, letting you bake a loaf in under an hour.
- ✨ Moisture‑Locked Crumb: Buttermilk adds acidity that softens gluten, resulting in a tender interior that stays fresh for days.
- ✨ Sweet‑Sour Balance: Currants provide bursts of tartness that cut through the subtle sweetness, creating a harmonious flavor.
- ✨ Rustic Yet Elegant: The simple, hand‑shaped loaf looks beautiful on any table, whether served with butter, cheese, or a hearty stew.
- ✨ Nutrient‑Rich Whole‑Grain Options: Swap half the white flour for whole‑wheat for added fiber without sacrificing texture.
- ✨ Perfect for Any Season: Its comforting warmth makes it ideal for chilly evenings, yet its bright currants keep it fresh for spring picnics.
🥗 The Ingredients
📝 Complete Ingredient List
For the Dough:
- 480 g all‑purpose flour
- 5 g baking soda
- 6 g salt
- 25 g granulated sugar
- 360 ml buttermilk
- 30 g unsalted butter, melted
For the Currants:
- 150 g dried currants
- 1 tbsp milk (for soaking)
For the Glaze (optional):
- 30 g unsalted butter, melted
- 1 tbsp coarse sea salt
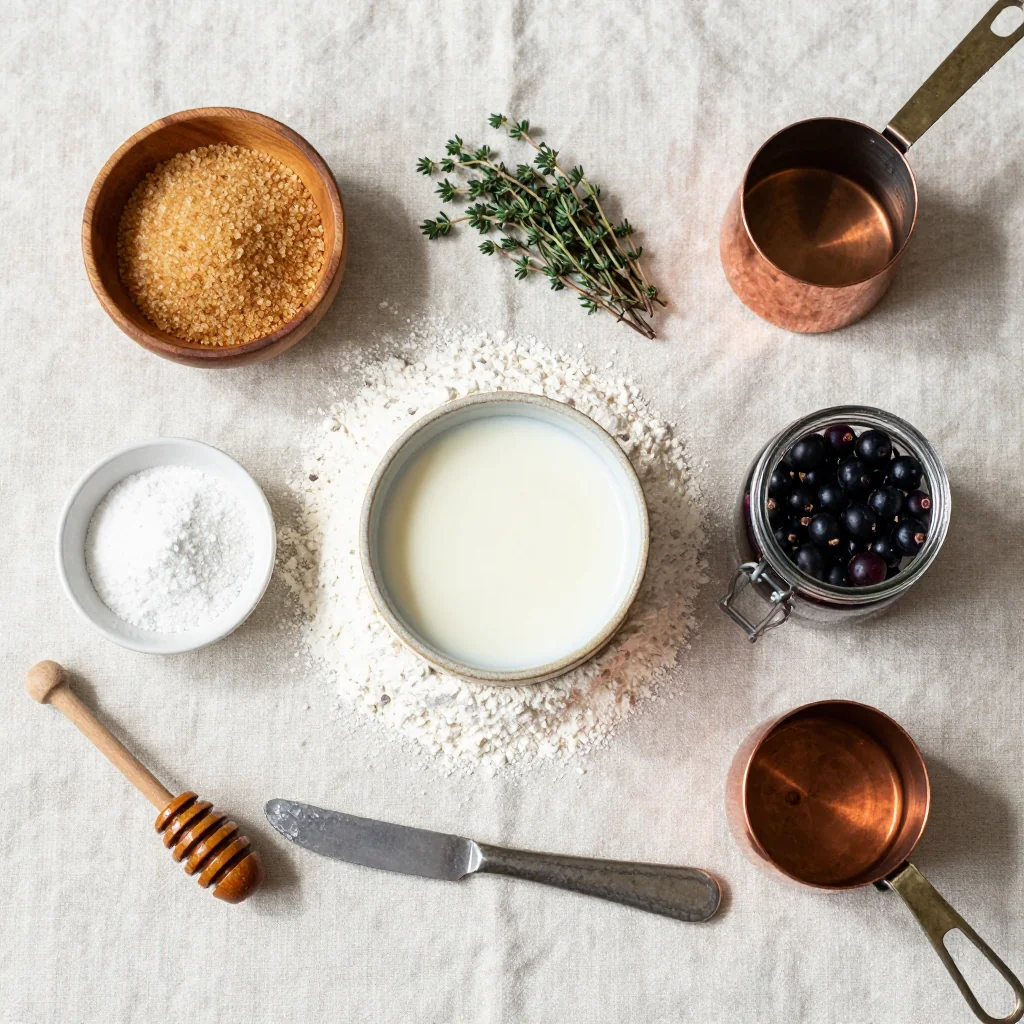
🔍 Focus on Key Ingredients
Buttermilk
Buttermilk is the heart of soda bread. Its acidity reacts with baking soda to create carbon dioxide bubbles that lift the dough without yeast. Choose cultured buttermilk for a deeper tang; if unavailable, add 1 tablespoon of lemon juice to regular milk and let it sit for 5 minutes.
Dried Currants
Currants lend sweet, tart bursts that contrast beautifully with the buttery crust. Rinse them quickly and soak in a splash of warm milk for 10 minutes to plump them up, ensuring they stay juicy during baking.
Baking Soda
Unlike baking powder, baking soda needs an acid to activate. Too much can leave a metallic aftertaste, so measuring precisely (5 g) is crucial. Freshness matters; test a pinch in vinegar—if it fizzes vigorously, it’s still potent.
🔄 Quick Substitutions
| If you don’t have... | Use instead... |
|---|---|
| Buttermilk | Milk + 1 tbsp lemon juice |
| Dried currants | Raisins or dried cranberries |
| All‑purpose flour | Half whole‑wheat, half AP flour |
👨🍳 Step‑by‑Step Instructions
Follow these detailed steps to achieve a perfectly risen, golden‑crusted soda bread that smells like a cozy Irish kitchen.
📋 Phase 1: Preparation and Mise en Place
Gather your tools, measure ingredients, and preheat the oven.
Preheat the Oven and Prepare the Baking Sheet
Set your oven to 200 °C (390 °F) and line a baking sheet with parchment paper. If you prefer a crisper crust, place a heavy cast‑iron skillet on the middle rack while the oven heats; the skillet will retain heat and give the bottom of the loaf a lovely caramelized finish.
Soak the Currants
Place the dried currants in a small bowl, pour over 1 tablespoon of warm milk, and let them sit while you whisk the dry ingredients. This step ensures the currants stay moist and burst with juiciness when baked.
🔥 Phase 2: Mixing and Baking
Combine the ingredients quickly to form a soft dough, then bake.
Combine Dry Ingredients
In a large mixing bowl, whisk together the flour, baking soda, salt, and sugar until evenly distributed. The whisking creates a uniform base, preventing pockets of soda that could cause uneven rise.
Add Buttermilk and Melted Butter
Make a well in the center of the dry mixture, pour in the buttermilk followed by the melted butter. Stir gently with a wooden spoon until the dough just comes together; it will be shaggy and slightly sticky, which is exactly what you want.
Fold in the Currants
Drain any excess milk from the soaked currants, then fold them into the dough using a folding motion. This distributes the fruit evenly without crushing them.
Shape the Loaf and Score the Top
Turn the dough onto a lightly floured surface, shape it into a round loaf about 4 inches tall, and place it on the prepared baking sheet. Using a sharp knife, cut a deep “X” about 1 inch deep across the top; this allows the heat to penetrate and gives the classic soda‑bread appearance.
Bake the Bread
Slide the loaf into the oven and bake for 35 minutes, or until the crust is deep golden brown and a tap on the bottom sounds hollow. If you used a cast‑iron skillet, rotate it halfway through baking for even browning.
✨ Phase 3: Finishing Touches and Serving
Cool, slice, and enjoy.
Cool the Bread
Remove the loaf from the oven, transfer it to a wire rack, and let it cool for at least 20 minutes. This rest period allows the interior to set, making slicing easier and preserving the crumb’s moisture.
Slice and Serve
Use a serrated bread knife to cut generous wedges. Serve warm with a pat of butter, a drizzle of honey, or alongside a hearty Irish stew. The bread also pairs wonderfully with sharp cheddar or a dollop of clotted cream for a decadent treat.
💡 Expert Tips and Tricks
🛒 Choosing the Right Ingredients
Opt for unbleached, stone‑ground flour if you can find it; it adds a subtle nutty flavor and a slightly denser texture that many purists love. When selecting currants, look for plump, dark berries with a glossy sheen—these indicate freshness and higher natural sugar content. For butter, choose a high‑fat European style for richer flavor, and always melt it gently to avoid scorching.
🔪 Preparation Techniques
The key to a tender crumb is minimal handling. After the wet ingredients join the dry, stir just until the dough forms a cohesive mass. Over‑mixing develops gluten, leading to a tougher loaf. If the dough feels overly sticky, dust the work surface lightly with flour, but resist the urge to add more flour into the bowl—it can dry out the bread.
🌡️ Mastering the Bake
Oven temperatures can vary by up to 15 °C, so keep an eye on the crust color after 30 minutes. If the top browns too quickly, loosely cover it with foil to prevent burning while the interior finishes cooking. Using a baking stone or preheated cast‑iron skillet adds a burst of bottom heat, producing a crust that crackles delightfully when sliced.
🍽️ Presentation and Service
For a restaurant‑style presentation, slice the loaf into thick wedges and arrange them on a rustic wooden board. Drizzle a thin stream of honey or a spoonful of clotted cream on each slice just before serving. Garnish with a few fresh thyme sprigs for a pop of color and an aromatic hint that complements the currants.
🏆 Pro Tips
Elevate your soda bread from home‑cooked comfort to culinary excellence with these professional insights.
- 🎯 Temperature‑Controlled Butter: Chill the melted butter until it’s just barely liquid before adding it to the dough. This prevents the butter from melting the flour’s proteins too early, preserving a light crumb.
- 🎯 Acid Balance: If your buttermilk is particularly tangy, reduce the baking soda by 0.5 g to avoid an overly alkaline flavor that can taste soapy.
- 🎯 Scoring Technique: Use a razor‑sharp blade and cut the “X” quickly in a single motion. A clean cut allows steam to escape, preventing the loaf from cracking irregularly.
- 🎯 Steam Injection: Place a small metal tray with boiling water on the oven floor during the first 10 minutes of baking. The steam expands the dough’s surface, creating a glossy, crackly crust.
- 🎯 Resting the Dough: Let the mixed dough rest for 5 minutes before shaping. This short autolyse relaxes the gluten, making shaping easier and improving crumb structure.
- 🎯 Flavor Layering: Add a pinch of ground cinnamon or nutmeg to the dry mix for a warm spice note that pairs beautifully with the tart currants.
“Good bread is the most fundamentally satisfying of all foods; it’s the foundation of a great meal.” — Paul Hollywood
🔄 Variations and Adaptations
This soda bread is a versatile canvas. Below are several ways to tailor it to dietary preferences, flavor cravings, or seasonal ingredients.
🥬 Vegetarian / Vegan Version
Replace the butter with a plant‑based alternative such as coconut oil or vegan margarine. Use a non‑dairy cultured buttermilk (available in many grocery stores) or make your own by adding 1 tbsp lemon juice to 1 cup soy milk and letting it sit for 5 minutes. The texture remains tender, and the flavor stays bright.
- Vegan butter: 30 g, melted
- Non‑dairy buttermilk: 360 ml
🌶️ Flavor Variations
Play with the flavor profile by swapping or adding ingredients. The dough welcomes spices, herbs, and even savory add‑ins while maintaining its characteristic texture.
Spicy Version:
Add ½ tsp ground cayenne pepper and a pinch of smoked paprika to the dry mix. The heat pairs nicely with the sweet currants, creating a sweet‑spicy contrast.
Mediterranean Version:
Substitute half the flour with fine semolina, fold in ¼ cup chopped sun‑dried tomatoes, and sprinkle the top with a drizzle of olive oil and a pinch of oregano before baking.
Asian‑Inspired Version:
Incorporate 1 tbsp toasted sesame oil into the wet mixture, and add 2 tbsp toasted sesame seeds on top. Finish with a light glaze of honey mixed with a splash of soy sauce for a sweet‑umami twist.
⚠️ Dietary Adaptations
Gluten‑Free:
Use a blend of 1 cup rice flour, ½ cup tapioca starch, and ½ cup potato starch. Add 1 tbsp xanthan gum to mimic gluten’s binding power. The dough will be slightly more delicate, so handle it gently.
Lactose‑Free:
Substitute regular butter with lactose‑free margarine and use a lactose‑free cultured buttermilk (or the lemon‑juice‑milk method). The texture and flavor remain largely unchanged.
Low‑Calorie:
Reduce sugar to 1 tbsp, replace half the butter with unsweetened applesauce, and use whole‑wheat flour for added fiber. This cuts calories by roughly 30 % while keeping the loaf satisfying.
👶 Family / Kids Version
Kids love a sweeter loaf. Increase the sugar to 3 tbsp, add a handful of mini chocolate chips, and drizzle a simple glaze of powdered sugar mixed with a splash of milk after baking. Serve warm with a dollop of vanilla yogurt for a fun, kid‑friendly snack.
📦 Storage and Reheating
🧊 Conservation
In the Refrigerator:
- Duration: 4‑5 days
- Recommended container: Airtight bread box or sealed plastic bag
- Tip: Slice before storing; this speeds up reheating and keeps the crust from getting soggy.
In the Freezer:
- Duration: Up to 3 months
- Method: Wrap tightly in foil, then place in a freezer‑safe zip‑lock bag.
- Defrosting: Transfer to the refrigerator overnight, then reheat gently in the oven.
💡 For best flavor, consume within a week; the butter and buttermilk can turn rancid if kept too long.
♨️ Reheating
🔥 In the Oven (Recommended):
- Preheat to 175 °C (350 °F).
- Wrap the loaf loosely in aluminum foil to retain moisture.
- Heat for 10‑12 minutes.
- Remove foil and bake an additional 3‑4 minutes for a crisp crust.
⚡ In the Microwave (Quick):
- Place a slice on a microwave‑safe plate.
- Cover with a microwave‑safe lid or damp paper towel.
- Heat on medium power for 30‑45 seconds.
- Check and repeat in 10‑second bursts if needed.
🍳 In a Skillet:
Heat a non‑stick skillet over medium‑low heat, add a thin pat of butter, and warm each slice for 2‑3 minutes per side. This method revives the crust while adding a buttery finish.
🍷 Perfect Pairings
🥗 Side Dishes
- Irish Stew: A hearty lamb or beef stew with root vegetables complements the bread’s rustic flavor.
- Mixed Green Salad with Apple Cider Vinaigrette: The acidity balances the bread’s richness.
- Cheese Board: Sharp Irish cheddar, creamy brie, and a dollop of quince paste make a classic trio.
🍷 Wine & Beverage Pairings
- Irish Red Ale: Its maltiness mirrors the bread’s caramel notes.
- Dry Riesling: The crisp acidity cuts through the buttery crust.
- Non‑Alcoholic Option: Sparkling apple cider with a hint of cinnamon.
🍰 Complementary Courses
Begin with a light pea soup or a smoked salmon starter, follow the soda bread as the centerpiece, and finish with a simple lemon tart or Irish cream cheesecake for a balanced menu.
❓ Frequently Asked Questions
Q: Can I use self‑rising flour instead of baking soda?
While self‑rising flour contains leavening agents, it also includes salt, which can alter the flavor balance. If you substitute, omit the added salt and baking soda, and increase the flour amount by about ¼ cup to maintain texture. The result will be slightly lighter but may lack the traditional tang of buttermilk.
Q: Why does my bread have a dense crumb?
Over‑mixing is the most common cause; it develops gluten, making the interior tough. Also, using old baking soda can reduce rise. Ensure the soda is fresh (test with vinegar) and stir the dough only until it just comes together.
Q: How can I make the crust extra crunchy?
Bake the loaf on a preheated pizza stone or cast‑iron skillet, and add steam in the first 10 minutes. Brushing the top with melted butter before baking also encourages a crisp, golden crust.
Q: Can I add other dried fruits?
Absolutely! Dried apricots, raisins, or chopped dried figs work well. Adjust the quantity to keep the dough manageable—adding too many can make the loaf heavy and cause it to collapse.
Q: Is it possible to freeze the dough before baking?
Yes. Shape the dough, wrap tightly in plastic, and freeze. When ready, thaw in the refrigerator overnight, add a few extra minutes to the bake time, and score the top just before baking.
Q: How far in advance can I prepare the loaf?
The bread can be baked a day ahead and stored at room temperature, covered with a clean kitchen towel to keep the crust from drying. Reheat briefly before serving to restore freshness.
🎉 To Your Oven!
This Traditional Irish Soda Bread captures the soul of a centuries‑old tradition while offering modern convenience. The quick rise, buttery aroma, and juicy currants make it a standout addition to any meal, whether you’re serving it with a hearty stew or enjoying it simply with butter and tea. By following the detailed steps, you’ll master a loaf that stays soft for days and impresses guests with its rustic charm.
I encourage you to experiment with the variations, share your personal twists, and let the aroma fill your home. Baking is as much about community as it is about flavor—so don’t hesitate to post photos, ask questions, or leave a review.
Have you tried this recipe?
Leave a comment and rating below! Share your photos on Instagram with #SodaBreadJoy to be featured.
Traditional Irish Soda Bread with Buttermilk and Currants
A quick, buttery loaf studded with sweet currants – perfect for any season.
📝 Ingredients
For the Dough
For the Currants
For the Glaze (optional)
👨🍳 Instructions
- 1 Preheat oven to 200 °C (390 °F) and line a baking sheet with parchment.
- 2 Soak currants in 1 tbsp warm milk while you whisk dry ingredients.
- 3 Whisk flour, baking soda, salt, and sugar together in a large bowl.
- 4 Make a well, pour in buttermilk and melted butter, stir until just combined.
- 5 Fold drained currants into the dough gently.
- 6 Shape into a round loaf, score a deep “X”, brush with butter, sprinkle sea salt.
- 7 Bake for 35 minutes, or until crust is golden and bottom sounds hollow.
- 8 Cool on a wire rack for 20 minutes before slicing.
- 9 Serve warm with butter, honey, or alongside stew.
- 10 Store leftovers in an airtight container; reheat in oven before serving.
🥗 Nutritional Information (per serving)
*Values are estimates based on standard ingredients.
📚 You Might Also Like

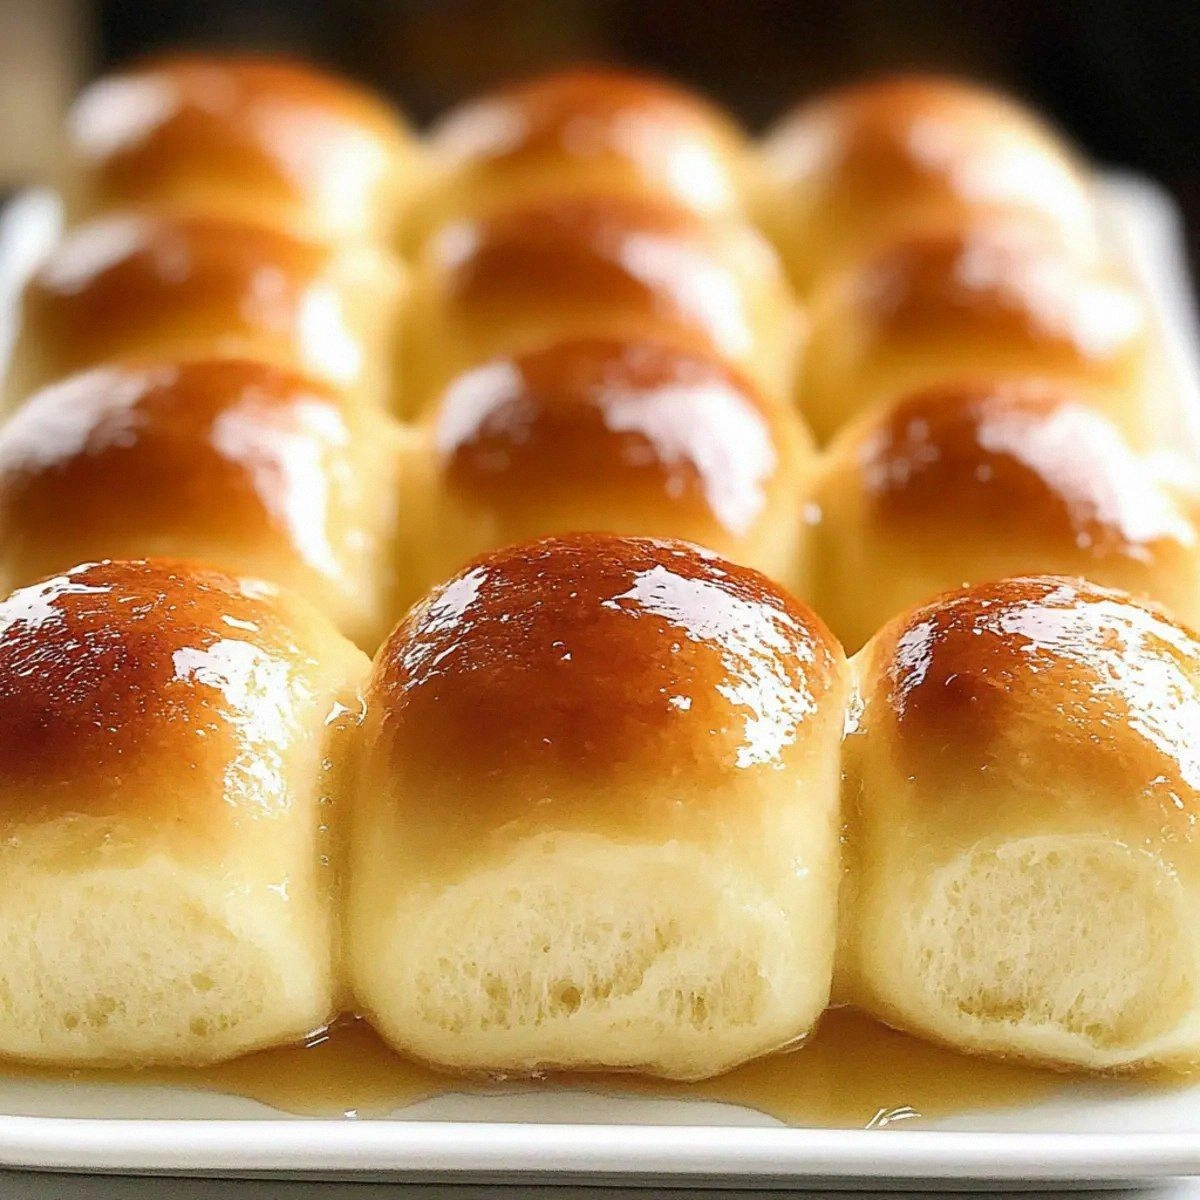
Classic Irish Shepherd's Pie

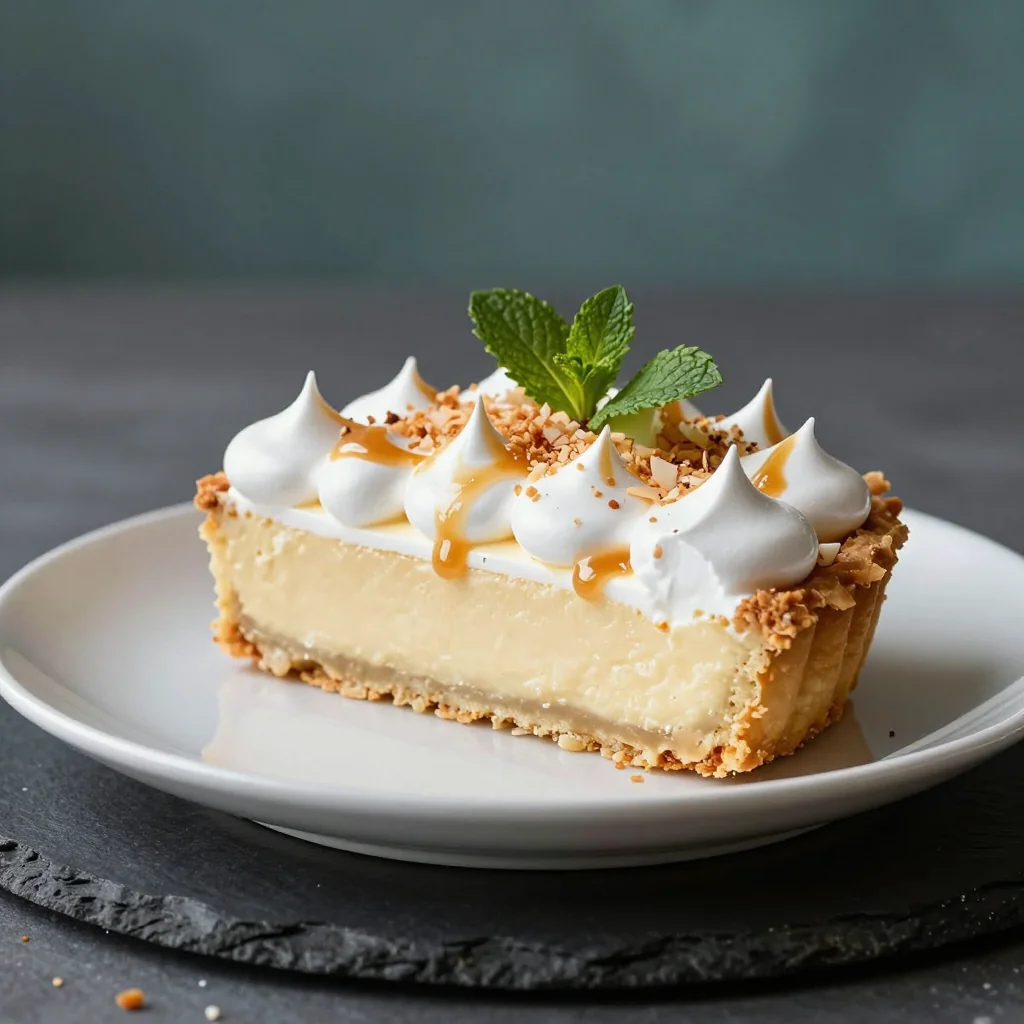
Irish Cream Cheesecake

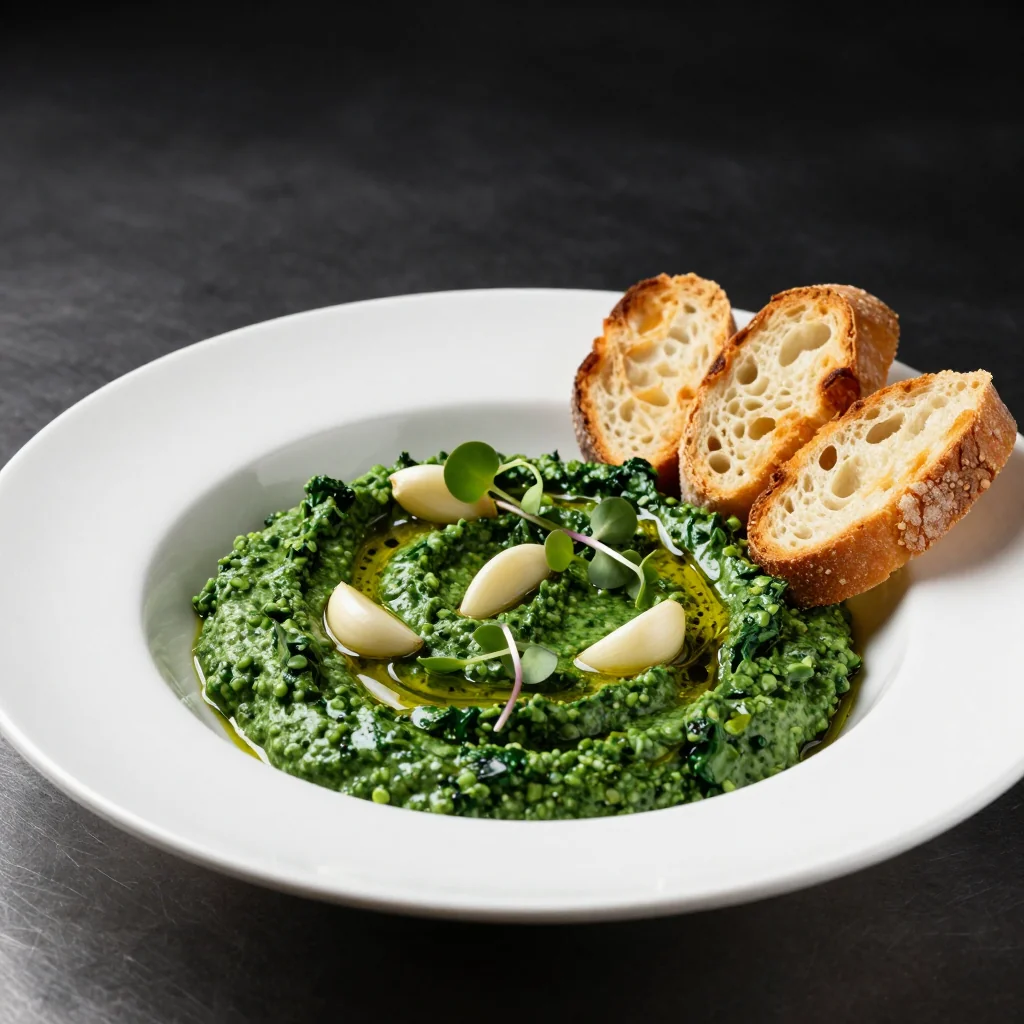
Colcannon with Kale




💬 Comments & Reviews
Leave a Comment
[Reader comments will appear here]