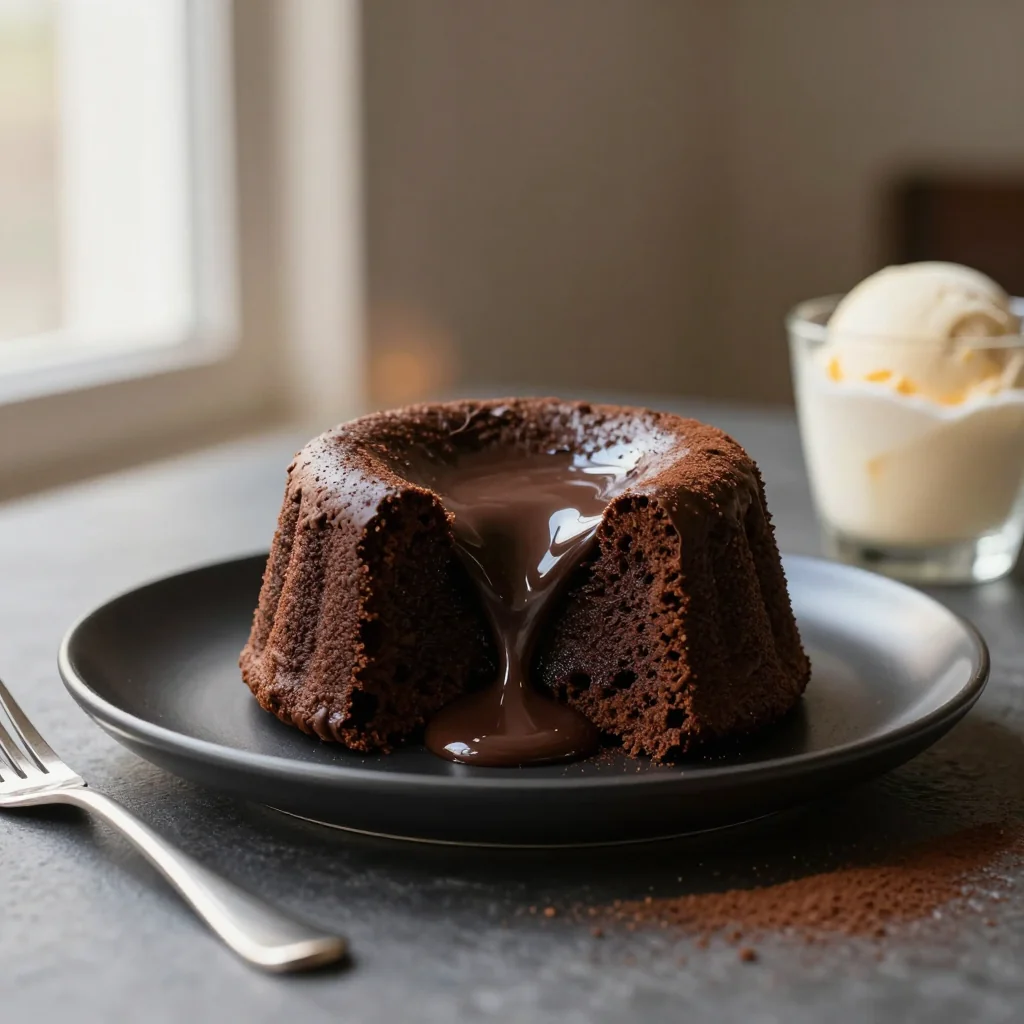
A decadent, oozy chocolate masterpiece that melts hearts and taste buds alike.
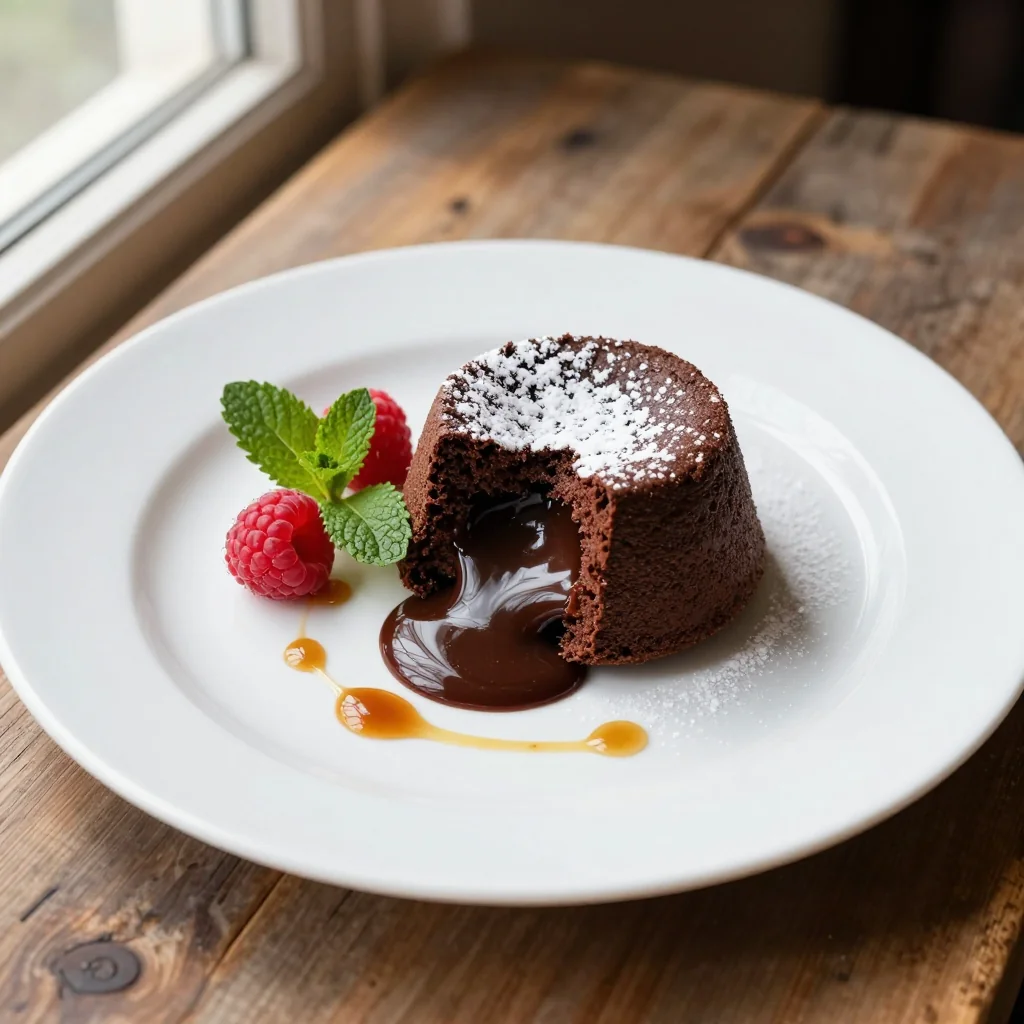
The first time I tasted a molten chocolate lava cake, I was sitting in a tiny Parisian café, the rain drizzling against the window panes, and a warm, fragrant steam rising from a freshly baked dessert. The moment my fork pierced the delicate crust, a river of silky, dark chocolate cascaded onto my plate, mingling with a scoop of vanilla bean ice cream. That single bite sparked an obsession that has traveled with me across continents, inspiring countless experiments in my own kitchen.
Originating from the French culinary renaissance of the 1980s, the lava cake—sometimes called “fondant au chocolat”—was a happy accident. A young pastry chef, aiming for a perfectly set soufflé, inadvertently underbaked the center, creating a luscious, flowing core. Since then, it has become a symbol of indulgence, a go-to dessert for celebrations, romantic evenings, and anytime you need a chocolate fix that feels both elegant and comforting.
In this article, I will walk you through a foolproof method that guarantees a crisp outer shell and a molten heart every single time. You’ll learn the science behind temperature control, the importance of high‑quality chocolate, and how to customize the recipe for dietary preferences without sacrificing that signature ooze.
I’m thrilled to share this beloved recipe with you, and I hope you’ll feel the same excitement as you watch the chocolate flow out of the cake onto your plate. Let’s get baking!
🌟 Why This Recipe Will Capture Your Heart
From the first bite to the lingering aftertaste, this lava cake offers an unforgettable experience that blends texture, flavor, and drama.
- ✨ Irresistible Texture Contrast: A delicate, slightly crisp outer crust gives way to a luxuriously fluid chocolate core, creating a sensory surprise that delights every palate.
- ✨ Simple Ingredient List: Only premium chocolate, butter, sugar, eggs, flour, and a few aromatics are needed, making the recipe accessible while still feeling gourmet.
- ✨ Perfect for Any Occasion: Whether it’s a birthday, anniversary, or a quiet night in, the dramatic presentation adds a touch of elegance to any setting.
- ✨ Customizable Flavor Profile: Add a pinch of sea salt, a dash of espresso, or a swirl of caramel for endless variations without altering the core technique.
- ✨ Quick and Efficient: The entire process takes under 30 minutes, allowing you to serve a restaurant‑quality dessert without the wait.
- ✨ Crowd‑Pleaser: The combination of rich chocolate and warm molten center consistently earns rave reviews from both chocolate purists and casual sweet‑tooth diners.
🥗 The Ingredients
📝 Complete Ingredient List
For the Cake Batter:
For the Molten Center:
For the Garnish (optional):
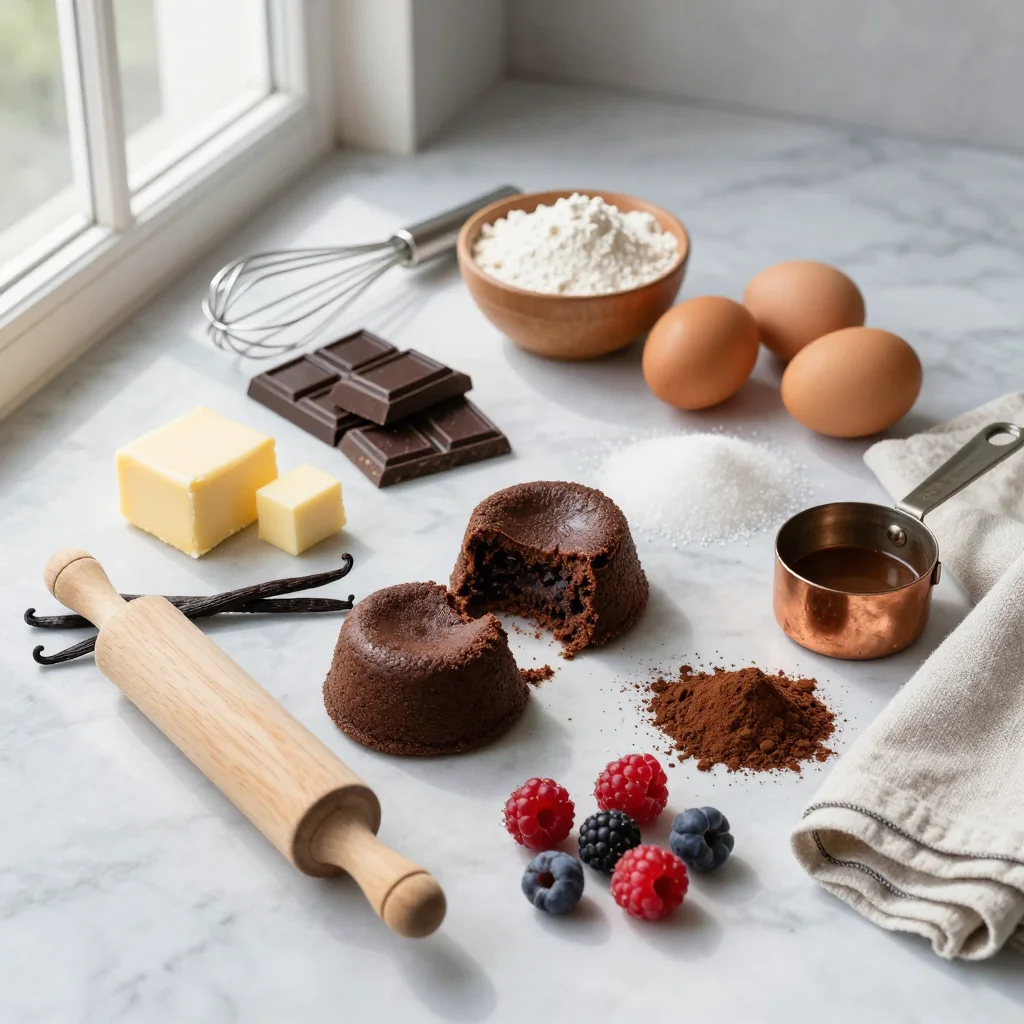
🔍 Focus on Key Ingredients
Dark Chocolate (70% Cocoa)
High‑quality dark chocolate is the soul of this lava cake. The 70% cocoa content provides a perfect balance between bitterness and sweetness, ensuring the molten center is rich without being overly sweet. When selecting chocolate, look for a glossy finish and a firm snap when broken; these signs indicate a well‑tempered product that will melt smoothly without graininess.
Unsalted Butter
Butter contributes both flavor and structure. Unsalted butter lets you control the salt level precisely, while its high butterfat content creates a glossy, velvety batter. For the best results, melt the butter gently over low heat and let it cool slightly before mixing with the chocolate to avoid cooking the eggs prematurely.
Heavy Cream
The heavy cream in the molten center adds a silky mouthfeel and helps the chocolate flow effortlessly when the cake is cut. Aim for a cream with at least 35% fat; lower‑fat alternatives can cause the center to set too firmly, losing that coveted lava effect.
🔄 Quick Substitutions
| If you don’t have... | Use instead... |
|---|---|
| Dark chocolate (70%) | 85% cocoa chocolate (adds more bitterness) |
| Unsalted butter | Salted butter (reduce added salt) |
| Heavy cream | Full‑fat coconut milk (for dairy‑free) |
👨🍳 Step‑by‑Step Instructions
Follow these detailed steps to achieve the perfect balance of a crisp exterior and a molten interior. Each phase is designed to build confidence, even if you’re a first‑time baker.
📋 Phase 1: Preparation and Mise en Place
Gather and measure all ingredients before you begin. This ensures a smooth workflow and prevents over‑mixing.
Pre‑heat the oven and prepare ramekins
Set your oven to 200°C (392°F) and allow it to fully preheat. While the oven warms, butter four 6‑ounce ramekins and dust each lightly with cocoa powder. This coating prevents the cakes from sticking and adds an extra layer of chocolate flavor.
Melting the chocolate and butter for the batter
Place 200 g dark chocolate and 200 g butter into a heat‑proof bowl. Melt them together over a simmering pot of water (bain‑marie), stirring constantly until smooth. Remove from heat and let the mixture cool for about five minutes; this prevents the eggs from scrambling when added.
🔥 Phase 2: Mixing and Baking
Combine the wet and dry components, then bake quickly to preserve the molten core.
Whisk eggs and sugar
In a separate bowl, whisk together the four eggs and 150 g granulated sugar until the mixture becomes pale, thick, and ribbons form when the whisk is lifted. This process incorporates air, giving the final cake a light crumb despite its dense appearance.
Fold in the chocolate‑butter mixture
Gently fold the cooled chocolate‑butter blend into the egg‑sugar mixture using a spatula. The motion should be slow and deliberate to retain the air you just incorporated.
Add dry ingredients and flavorings
Sift the flour and cocoa powder together to avoid lumps, then fold them into the batter along with the vanilla extract and a pinch of sea salt. The batter should be glossy, thick, and slightly pourable.
Prepare the molten centers
In a small saucepan, combine 100 g dark chocolate, 100 ml heavy cream, 1 tbsp butter, and a pinch of sea salt. Heat gently, stirring until the mixture is smooth and glossy. Allow it to cool just enough to be spoon‑able but still fluid.
Assemble the ramekins
Spoon the batter evenly into the prepared ramekins, filling each about three‑quarters full. Drop a tablespoon of the molten center into the middle of each batter mound, then gently cover with a thin layer of remaining batter so the center is sealed.
Bake the cakes
Place the ramekins on a baking sheet and bake for 12 minutes. The edges should be set and slightly cracked, while the center remains wobbly. Resist the urge to open the oven early; the timing is critical for the lava effect.
✨ Phase 3: Finishing Touches and Serving
Finalize the presentation and enjoy the molten surprise.
Check for doneness
Gently tap the top of a cake; it should feel firm on the outside but give slightly under pressure. A quick visual cue is a cracked surface with a slight wobble in the center.
Plate and garnish
Run a thin knife around the edge of each ramekin, invert onto a warm dessert plate, and dust lightly with powdered sugar. Add a scoop of vanilla bean ice cream, a few fresh berries, and a pinch of flaky sea salt for contrast.
Serve immediately
The cake should be served hot, allowing the molten core to flow onto the plate and into the ice cream, creating a decadent cascade of chocolate.
💡 Expert Tips and Tricks
🛒 Choosing the Right Ingredients
Look for chocolate that lists cocoa solids as the first ingredient and contains minimal additives. A high cocoa butter content ensures a glossy melt. When buying butter, opt for European‑style butter, which has a richer flavor and higher fat content, essential for a tender crumb. Fresh eggs are crucial; room‑temperature eggs blend more evenly with the chocolate mixture, preventing lumps.
🔪 Preparation Techniques
Before you start, set out all tools: a digital scale, a small whisk, a silicone spatula, and a kitchen thermometer. Measuring ingredients by weight rather than volume guarantees consistency, especially for flour, which can vary greatly. When folding the batter, use a gentle “lift‑and‑turn” motion to keep the airy structure intact.
🌡️ Mastering the Cooking Process
The key to a perfect lava core is precise timing. Every oven behaves slightly differently, so use an instant‑read thermometer to verify that the oven reaches 200°C before loading the ramekins. If you prefer a slightly firmer center, add an extra minute to the bake time; for a more fluid lava, reduce it by a minute. Rotate the baking sheet halfway through for even browning.
🍽️ Presentation and Service
Warm your plates in the oven for a minute before plating; this helps maintain the cake’s heat and encourages the molten center to flow. Pair the cake with a contrasting element, such as a dollop of lightly sweetened whipped cream or a drizzle of raspberry coulis, to cut through the richness and add visual flair.
🏆 Pro Tips
Professional pastry chefs know that subtle adjustments can elevate a good dessert to an unforgettable one.
- 🎯 Temperature‑Shock Technique: After baking, let the ramekin sit on a cold surface for 10 seconds before unmolding. The rapid temperature change helps the outer crust contract just enough to release the cake cleanly, preserving the molten flow.
- 🎯 Infused Butter: Melt the butter with a teaspoon of espresso powder or a pinch of smoked sea salt before mixing with chocolate. This adds a nuanced depth that brightens the chocolate’s bitterness.
- 🎯 Layered Molten Core: For a more complex center, swirl in a tablespoon of caramel or a spoonful of peanut butter into the molten mixture before spooning it into the batter. The layered flavors surprise the palate as the cake opens.
- 🎯 Precision Baking Tools: Use a silicone baking mat inside the ramekin to create a thin barrier. This ensures the cake rises evenly and reduces the risk of the molten center sticking to the sides.
- 🎯 Resting Time: Allow the batter to rest for 5 minutes after folding in dry ingredients. This brief rest hydrates the flour, resulting in a smoother texture and more consistent rise.
- 🎯 Presentation Plate Temperature: Warm the serving plates in the oven at 60°C for 5 minutes. A warm plate keeps the cake hot longer, extending the lava flow when the dessert is cut.
"A perfect lava cake is a symphony of texture—crack, melt, and silk all in one bite." — Chef Pierre Gagnaire
🔄 Variations and Adaptations
The base recipe is a versatile canvas. Below are several ways to tailor the lava cake to dietary needs, flavor cravings, and seasonal preferences while preserving its iconic molten core.
🥬 Vegetarian / Vegan Version
Replace the butter with a high‑quality plant‑based margarine and use a vegan dark chocolate (ensure it contains no dairy). Substitute the eggs with a blend of 1 tbsp flaxseed meal mixed with 3 tbsp water per egg, letting it gel for 5 minutes before incorporating. The heavy cream can be swapped for full‑fat coconut cream, which adds a subtle tropical note.
- Vegan butter (same weight as dairy butter)
- Flax‑egg mixture (4 tbsp flaxseed + 12 tbsp water)
- Coconut cream (100 ml)
🌶️ Flavor Variations
Play with complementary flavors to keep the dessert exciting. A dash of espresso powder amplifies the chocolate’s depth, while a spoonful of orange zest brightens the palate. For an adventurous twist, incorporate a pinch of cayenne pepper for a subtle heat that awakens the senses.
Spicy Version:
Add ¼ tsp cayenne pepper to the batter and a drizzle of chili‑infused chocolate sauce on the plate.
Mediterranean Version:
Stir in 1 tbsp finely chopped pistachios into the molten center and garnish with a sprinkle of crushed rose petals.
Asian Inspired Version:
Mix 1 tsp matcha powder into the batter and serve with a side of black sesame ice cream.
⚠️ Dietary Adaptations
Gluten‑Free:
Swap all‑purpose flour for an equal amount of almond flour or a certified gluten‑free blend. Almond flour adds a nutty undertone that pairs beautifully with chocolate.
Lactose‑Free:
Use dairy‑free dark chocolate and replace butter with coconut oil. Ensure the coconut oil is solid at room temperature for proper texture.
Low‑Calorie:
Reduce sugar by half and replace half of the butter with unsweetened applesauce. This cuts calories while maintaining moisture.
👶 Family / Kids Version
Kids love the surprise of the flowing chocolate, but they may prefer a milder sweetness. Use milk chocolate for the batter and a caramel sauce for the center. Serve with a dollop of whipped cream and colorful sprinkles to make it visually appealing.
📦 Storage and Reheating
🧊 Conservation
In the Refrigerator:
- Duration: 3 days
- Recommended container: Airtight glass jars
- Tip: Store the molten center separately in a small sealed container to maintain its fluidity.
In the Freezer:
- Duration: 2 months
- Method: Freeze the baked cakes without the ice cream; wrap each ramekin tightly in plastic wrap then foil.
- Defrosting: Transfer to the refrigerator overnight, then let sit at room temperature for 15 minutes before reheating.
💡 For best texture, reheat rather than thaw completely; this preserves the delicate crumb.
♨️ Reheating
🔥 In the Oven (Recommended):
- Preheat to 180°C (356°F).
- Cover each ramekin loosely with aluminum foil to prevent the top from over‑browning.
- Heat for 8‑10 minutes, checking that the edges are firm but the center still jiggles.
- Remove foil and bake an additional 2 minutes for a slight crust.
⚡ In the Microwave (Quick):
- Place the cake on a microwave‑safe plate.
- Heat on medium power for 30‑45 seconds, then check for a soft center.
- If needed, continue in 10‑second bursts to avoid over‑cooking.
🍳 In a Skillet:
Melt a teaspoon of butter in a non‑stick skillet over low heat, place the ramekin (if oven‑safe) or transfer the cake onto the skillet, and cover. Heat for 4‑5 minutes, rotating gently, until the center is molten.
🍷 Perfect Pairings
🥗 Side Accompaniments
- Fresh Berries: Their acidity cuts through the richness and adds a burst of color.
- Salted Caramel Sauce: Drizzle for a sweet‑salty contrast that heightens the chocolate depth.
- Whipped Mascarpone: Light, airy, and slightly tangy, it balances the intense chocolate.
🍷 Wine & Beverage Pairings
- Ruby Port: Its sweet, fortified profile mirrors the dessert’s richness.
- Late Harvest Zinfandel: Offers ripe fruit notes that complement the chocolate’s bitterness.
- Non‑Alcoholic: A chilled hibiscus tea with a hint of orange blossom provides a floral counterpoint.
🍰 To Complete the Meal
Begin with a light citrus salad or a crisp arugula and pear salad to awaken the palate. Follow the lava cake with a small serving of lemon sorbet to cleanse the palate and finish on a refreshing note.
❓ Frequently Asked Questions
Q: Why does my lava cake sometimes set solid in the center?
Over‑baking is the most common cause. Every oven has hot spots; using an oven thermometer ensures accurate temperature. Reduce the bake time by 1‑2 minutes if you notice the center firming up. Also, make sure the batter is at room temperature before baking; cold batter can cook unevenly.
Q: Can I use a different size of ramekin?
Yes, but adjust the baking time accordingly. Smaller ramekins (4‑ounce) will need about 8‑9 minutes, while larger ones (8‑ounce) may require 14‑15 minutes. The key is to watch for a firm outer edge while the center remains wobble‑soft.
Q: How do I prevent the molten center from leaking out during baking?
Ensure the batter fully covers the molten mixture, sealing it like a pocket. A thin layer of batter on top acts as a barrier. Additionally, chilling the molten center for a few minutes before adding it to the batter helps it stay in place longer.
Q: Is it possible to make this recipe gluten‑free?
Absolutely. Substitute the all‑purpose flour with an equal weight of almond flour or a certified gluten‑free blend. Almond flour adds a subtle nutty flavor that pairs wonderfully with chocolate, while a gluten‑free blend keeps the texture close to the original.
Q: Can I prepare the molten centers in advance?
Yes. Prepare the chocolate‑cream mixture, let it cool, then store it in a sealed container in the refrigerator for up to 24 hours. Bring it back to room temperature before spooning into the batter to ensure it spreads evenly.
Q: How long can I keep the baked lava cakes before serving?
For optimal texture, serve within 2 hours of baking. If you need to hold them longer, keep the ramekins covered loosely with foil at a warm (but not hot) temperature, such as a low oven set to 50°C (122°F). This maintains the molten interior without over‑cooking.
🎉 To Your Oven!
This lava cake combines the science of precise temperature control with the art of indulgent flavor, delivering a dessert that feels both sophisticated and comforting. By mastering the balance between a crisp crust and a flowing chocolate heart, you’ll impress guests and satisfy even the most discerning chocolate lovers. Remember, the quality of your chocolate and butter makes a world of difference, and the timing is the secret ingredient that turns a simple batter into a spectacular lava eruption.
I encourage you to experiment with the variations, share your creations on social media, and let the community know how you made this recipe your own. Your feedback helps refine the guide and inspires others to embark on their own chocolate adventures.
Have you tried this recipe?
Leave a comment and rating below! Share your photos on Instagram with #LavaCakeMagic to be featured.
Lava Cake Chocolate with Molten Center
A decadent chocolate cake with a gooey, molten center that oozes with every bite.
📝 Ingredients
For the Cake Batter
For the Molten Center
Garnish (optional)
👨🍳 Instructions
- 1
Pre‑heat oven to 200°C (392°F) and butter four 6‑ounce ramekins, dusting each with cocoa powder.
- 2
Melt 200 g dark chocolate and 200 g butter together in a bain‑marie, then let cool slightly.
- 3
Whisk 4 eggs with 150 g sugar until pale and thick, forming ribbons.
- 4
Fold the chocolate‑butter mixture into the egg‑sugar blend gently.
- 5
Sift together 50 g flour and 30 g cocoa powder; fold into batter with vanilla and a pinch of salt.
- 6
Prepare molten center by heating 100 g chocolate, 100 ml cream, 1 tbsp butter, and a pinch of salt until smooth; let cool.
- 7
Fill ramekins three‑quarters full with batter, add a spoonful of molten center, then cover with remaining batter.
- 8
Bake for 12 minutes; edges should be set, center still wobbling.
- 9
Run a knife around each ramekin, invert onto warm plates, dust with powdered sugar.
- 10
Serve immediately with a scoop of ice cream, berries, and a pinch of flaky sea salt.
🥗 Nutritional Information (per serving)
*Values are estimates based on standard ingredient brands.
📚 You Might Also Like
Silky Chocolate Mousse
Raspberry Tart with Almond Crust
Classic Affogato


💬 Comments & Reviews
Leave a Comment
[User comments will appear here]