Picture this: it’s a humid summer afternoon, the kind where the air feels like a warm blanket, and you’re craving something sweet that doesn’t demand you fire up the oven. I was rummaging through my pantry, half‑heartedly scrolling through endless “no‑bake” recipes, when my eyes landed on a dusty box of powdered sugar and a jar of marshmallow creme that had been hiding behind the cereal. I thought, “What if I could turn these two humble pantry staples into a cloud‑like candy without ever touching a stove?” That thought sparked a kitchen adventure that quickly turned into an obsession.
The kitchen smelled like a confectionery factory the moment I whisked the egg whites into stiff peaks – a light, airy perfume that whispered promises of fluffy clouds. The marshmallow creme melted into a glossy river of pinkish‑gold, while the powdered sugar swirled in like fresh snow, creating a texture that felt both silky and slightly granular, a perfect paradox for any sweet tooth. As I folded everything together, the mixture puffed up, a visual reminder that I was on the brink of something truly magical.
Most divinity candy recipes I’ve tried either required a stovetop caramel that could burn in a heartbeat or a baffling amount of patience waiting for a gelatinous set. This version? It’s hands down the best version you’ll ever make at home because it eliminates the heat, trims the prep time, and still delivers that melt‑in‑your‑mouth, airy chew that makes people gasp in delight. I dare you to taste this and not go back for seconds – the combination of marshmallow, powdered sugar, and a whisper of vanilla is so addictive it feels almost unfair.
And here’s the kicker: I’m throwing in a secret weapon that most recipes completely ignore – a splash of milk that you only add if the mixture feels too stiff. This tiny addition rescues the candy from turning into a dry crumble, ensuring each bite stays buttery soft. I’ll be honest — I ate half the batch before anyone else got a chance to try it, and that’s a confession you’ll probably relate to after reading on.
Okay, ready for the game‑changer? Let me walk you through every single step — by the end, you’ll wonder how you ever made it any other way.
What Makes This Version Stand Out
- Flavor: The marriage of marshmallow creme and vanilla (or almond) creates a depth that feels like a gourmet confection, not a kitchen shortcut.
- Texture: Achieves that iconic fluffy, melt‑in‑your‑mouth feel without any heat, thanks to the whipped egg whites acting as a cloud‑like binder.
- Simplicity: No stovetop, no candy thermometer, just a bowl, a whisk, and a sprinkle of patience – perfect for lazy weekends.
- Uniqueness: The optional milk trick keeps the candy from drying out, a detail most recipes miss, giving you a consistently soft bite.
- Crowd Reaction: Guests often ask if you bought it from a bakery; the answer is always a smug “nope, homemade!”
- Ingredient Quality: Using premium powdered sugar and real marshmallow creme (not the cheap melt‑away kind) elevates the entire experience.
- Method: No‑cook means no burnt sugar risk, making it foolproof for beginners and seasoned bakers alike.
- Make‑Ahead Potential: Store in an airtight container for up to a week, and the flavor actually mellows into something even richer.
Alright, let's break down exactly what goes into this masterpiece...
Inside the Ingredient List
The Flavor Base
Powdered Sugar: This is the backbone of the candy, lending a sweet, fluffy texture that feels like biting into a sugar‑kissed cloud. Sifting it ensures a smooth consistency, which is essential for the best outcome. If you skip the sift, you’ll end up with gritty pockets that ruin the delicate mouthfeel. You can substitute with confectioners’ sugar blended with a pinch of cornstarch if you’re low on the pure version.
The Texture Crew
Marshmallow Creme: Rich and sticky, this component gives the candy its delightful, chewy nature. It’s a shortcut to achieving that classic marshmallow flavor without the hassle of making your own marshmallow from scratch. If you’re feeling adventurous, try a gourmet brand that uses real vanilla beans for an extra aromatic punch. Skipping it would leave the candy flat and dry, as there’d be nothing to bind the sugar and egg whites together.
Egg Whites: Whipped to stiff peaks, these act as the magical binding agent, bringing airiness to the candy. Just make sure there’s no yolk in them for the best results! A common mistake is under‑whipping, which leads to a dense, gummy texture. For a vegan twist, you can experiment with aquafaba, but the texture will be slightly different.
The Unexpected Star
Vanilla or Almond Extract: This is your opportunity to add a personalized flavor twist! Vanilla is a classic choice, while almond extract can make your candy taste even more unique. A dash of almond can transform the candy into a Southern‑style delight reminiscent of praline. If you’re allergic or simply don’t have either, a pinch of citrus zest works as an unexpected but delightful alternative.
The Final Flourish
Chopped Pecans or Walnuts (optional): For a delightful crunch, sprinkle in some nuts. They add texture and can elevate the flavor profile, but feel free to leave them out if you prefer a smoother candy. Toast the nuts lightly before folding them in; this brings out a buttery aroma that pairs beautifully with the sweet base.
Milk (if needed): Sometimes, depending on the humidity or how stiff your mixture is, a splash of milk can help achieve the perfect consistency. It’s a tiny secret that prevents the candy from becoming a dry crumble. Add it drop by drop, watching the mixture become glossy and supple. Too much milk will make it runny, so patience is key.
Everything's prepped? Good. Let's get into the real action...
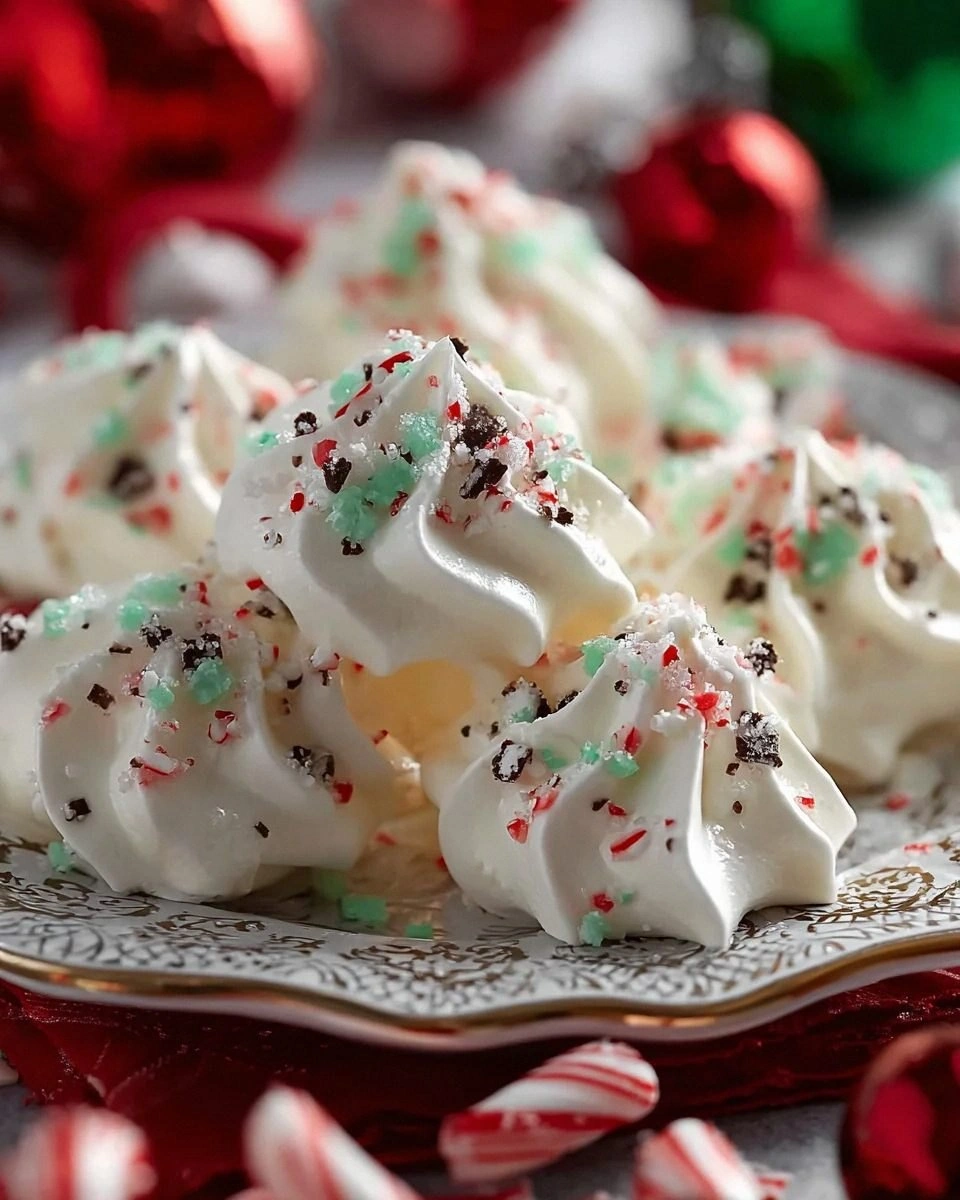
The Method — Step by Step
Start by sifting 2 cups of powdered sugar into a large mixing bowl. The fine powder should fall like soft snow, creating a light, airy foundation. As you sift, take a moment to admire the cloud‑like texture – this is the first clue that your candy is destined for greatness. If any lumps survive, give them another quick sift; you want a completely smooth base before adding any wet ingredients.
In a separate, clean bowl, pour 1 cup of marshmallow creme. Using a rubber spatula, gently warm it for about 10 seconds in the microwave just until it’s a little more fluid – not hot, just pliable. This step ensures it mixes evenly with the powdered sugar later on. The aroma of sweet marshmallow should start to fill the kitchen, a signal that you’re on the right track.
Now, whisk 2 large egg whites until they form soft peaks. This is where the magic begins: the air you incorporate will become the fluffy backbone of your candy. Keep whisking until the peaks hold their shape but are still glossy – think of a gentle wave rather than a stiff mountain. Tip: Adding a pinch of cream of tartar helps stabilize the whites, especially on humid days.
Kitchen Hack: If you’re short on time, use an electric hand mixer on medium speed – it achieves the same airy peaks in half the effort.Gently fold the whipped egg whites into the marshmallow creme. Use a large rubber spatula and a gentle, lifting motion to preserve the air you just created. The mixture should turn a pale pink, glossy, and slightly fluffy – this is the “cloud” forming. If you notice any streaks of egg white, keep folding until the color is uniform.
Begin incorporating the sifted powdered sugar, one cup at a time, folding it in carefully. The mixture will thicken quickly; you’ll feel it press against the sides of the bowl, a tactile cue that you’re nearing the perfect consistency. At this stage, the candy should feel like a soft dough that holds its shape when pressed. Watch Out: Over‑mixing can deflate the air, resulting in a denser candy.
Watch Out: If the mixture feels too dry, it will crumble; if it’s too wet, it won’t hold shape. This is where the secret milk splash comes in.Now, add 1 teaspoon of vanilla or almond extract, whichever tickles your taste buds. The extract should perfume the mixture, adding depth that plain sugar can’t provide. If you’re feeling daring, split the teaspoon and use half vanilla, half almond for a complex flavor profile. Stir just enough to distribute the aroma evenly.
If the candy feels a touch too stiff, drizzle in 1 tablespoon of milk, one drop at a time. Watch as the mixture becomes glossy and supple, like a soft marshmallow that’s been gently warmed. Stop adding milk the moment the dough comes together in a smooth, pliable ball. This is the moment of truth – you’ve rescued the candy from a potential dry disaster.
Optional: Fold in ½ cup of toasted, chopped pecans or walnuts for a satisfying crunch. The nuts should be evenly dispersed, giving each bite a surprise textural pop. If you prefer a nut‑free version, skip this step and the candy will be silkier.
Transfer the mixture onto a parchment‑lined tray. With a greased hands or a silicone spatula, press the candy into a flat rectangle about ½‑inch thick. Use a sharp knife or pizza cutter to score it into bite‑size squares or bars – this makes serving a breeze later. Let the candy sit at room temperature for 15‑20 minutes to set; you’ll notice the edges firming up slightly, a visual cue that it’s ready.
That's it — you did it. But hold on, I've got a few more tricks that'll take this to another level...
Insider Tricks for Flawless Results
The Temperature Rule Nobody Follows
Even though this is a no‑cook candy, the ambient temperature still matters. Aim for a kitchen temperature of 68‑72°F (20‑22°C). Anything hotter can cause the mixture to become overly soft, while a chilly room will make it stiff before you can shape it. I once tried this on a sweltering July day and ended up with a gummy mess. The solution? Pop a bowl of ice water nearby to gently cool the air.
Why Your Nose Knows Best
When the marshmallow creme is warmed, trust the scent. If you catch a faint caramel note, you’ve gone too far – the mixture can turn bitter. The correct scent is sweet, slightly floral, like a freshly opened bag of powdered sugar. This sensory checkpoint saves you from an off‑flavor that no amount of frosting can hide.
The 5‑Minute Rest That Changes Everything
After you’ve scored the candy, let it rest uncovered for exactly five minutes. This short pause allows the surface to dry just enough to develop a subtle crust, while the interior stays melt‑in‑your‑mouth soft. Skipping this rest makes the candy too sticky to handle, and you’ll end up with a gooey mess on the cutting board.
Nut Toasting Secrets
If you decide to add pecans or walnuts, toast them in a dry skillet over medium heat for 3‑4 minutes, stirring constantly. The nuts should turn a golden amber and release a nutty aroma that mingles perfectly with the sweet base. I once forgot to toast them and the candy tasted flat – a simple oversight that makes a world of difference.
Storage Hack for Maximum Freshness
Wrap the cooled candy tightly in parchment paper before placing it in an airtight container. This double‑layer prevents moisture from making the candy soggy while also protecting it from absorbing other fridge odors. If you ever notice a slight hardening, a quick 10‑second microwave burst (covered with a damp paper towel) revives the softness.
Creative Twists and Variations
This recipe is a playground. Here are some of my favorite ways to switch things up:
Chocolate Swirl
Before folding in the powdered sugar, drizzle 2 tablespoons of melted dark chocolate over the marshmallow‑egg white mixture and swirl with a skewer. The result is a marbled appearance and a subtle cocoa depth that pairs beautifully with the vanilla.
Citrus Zest Burst
Add 1 teaspoon of finely grated orange or lemon zest along with the extract. The bright citrus lifts the sweetness, making the candy feel lighter and perfect for spring gatherings.
Spiced Autumn
Incorporate ½ teaspoon of ground cinnamon and a pinch of nutmeg into the powdered sugar before folding. This gives the candy a warm, cozy flavor reminiscent of holiday markets.
Nut‑Free Crunch
If you have allergies, swap the nuts for toasted coconut flakes or crisped rice cereal. Both add a satisfying crunch without the nutty profile.
Alcohol‑Infused
For an adult‑only version, replace half the milk with a splash of bourbon or amaretto. The alcohol evaporates slightly during the brief rest, leaving a lingering, sophisticated note.
Storing and Bringing It Back to Life
Fridge Storage
Place the candy in an airtight container lined with parchment paper and store it in the refrigerator for up to 7 days. The cool environment keeps the texture firm yet still soft enough to bite into. If you notice a slight hardening, let it sit at room temperature for 10 minutes before serving.
Freezer Friendly
Wrap individual pieces tightly in plastic wrap, then place them in a freezer‑safe bag. They’ll keep for up to 3 months. To enjoy, transfer a piece to the countertop and let it thaw for 15 minutes; the texture will be just as fluffy as fresh.
Best Reheating Method
When you want that just‑out‑of‑the‑kitchen feel, microwave a piece for 5‑7 seconds on low power, covering it with a damp paper towel. The steam generated restores the candy’s softness instantly. Add a tiny splash of milk (about 1 ml) before microwaving for an extra silkiness boost.