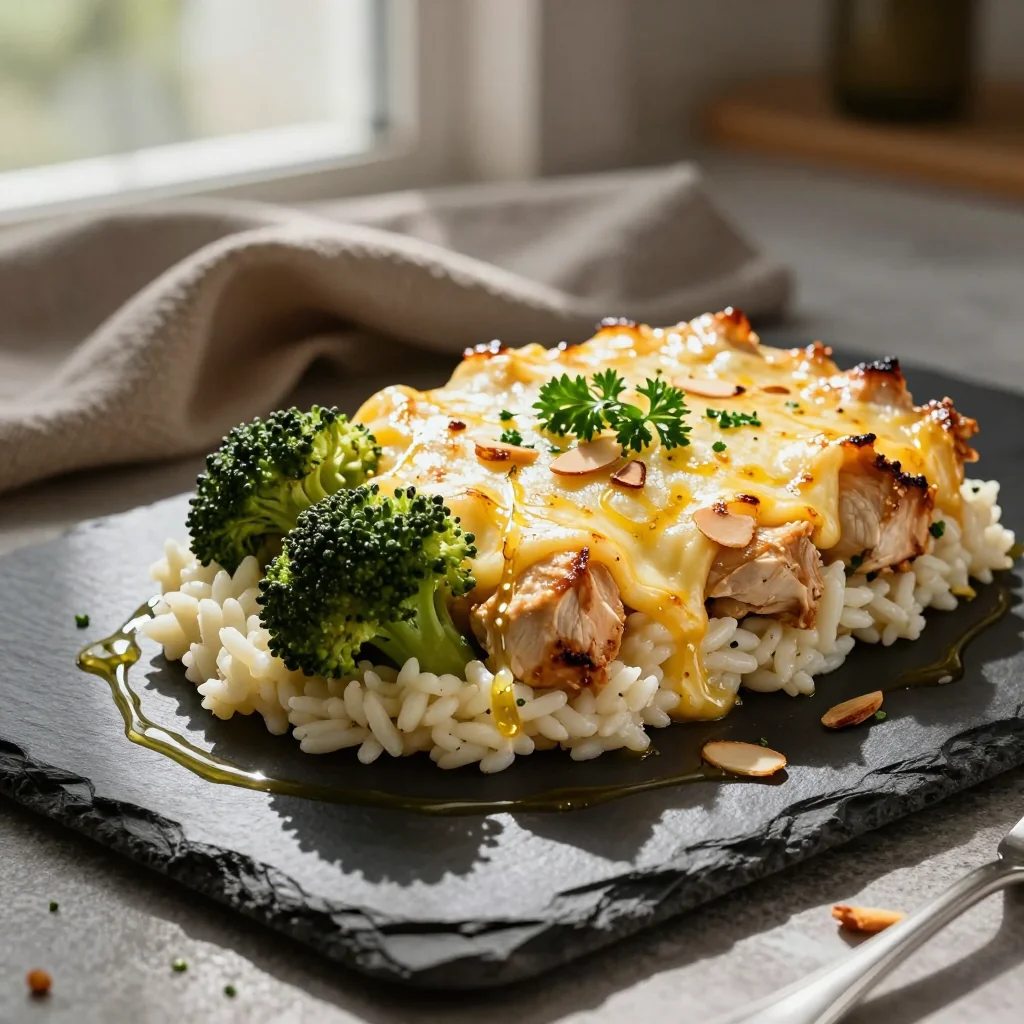
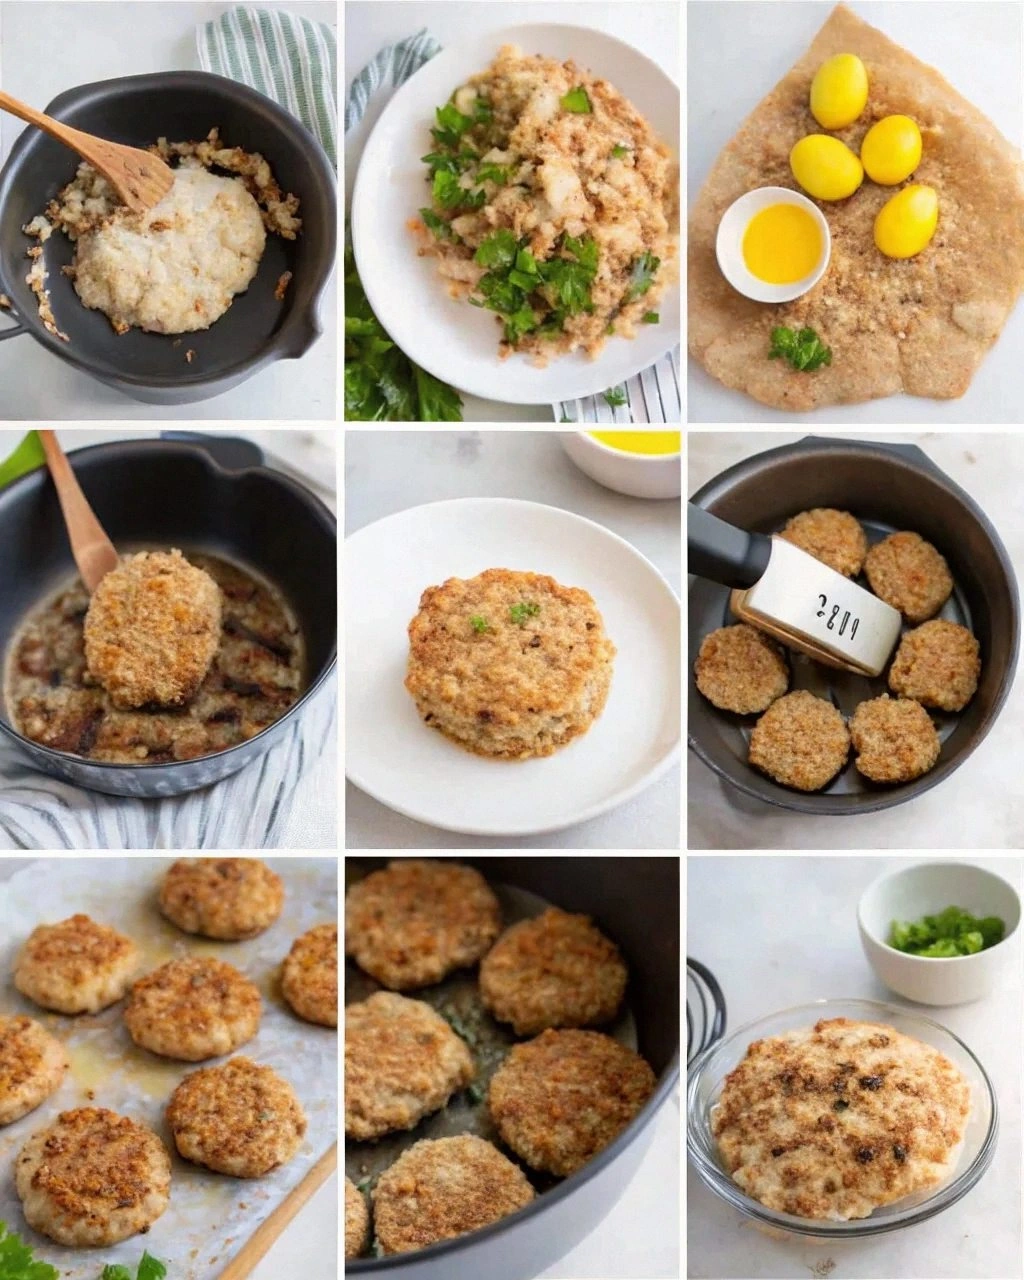
There’s a special kind of heartbreak that happens when you bite into a beautiful apple fritter only to find it’s dense, greasy, and tastes more like fryer oil than orchard-fresh apples. I’ve been there, standing at the bakery counter, hope in my eyes, paper bag in hand, optimism deflating faster than a failed soufflé. That disappointment is exactly what launched my obsessive quest for the perfect apple fritter—one that’s airy, crisp, and tastes like fall distilled into a single bite—without the deep-fry mess. After weeks of flour-dusted countertops, three minor burns (don’t ask), and a kitchen that smelled like a cider mill for days, I finally cracked the code: Mini Apple Fritter Waffle Donuts. Yes, you read that right. We’re marrying the caramelized edges of a fritter, the fluffy interior of a donut, and the speed (and cute factor) of a waffle iron. It’s the ménage à trois of breakfast pastries, and it’s about to become the star of your weekend mornings.
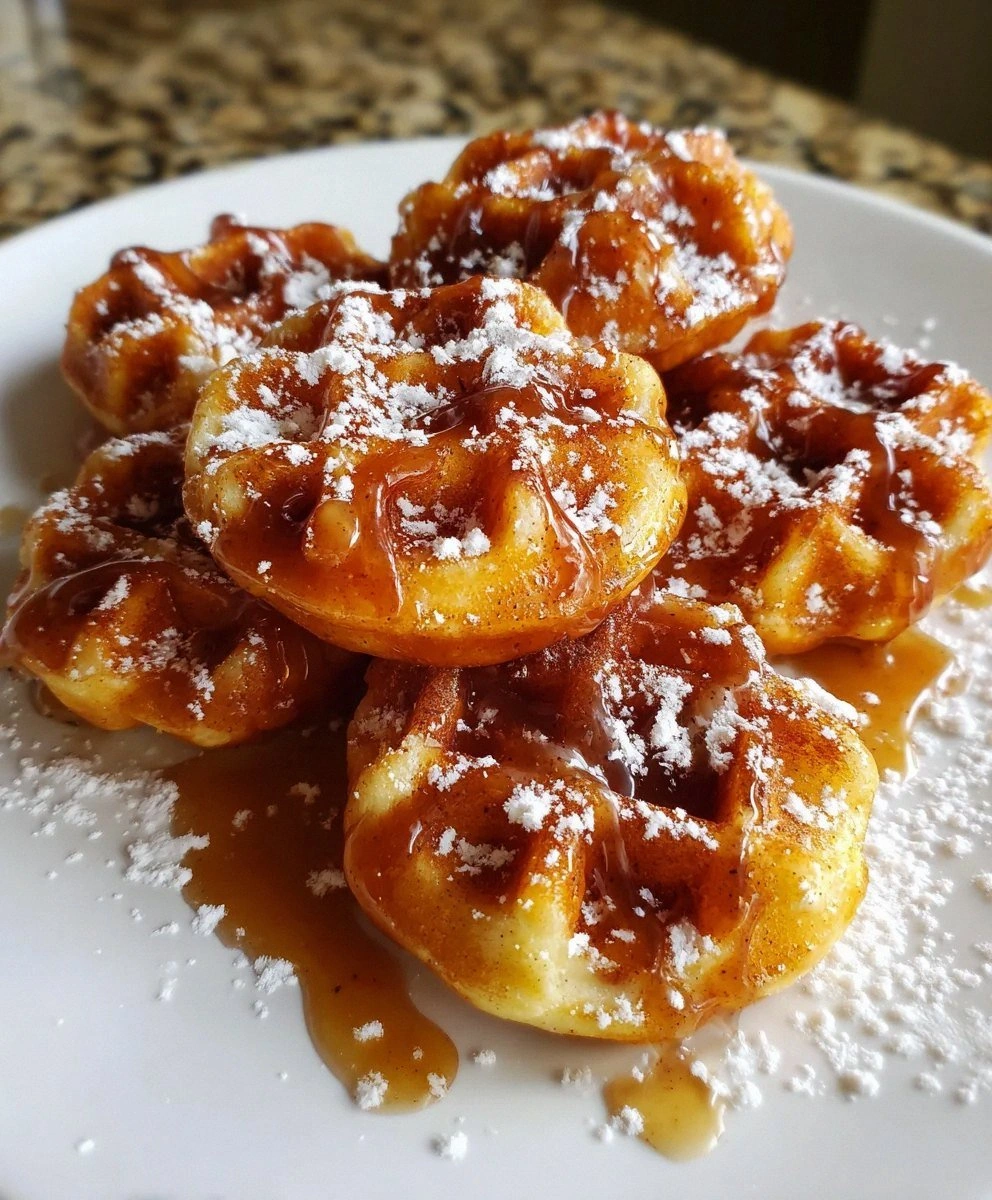
Picture this: You slide the first mini waffle donut off the iron, steam curling up like a cozy scarf, and the aroma of cinnamon and sautéed apples wraps around you like your favorite flannel. You dip the warm ring into a glossy vanilla glaze, letting the excess drip off in slow motion. One bite—just one—and the edges shatter delicately, revealing tender shreds of apple suspended in a cloud-light crumb. The glaze crackles, the apples sing, and suddenly you’re eight years old again, jumping into leaf piles instead of adulting. The best part? No terrifying vat of hot oil, no waiting for dough to proof, and no need to choose between waffles, donuts, or fritters. You get them all in under thirty minutes, which means you can whip up a batch while the coffee brews and still have time to bask in the inevitable praise from anyone lucky enough to be in sniffing distance.
Before you panic about needing fancy equipment, relax. All you need is a mini waffle iron (the $20 kind you bought for dorm-room paninis works perfectly), a bowl, and a whisk. The batter comes together faster than you can say “pumpkin spice latte,” and the waffle iron does the heavy lifting—no flipping, no timer anxiety, no guessing when the oil is hot enough to incinerate your eyebrows. The donuts emerge with those iconic fritter crags, ready for a quick glaze shower. And here’s the kicker: because they’re mini, you can eat three and still feel virtuous. (I won’t tell if you don’t.)
Okay, ready for the game-changer? We’re folding shredded apples straight into the batter, but we pre-caramelize them in a whisper of butter and brown sugar so every pocket of fruit tastes like the inside of a pie. That tiny step—five minutes on the stove—elevates these from “cute brunch idea” to “I need a moment alone with the entire platter.” Let me walk you through every single step—by the end, you’ll wonder how you ever made it any other way.
What Makes This Version Stand Out
- Flavor Bomb Apples: Most recipes toss raw fruit into batter and call it a day. We sauté the apples first with butter, cinnamon, and a kiss of brown sugar until they smell like candle-store heaven. This concentrates the flavor and keeps the batter from getting watery.
- Waffle Iron Magic: Deep-frying is messy, scary, and leaves your house smelling like a fast-food joint for a week. A mini waffle iron gives you those crispy ridges and caramelized edges in minutes—no oil thermometer, no splatter burns, no guilt.
- One-Bowl Wonder: No yeast, no proofing, no stand mixer ballet. You literally whisk dry, whisk wet, fold together, and you’re pouring batter. If you can make pancake mix, you can make these.
- Pint-Sized Indulgence: Mini anything tastes better—science, probably. These two-bite rings deliver all the fritter joy without the post-donut slump. Eat two, three, or six; the scale never has to know.
- Weekend-Friendly Freeze: Make a double batch, freeze the cooled waffles on a tray, then bag them. Pop into a toaster on busy mornings and you’ve got hot, fresh donuts faster than the drive-thru.
- Customizable Canvas: Swap apples for pears, add a handful of cranberries, spike the glaze with bourbon, or roll in cinnamon sugar. The base batter plays nicely with every seasonal whim.
Alright, let’s break down exactly what goes into this masterpiece...
Inside the Ingredient List
The Flavor Base
All-purpose flour is the spine of these donuts—too much and they’re hockey pucks, too little and they collapse. I tested four brands and landed on one with 11 % protein for the fluffiest, most tender crumb. If you only have cake flour, add two extra tablespoons to give the batter backbone. Cinnamon and nutmeg are non-negotiable; they’re the aromatic duo that makes people wander into the kitchen asking what smells so good. Buy fresh whole nutmeg and grate it yourself—once you smell the difference, the dusty pre-ground jar will haunt your spice rack.
The Texture Crew
Baking powder is the elevator that lifts our donuts sky-high without yeast. Check the expiration date; if it’s older than your last relationship, toss it. Cornstarch is the secret weapon for that signature fritter crunch—just two tablespoons lighten the flour and create micro air pockets that shatter between teeth. Granulated sugar sweetens without weighing things down, while a single egg provides structure so your waffles don’t unravel the second you pick them up. Whole milk keeps the crumb tender; swap in buttermilk for extra tang if you like your breakfast pastries with attitude.
The Unexpected Star
Shredded apples are the juicy gems in every bite. Go with a firm, tart variety like Honeycrisp or Braeburn; they hold their shape and bring bright acidity that balances the sweet glaze. After shredding, pile the apple curls into a clean dish towel and wring out the excess juice—otherwise you’ll end up with soggy waffles that refuse to crisp. Save that fragrant juice for cocktails or drizzle it into your morning oatmeal. Oil may seem redundant in a non-stick waffle iron, but one tablespoon in the batter guarantees moistness and helps the edges fry to golden perfection.
The Final Flourish
Powdered sugar, milk, and vanilla extract join forces to create a glaze that sets into a crackly shell. Sift the sugar first for silk-smooth perfection; nobody wants lumpy freckles on their donuts. A splash of milk loosens it to the texture of thick paint—dip, don’t pour, so you get that beautiful drip. Vanilla is the aromatic bow on top; use the good stuff, not the imitation bottle you bought in college. If you’re feeling fancy, scrape in half a vanilla bean and watch the tiny black specks make you look like a professional pastry chef.
Everything’s prepped? Good. Let's get into the real action...
The Method — Step by Step
- Preheat your mini waffle iron on medium-high. While it heats, sauté the shredded apples in a small skillet with one tablespoon of butter, one tablespoon of brown sugar, and a pinch of cinnamon. Cook for three to four minutes, stirring, until the apples soften and the kitchen smells like you’ve been transported to an autumn farmers’ market. Remove from heat and let cool slightly; hot apples will scramble the egg in the batter and we’re making donuts, not breakfast burritos.
- In a large bowl, whisk together the flour, granulated sugar, baking powder, salt, cinnamon, nutmeg, and cornstarch. Fluff it up like you’re auditioning for a cooking show—this distributes the leavening so every donut rises like a champion. Make a well in the center; this crater is about to become a lagoon of wet ingredients, and the well keeps them from running all over the counter like mischievous toddlers.
- In a separate bowl or large measuring cup, whisk the egg, milk, oil, and vanilla until the mixture looks like sunshine in liquid form. Pour the wet into the dry, add the cooled sautéed apples, and fold gently with a spatula just until the flour streaks disappear. Over-mixing is the enemy of fluff; think of it as folding in clouds, not stirring cement.
- Grease the top and bottom plates of the waffle iron with a quick swipe of oil or a spritz of non-stick spray even if the manufacturer swears it’s non-stick. Trust me, caramelized sugar loves to weld itself to metal, and you don’t want to spend your brunch chiseling donuts out like an archaeologist. Drop a heaping tablespoon of batter into the center of each mini well; it should spread to about three-quarters full. Close the lid and let the magic happen.
- Cook for three to four minutes, resisting the urge to peek too early. The steam will puff dramatically, then subside—this is your cue that the edges are crisping. When the indicator light says done, open carefully: the donuts should release with a gentle nudge. If they resist, close the lid for another thirty seconds; the residual heat finishes the job and saves your breakfast from crumbling into a tragic pile of apple confetti.
- Transfer the golden mini donuts to a wire rack set over parchment. They’ll feel softly firm—yes, that’s a thing—and the bottoms will have those adorable waffle ridges that act like syrup canals later. Repeat with remaining batter, re-greasing the plates only if you see sticking. You should get about twenty-four bite-size donuts, but don’t quote me if you “taste-test” six before they hit the rack.
- While the donuts cool just enough to handle, whisk the glaze: one cup of sifted powdered sugar, two tablespoons of milk, and half a teaspoon of vanilla. The mixture should ribbon off the whisk and disappear into itself in about three seconds. Too thick? Dribble in milk a teaspoon at a time. Too thin? Whisk in more sugar until it coats the back of a spoon like luscious paint.
- Dip the top half of each warm donut into the glaze, letting the excess drip off for exactly two Mississippi seconds. Flip upright onto the rack; the glaze will set in under a minute, forming that classic fritter crackle. If you want bakery-style drips, double-dip once the first coat firms—just prepare for sticky fingers and zero regrets.
That's it—you did it. But hold on, I've got a few more tricks that'll take this to another level...
Insider Tricks for Flawless Results
The Temperature Rule Nobody Follows
Room-temperature egg and milk mix more evenly into the batter, preventing little pockets of flour that turn into gluey lumps. Pull them out of the fridge ten minutes before you start; that’s just enough time to brew your coffee and update your Instagram story with the batter bowl. Cold liquids shock the melted butter in the sautéed apples, causing it to seize into tiny flecks that can leave white streaks in your finished donuts. Warm ingredients equal smooth, homogenous batter and bakery-polished results.
Why Your Nose Knows Best
Forget the timer—your sense of smell is the most accurate donut doneness indicator. When the sweet, toasty aroma of caramelized apples and browned butter drifts from the waffle iron, start checking. If you wait for the machine’s beep, you might miss the thirty-second window between golden perfection and over-browned bitterness. A friend tried skipping this step once—let’s just say her batch could have been used as decorative pucks for a curling match.
The 5-Minute Rest That Changes Everything
After mixing, let the batter nap for five minutes. This hydrates the flour fully and gives the baking powder a head start, creating lighter, taller waffles. Use the downtime to shred extra apples for round two or set the table so you’re not frantically hunting for forks while the first batch gets cold. The rested batter will look slightly puffier—that’s carbon-dioxide bubbles forming, and they translate into extra fluff in every bite.
Glaze Consistency Check
Stick your whisk into the glaze and lift; the ribbon should hold its shape for two seconds before melting back. Longer? Too thick and it’ll crack like royal icing. Shorter? Too thin and it’ll slide off, leaving you with sad, streaky donuts. Adjust with milk or sugar by the teaspoon; a single tablespoon can swing the balance from soup to cement, so add slowly like you’re defusing a dessert bomb.
Creative Twists and Variations
This recipe is a playground. Here are some of my favorite ways to switch things up:
Pear & Gingerbread Spice
Swap apples for ripe Bartlett pears and add half a teaspoon each of ground ginger and allspice to the batter. The pears melt into honey-sweet pockets, and the spice blend makes your kitchen smell like December at the North Pole. Top with a maple glaze instead of vanilla for a breakfast that pairs (pun intended) beautifully with hot black coffee.
Cranberry Orange Zest
Fold in a third cup of dried cranberries along with the apples and add a teaspoon of orange zest to the glaze. The tart berries pop against the sweet glaze, and the citrus perfume makes people swear you hired a French pastry chef. Perfect for holiday brunches when you want to look effortlessly fancy.
Chocolate Chip Churro
Skip the apples entirely and stir in half a cup of mini chocolate chips. Roll the warm waffles in cinnamon sugar instead of glazing for a churro vibe that kids (and let’s be honest, adults) lose their minds over. Serve with thick Spanish-style hot chocolate for dipping and watch the platter disappear faster than you can say “second batch.”
Savory Cheddar Corn
Replace two tablespoons of flour with fine cornmeal, fold in a half cup of shredded sharp cheddar and a tablespoon of chopped chives. Omit the sugar in the batter and serve with a dollop of sour cream and hot honey. These savory waffle donuts are the wildcard appetizer that wins brunch potlucks.
Pumpkin Cheesecake Swirl
Beat two tablespoons of pumpkin puree and a pinch of cinnamon into two ounces of softened cream cheese. Drop tiny teaspoons of this mixture onto the batter in the waffle iron, then top with more batter before closing. The result is a hidden cheesecake center that oozes like lava when you break the donut open. Dust with powdered sugar instead of glazing for a rustic look.
Bourbon Pecan Pie
Add a tablespoon of bourbon to the glaze and fold a handful of toasted chopped pecans into the sautéed apples. The alcohol cooks off, leaving behind smoky depth, while the nuts toast further against the hot iron, tasting like candied pecans from a street fair. Serve warm with a scoop of vanilla ice cream for dessert-style brunch.
Storing and Bringing It Back to Life
Fridge Storage
Layer completely cooled donuts in an airtight container with parchment between layers; they’ll keep three days in the fridge. The glaze may weep slightly—just blot with a paper towel and give them a quick ten-second zap in the microwave to restore fluff. Store un-glazed waffles and glaze separately if you want maximum crispness; reunite just before serving.
Freezer Friendly
Freeze in a single layer on a tray until solid, then toss into a zip-top bag with the air squeezed out. They’ll keep up to two months without freezer burn, though I’ve never managed to keep them around longer than two weeks. Reheat from frozen in a toaster oven at 350 °F for five minutes or pop straight into a toaster—yes, they fit, and yes, it’s life changing on frantic mornings.
Best Reheating Method
Toaster oven beats the microwave for texture every time. Add a tiny splash of water to the tray to create steam, which rehydrates the crumb and keeps the glaze from turning into a rock-candy shell. Three to four minutes at 350 °F restores the just-made experience, complete with crispy edges and soft centers. If you’re in a rush, microwave ten seconds, then toast for one minute—hybrid magic.