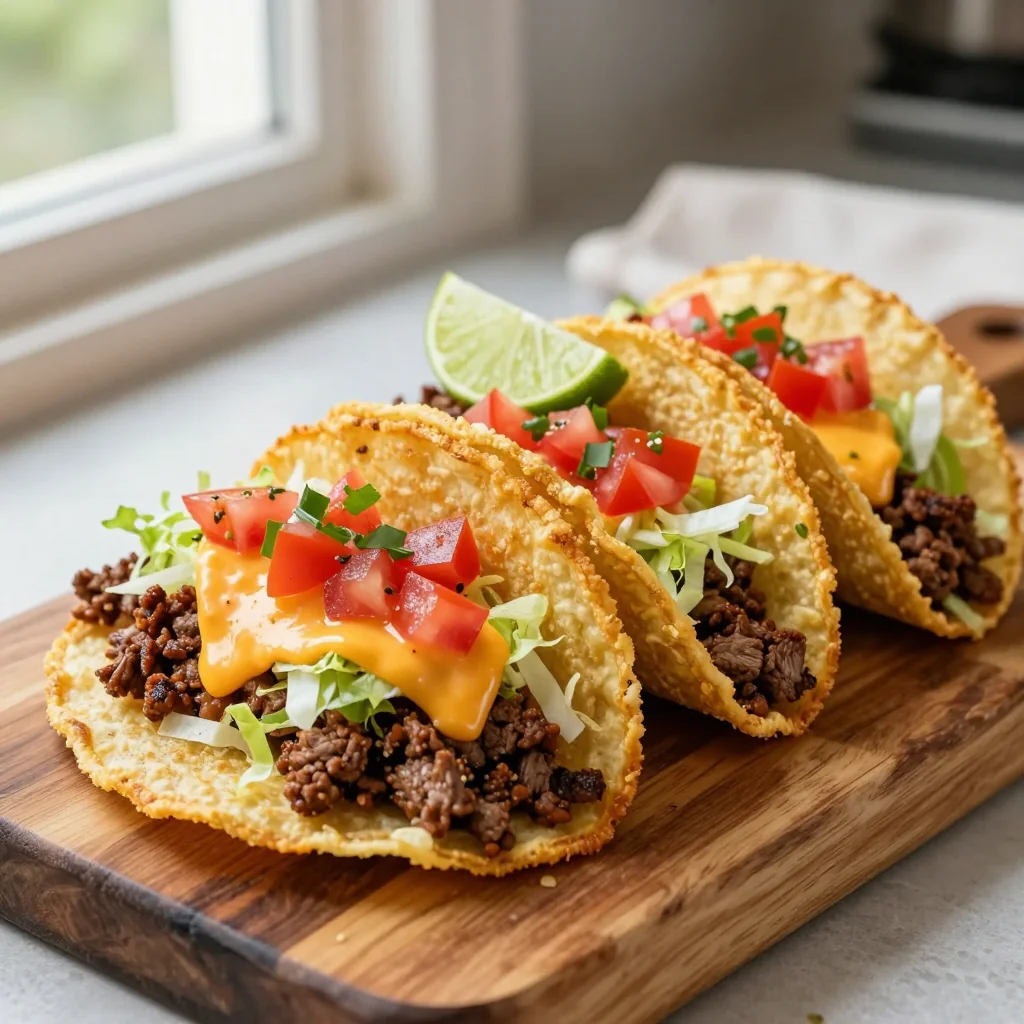
Crispy corn shells packed with juicy seasoned beef, fresh toppings, and a burst of Mexican flavor.
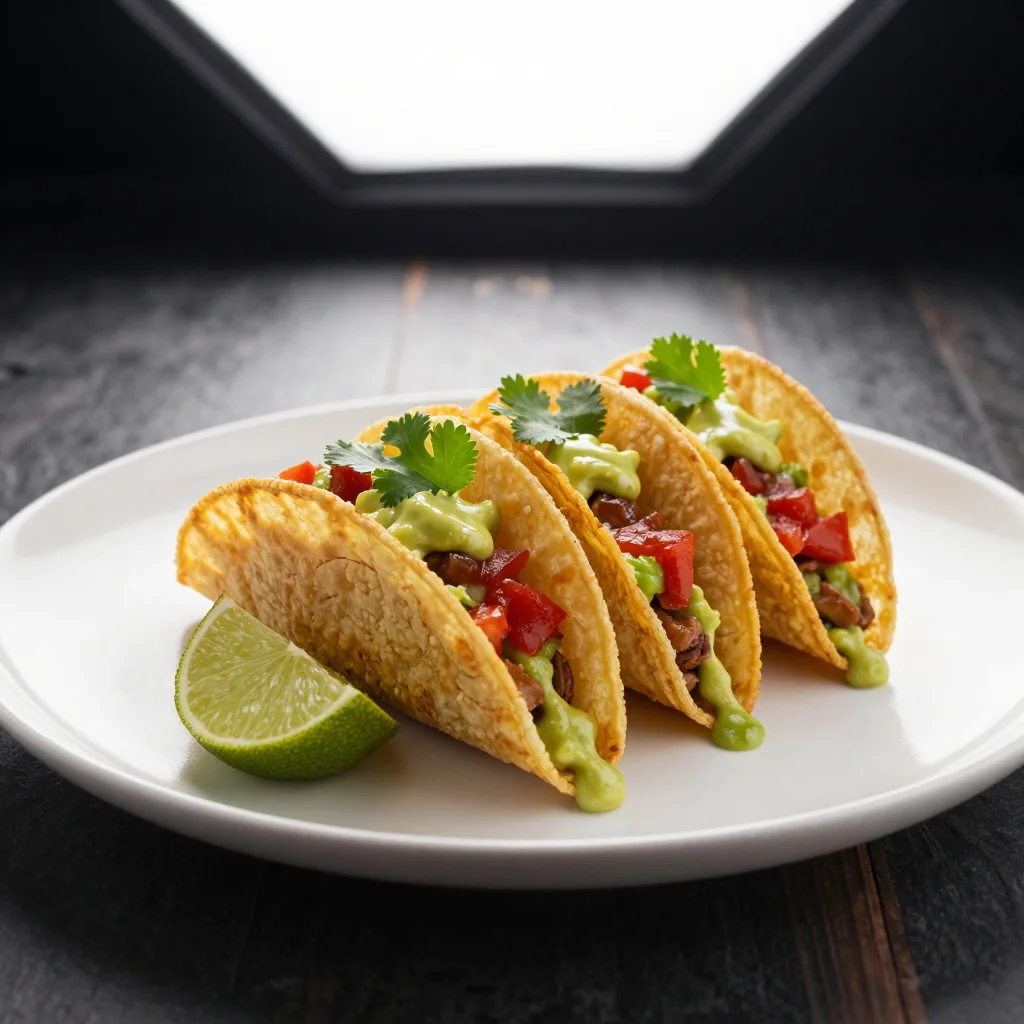
The first time I tasted a perfectly crisp taco shell, I was transported back to a bustling street market in Oaxaca, where the aroma of sizzling beef mingled with fresh cilantro and lime. I remember watching a local chef expertly fold a warm tortilla, fill it with seasoned meat, and top it with a rainbow of fresh vegetables. The crunch of the shell against the tender beef was unforgettable, and that memory sparked my lifelong love for tacos.
Tacos with hard shell are a staple of Mexican street food, celebrated for their contrast of textures and bold flavors. While soft corn tortillas dominate many home kitchens, the hard shell offers a satisfying snap that holds up beautifully under generous fillings, making it ideal for gatherings where guests can build their own creations.
In this recipe, I’ll walk you through every step—from choosing the right corn tortillas to mastering a balanced beef seasoning—so you can recreate that authentic street‑food experience right in your own kitchen. You’ll learn why each ingredient matters, how to achieve the perfect crispness, and how to customize the toppings for every palate.
I’m thrilled to share this vibrant, crowd‑pleasing dish with you. Grab your favorite toppings, fire up the skillet, and let’s get cracking on the ultimate crunchy taco adventure!
🌟 Why This Recipe Will Captivate You
From the moment the shells sizzle to the final garnish of lime, this taco recipe delivers a symphony of textures and flavors that keep you coming back for more.
- ✨ Irresistible Crunch: The quick‑fry method locks in a golden‑brown crust while preserving the natural corn flavor, giving you that signature bite every taco lover craves.
- ✨ Balanced Seasoning: A blend of cumin, smoked paprika, and a hint of chili powder creates depth without overwhelming heat, appealing to both spice‑seekers and those who prefer milder palettes.
- ✨ Fresh, Colorful Toppings: The combination of lettuce, tomatoes, cheese, and avocado adds visual appeal and a refreshing contrast to the warm, savory filling.
- ✨ Easy Scaling: Thanks to the built‑in portion adjuster, you can effortlessly double or halve the recipe without recalculating each ingredient manually.
- ✨ Versatile Base: The hard shell works equally well for beef, chicken, or plant‑based proteins, making this recipe a flexible foundation for countless variations.
- ✨ Crowd‑Friendly: With a total time of just 35 minutes, this dish fits perfectly into weeknight meals, weekend parties, or spontaneous get‑togethers.
🥗 Ingredients
📝 Complete Ingredient List
For the Hard Shells:
For the Beef Filling:
For the Toppings & Garnish:
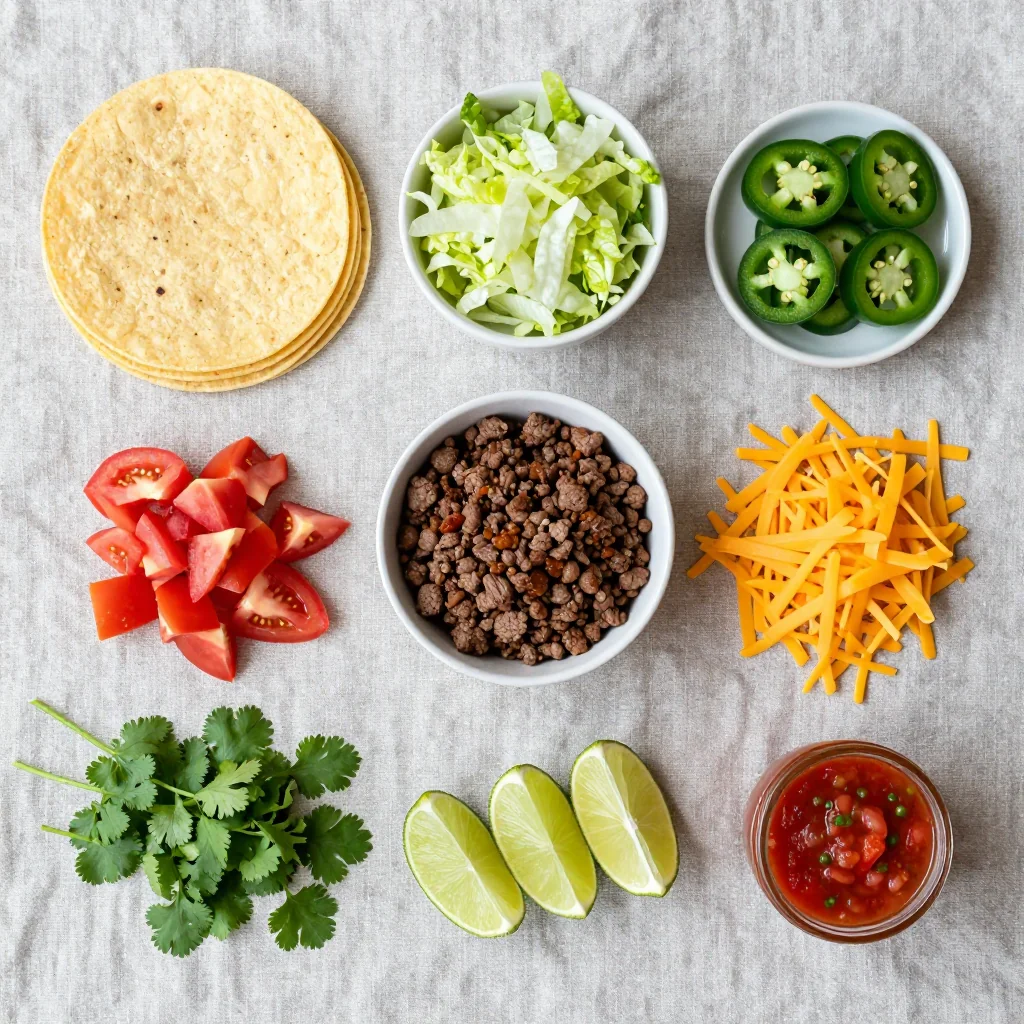
🔍 Focus on Key Ingredients
Ground Beef
Choosing a beef with around 20 % fat ensures juicy, flavorful meat that stays tender during the quick sauté. Look for fresh, bright‑red meat with a fine grain; avoid overly lean options as they can become dry. The fat renders into the pan, creating a natural sauce that blends perfectly with the spices.
Corn Tortillas (Hard Shell)
Authentic Mexican hard shells are made from 100 % masa harina, giving them a slightly sweet corn taste. When you fry them, the starch gelatinizes, forming a crisp outer layer while the interior stays soft enough to hold fillings. If you prefer a lighter version, bake them at 200 °C for 8 minutes and finish with a quick pan‑fry.
Cheddar Cheese
Sharp cheddar adds a creamy, tangy counterpoint to the smoky beef. Its meltability is ideal for sprinkling over hot tacos, creating a glossy finish. For a milder flavor, you can substitute Monterey Jack or a Mexican blend.
🔄 Quick Substitutions
| If you don’t have… | Use instead… |
|---|---|
| Corn tortillas (hard) | Flour tortillas, baked until crisp |
| Ground beef | Ground turkey or plant‑based mince |
| Cheddar cheese | Queso fresco or vegan cheese shreds |
👨🍳 Step‑by‑Step Instructions
Follow these detailed steps to achieve perfectly crisp shells, a juicy beef filling, and a vibrant presentation that will wow any crowd.
📋 Phase 1: Preparation & Mise en Place
Gather, measure, and prep all components before you start cooking.
Prepare the Tortilla Shells
Pat the corn tortillas dry with paper towels to remove any excess moisture. Heat 2 tbsp of vegetable oil in a large skillet over medium‑high heat. Once shimmering, add the tortillas one at a time, pressing gently with tongs to keep them flat. Fry for 30‑45 seconds per side, until golden and firm. Transfer to a paper‑towel‑lined plate to drain excess oil. The shells should be crisp but still pliable enough to fold.
Chop All Fresh Toppings
While the shells fry, finely shred the lettuce, dice the tomatoes, grate the cheddar, and slice the avocado. Place each topping in separate bowls to keep flavors distinct. This organization speeds up the final assembly and ensures each bite gets a balanced mix of textures.
🔥 Phase 2: Cooking & Assembly
Create a savory beef filling and bring everything together.
Brown the Ground Beef
In the same skillet (wipe out excess oil, leaving about 1 tbsp), add the ground beef. Break it up with a wooden spoon and cook over medium heat for 5‑6 minutes, stirring occasionally, until the meat loses its pink color. Drain any excess fat if necessary.
Add Aromatics & Spices
Reduce heat to medium‑low and add the chopped onion and minced garlic to the beef. Sauté for 2‑3 minutes until softened and fragrant. Sprinkle the cumin, smoked paprika, and chili powder, stirring to coat the meat evenly. Cook for another minute to toast the spices, releasing their aromas.
Season and Finish
Season with salt and freshly ground black pepper to taste. If you like a touch of acidity, add a squeeze of lime juice now. Remove from heat and let the mixture rest for a minute; this allows the flavors to meld.
✨ Phase 3: Finishing & Plating
Assemble, garnish, and serve your tacos hot.
Check the Shells
Test one shell by gently pressing; it should feel firm with a light snap. If any shells are still soft, return them to the skillet for a few extra seconds. This ensures every bite stays crunchy.
Assemble the Tacos
Fill each hard shell with a generous spoonful of the seasoned beef. Top with shredded lettuce, diced tomatoes, cheddar cheese, red onion, a dollop of sour cream, avocado slices, and a sprinkle of cilantro. Finish with a lime wedge on the side for an extra burst of freshness.
Serve Immediately
Serve the tacos while the shells are still warm. Pair them with a chilled glass of Mexican lager or a crisp citrus‑based cocktail for a complete experience.
💡 Expert Tips & Tricks
🛒 Choosing the Best Ingredients
Select corn tortillas made from 100 % masa harina for authentic flavor. Look for a uniform yellow‑gold color and a slightly sweet aroma. For the beef, ask your butcher for freshly ground chuck or a blend that contains a little fat; this prevents dryness. When buying cheese, opt for a block and grate it yourself to preserve meltability and flavor.
🔪 Preparation Techniques
Use a sharp chef’s knife to finely dice onions and tomatoes; uniform pieces ensure even distribution of texture. When mincing garlic, crush the cloves first with the flat side of the blade for a smoother paste, which releases more flavor. Keep a bowl of ice water nearby for the lettuce; it keeps the leaves crisp while you work.
🌡️ Mastering the Cooking Process
Maintain medium‑high heat when frying the shells; too low a temperature will soak up oil, while too high can burn them. For the beef, avoid constant stirring; let it sit for a few seconds to develop a caramelized crust. Use a meat thermometer if you’re unsure—ground beef should reach 71 °C (160 °F) for safety.
🍽️ Presentation & Service
Arrange the assembled tacos on a rustic wooden board or a colorful platter. Add a small ramekin of extra sour cream and a bowl of fresh salsa for guests to customize. Garnish the board with lime wedges, cilantro sprigs, and a sprinkle of chopped jalapeños for a pop of color and heat.
🏆 Pro Tips
Elevate your tacos from home‑cooked goodness to restaurant‑level perfection with these professional insights.
- 🎯 Flavor Layering: Toast the spices (cumin, paprika, chili powder) in a dry pan for 30 seconds before adding them to the beef. This releases essential oils, deepening the aroma and creating a richer taste profile.
- 🎯 Shell Texture Control: After frying, place the shells on a rack instead of paper towels to prevent steam from softening them. A light dusting of sea salt while still hot adds a subtle crunch and flavor boost.
- 🎯 Beef Moisture Retention: Mix a tablespoon of beef broth into the meat just before finishing cooking. The added liquid prevents the meat from drying out and adds a silky mouthfeel.
- 🎯 Cheese Melt Optimization: Sprinkle the cheddar over the hot beef and let it sit for 30 seconds before adding the remaining toppings. This brief rest allows the cheese to melt evenly without overcooking.
- 🎯 Balanced Acidity: A splash of lime juice added at the end of cooking brightens the overall flavor, balancing the richness of the beef and cheese.
- 🎯 Portion Consistency: Use the built‑in portion adjuster to scale the recipe accurately. The script updates each numeric ingredient proportionally, ensuring flavor balance at any serving size.
"The secret to great tacos is simplicity and respect for each ingredient; let the corn, the meat, and the lime each shine." — Chef Enrique Olvera
🔄 Variations & Adaptations
The beauty of tacos lies in their flexibility. Below are several ways to tailor this recipe to different diets, flavor preferences, and occasions.
🥬 Vegetarian / Vegan Version
Replace ground beef with a mixture of black beans, crumbled tempeh, and smoked paprika for depth. Use vegan cheddar or nutritional yeast for a cheesy note, and swap sour cream with a cashew‑based crema. The rest of the toppings stay the same, delivering a hearty plant‑based taco.
- 1 can (400 g) black beans, rinsed and drained
- 150 g tempeh, crumbled
- 2 tbsp olive oil for sautéing
🌶️ Flavor Variations
Experiment with regional spice blends to give your tacos a new personality. Below are three distinct twists.
Spicy Chipotle Version
Add 1 tsp chipotle in adobo sauce and increase chili powder to 1 tsp. Finish with a drizzle of chipotle mayo for smoky heat.
Mediterranean Twist
Incorporate chopped olives, feta cheese, and a sprinkle of oregano. Replace cumin with ground coriander for a lighter flavor profile.
Asian Fusion
Use ground pork seasoned with soy sauce, ginger, and a dash of sriracha. Top with pickled carrots, cucumber ribbons, and a drizzle of sesame‑oil vinaigrette.
⚠️ Dietary Adaptations
Gluten‑Free
This recipe is naturally gluten‑free when using corn tortillas. Ensure any added sauces or seasonings are certified gluten‑free.
Lactose‑Free
Omit the cheddar and replace sour cream with a coconut‑based yogurt or lactose‑free sour cream alternative.
Low‑Calorie
Use lean ground turkey instead of beef, reduce cheese to ¼ cup, and swap sour cream for Greek yogurt. Increase the lettuce proportion for volume without added calories.
👶 Kid‑Friendly Version
For younger palates, tone down the spices by omitting chili powder and using mild paprika only. Offer a side of mild salsa and let kids assemble their own tacos, encouraging participation and enjoyment.
📦 Storage & Reheating
🧊 Conservation
Refrigerator
- Duration: 3 days
- Recommended container: airtight plastic or glass container
- Tip: Store the shells separately from the beef to maintain crispness.
Freezer
- Duration: 2 months
- Method: Portion the cooked beef into freezer‑safe bags; freeze shells in a zip‑lock bag with parchment between each.
- Defrosting: Thaw beef overnight in the refrigerator; re‑crisp shells in a hot oven.
💡 For best texture, re‑heat shells in the oven rather than the microwave to preserve crunch.
♨️ Reheating
🔥 Oven (Recommended)
- Preheat to 180 °C (350 °F).
- Place shells on a baking sheet, cover with foil.
- Heat for 8 minutes.
- Remove foil and continue for 2‑3 minutes to restore crispness.
⚡ Microwave (Quick)
- Cover the beef with a microwave‑safe lid.
- Heat on medium power for 1 minute.
- Stir, then heat in 30‑second bursts until hot.
🍳 Stovetop
Re‑heat the beef in a skillet over medium heat, adding a splash of water or broth to prevent drying. Warm shells in a dry pan for 30 seconds per side.
🍷 Perfect Pairings
🥗 Side Dishes
- Mexican Street Corn (Elote): Grilled corn slathered with mayo, cotija, chili powder, and lime adds smoky sweetness.
- Black Bean Salad: A refreshing mix of black beans, corn, red bell pepper, and cilantro dressed with lime vinaigrette balances the richness.
- Fresh Pico de Gallo: Diced tomatoes, onion, jalapeño, and cilantro provide a juicy, acidic bite.
🍷 Wine & Beverage Pairings
- Mexican Lager (e.g., Pacifico): Light, crisp carbonation cuts through the fat of the beef.
- Rosé (dry): The bright acidity mirrors the lime and complements the spice.
- Non‑Alcoholic: Sparkling agua fresca with hibiscus or lime offers a festive, refreshing option.
🍰 To Complete the Meal
Start with a light avocado‑lime soup or a chilled cucumber gazpacho. For dessert, serve churros dusted with cinnamon sugar alongside a rich chocolate dipping sauce, or a simple mango sorbet to cleanse the palate.
❓ Frequently Asked Questions
Q: Can I use flour tortillas instead of corn?
Yes, flour tortillas work well, especially if you prefer a milder flavor. To achieve a crisp shell, bake them at 200 °C for 5‑7 minutes, then quickly fry each side in a thin layer of oil. The result will be slightly softer than corn but still enjoyable.
Q: How do I prevent the shells from getting soggy after topping?
Pat the toppings dry before adding them, especially tomatoes and salsa. Adding a thin layer of sour cream or avocado first creates a moisture barrier. Serve the tacos immediately after assembly for optimal crunch.
Q: What’s the best way to store leftover taco shells?
Keep them in an airtight container at room temperature for up to 2 days. If they start to soften, re‑crisp them in a preheated oven (180 °C) for 3‑4 minutes. Avoid refrigerating shells alone, as moisture will make them soggy.
Q: Can I make the beef filling ahead of time?
Absolutely. Cook the beef fully, let it cool, then store it in a sealed container in the refrigerator for up to 3 days. Reheat gently on the stove with a splash of broth to restore juiciness before assembling the tacos.
Q: I’m allergic to dairy; what can I substitute for cheddar?
Use a dairy‑free cheese shreds made from coconut oil or almond base, or omit cheese entirely and increase the amount of avocado and fresh cilantro for richness.
Q: How can I make these tacos gluten‑free?
The recipe is already gluten‑free when using corn tortillas. Ensure any added sauces (e.g., salsa) are labeled gluten‑free, and double‑check that your spices haven’t been processed with wheat flour.
🎉 Let’s Get Cooking!
This crunchy taco recipe combines simplicity with bold Mexican flavors, making it a perfect centerpiece for any gathering. By mastering the crisp shell technique and the balanced beef seasoning, you’ll create a dish that feels both authentic and approachable. Remember, the secret lies in quality ingredients, proper heat, and a touch of love.
I can’t wait to hear how your tacos turn out! Share your photos, tweak the toppings to suit your taste, and let the aroma of sizzling beef and fresh lime fill your kitchen. Happy cooking, and may every bite be a celebration!
Have you tried this recipe?
Leave a comment and rating below! Share your photos on Instagram with #CrispyTacoMagic for a chance to be featured.
Tacos with Hard Shell
Crispy corn shells filled with seasoned beef, fresh veggies, and a squeeze of lime.
📝 Ingredients
Hard Shells
Beef Filling
Toppings & Garnish
👨🍳 Instructions
- Fry the shells: Heat oil, fry each tortilla 30‑45 seconds per side, drain on paper towels.
- Prepare toppings: Shred lettuce, dice tomatoes, grate cheese, slice avocado.
- Cook beef: Brown ground beef, add onion & garlic, then spices; simmer 5‑6 minutes.
- Season: Add salt, pepper, and a splash of lime juice; remove from heat.
- Assemble: Fill each shell with beef, then layer lettuce, tomato, cheese, onion, sour cream, avocado, and cilantro.
- Serve: Garnish with lime wedges and enjoy while hot.
🥗 Nutrition (per serving)
*Values are estimates based on standard ingredient data.
📚 You Might Also Like
Chicken Enchiladas
Shrimp Ceviche
Churro Dessert




💬 Comments & Reviews
Leave a Comment
No comments yet. Be the first to share your thoughts!